Webmail - Account Consolidation for Enhanced Mailboxes
Enhanced mailboxes offer the flexibility to manage multiple email accounts through a single Webmail interface. By consolidating your accounts, you can read and send messages from various internal or external addresses without needing to log in to separate profiles.
Before You Begin
This feature allows an Enhanced mailbox to add other accounts, whether they are Basic or Enhanced, into one view. Ensure you have the following details for the account you wish to add:
-
The full email address and password.
-
The IMAP (Incoming) and SMTP (Outgoing) server names.
Step-by-Step Consolidation Guide
- Log in to your Webmail account
-
Click the User Icon (Settings) in the top right navigation bar.
-
Select My account from the menu.
-
Navigate to the E-mail Accounts & Aliases tab in the left-hand sidebar.
-
Click the Manage E-mail Accounts and Aliases button.
-
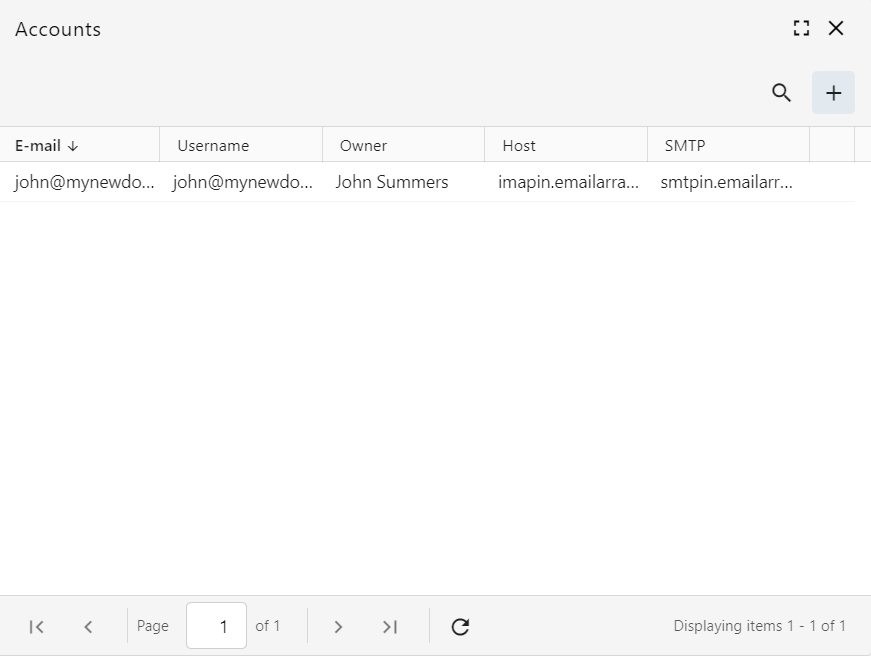
Add New Account: In the Accounts window, click the plus (+) button in the top right corner.

-
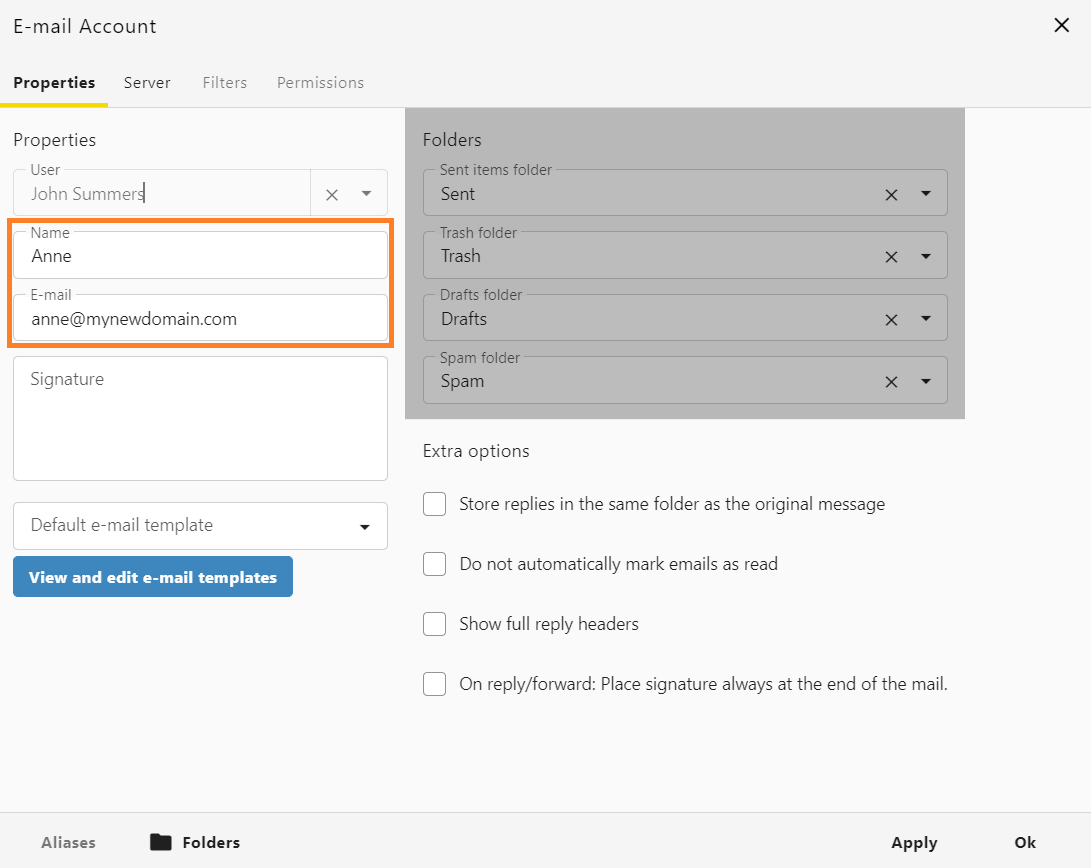
Configure the email account:
-
On the Properties tab, fill in the "Name" (how you want to appear to recipients) and the full "E-mail" address.
-
Click the Server tab to enter the connection information:
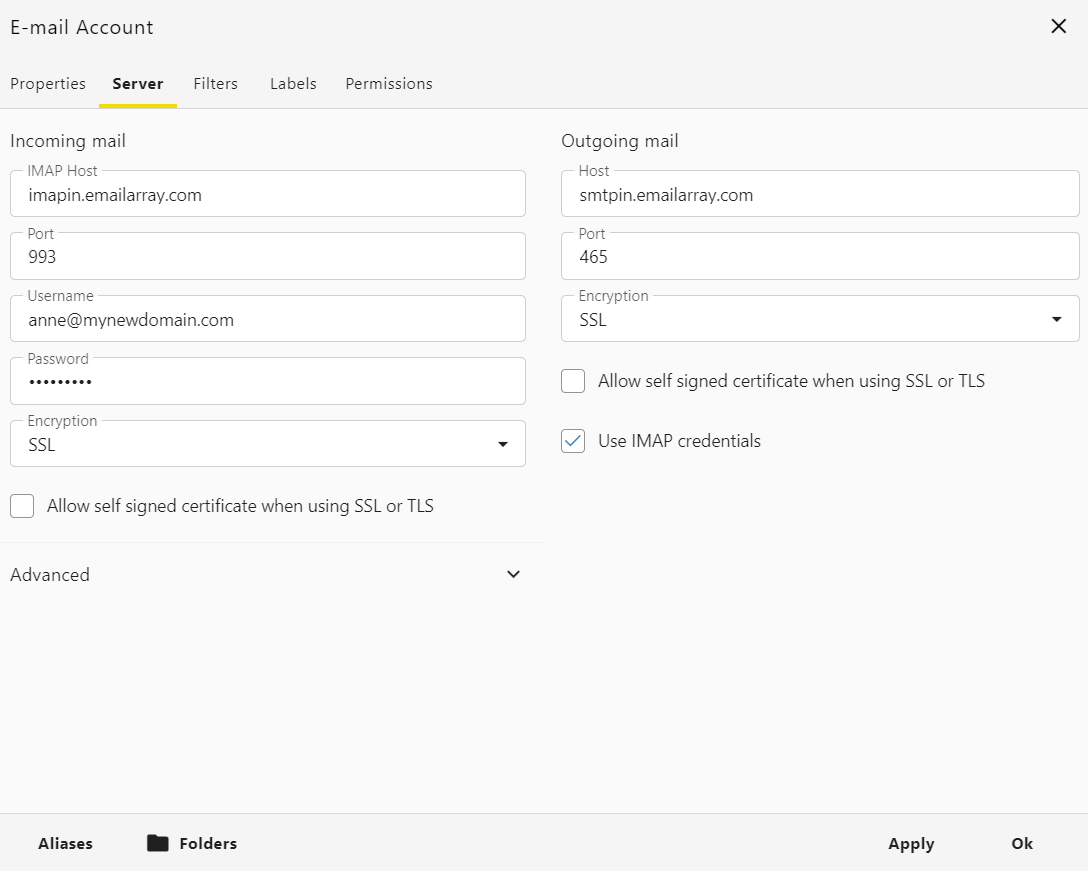
- Encryption: choose SSL for Incoming mail and Outgoing mail
-
Internal Accounts (Hosted with us):
-
imapin.emailarray.comfor the IMAP Host -
smtpin.emailarray.comfor the SMTP Host -
You may also use the standard
imap.emailarray.comandsmtp.emailarray.com.
-
-
External Accounts: Enter the specific IMAP and SMTP server names provided by your external email provider.
-
Credentials: Enter the username and password for the secondary account.
- For Outgoing mail settings, please check Use IMAP credentials.
-
-
Save Changes: Click Apply and then Ok to finalize the setup.