How to Enable the AI Assist Feature
AI Assist is a powerful tool integrated directly into your Webmail. It allows you to compose emails from short descriptions, generate replies, translate text, and summarize long threads instantly.
This feature operates on a "bring-your-own-key" basis, giving you full control over which AI provider and model you use. You can currently connect with providers such as Gemini, Anthropic, or OpenAI.
Step 1: Enable AI at the Domain Level
Before individual users can access AI tools, you must configure the AI provider for the entire domain.
-
Log in to your Admin Panel.
-
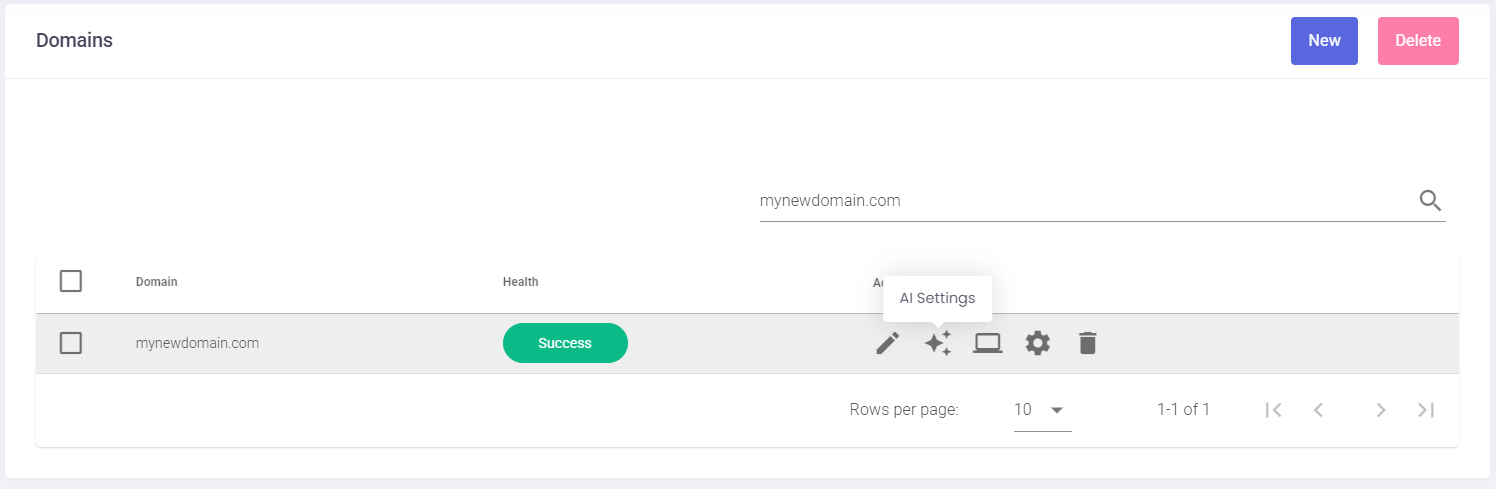
Navigate to the Domains section.
-
Locate the domain you wish to manage and click the AI Settings icon (represented by a sparkle symbol) in the actions list.

-
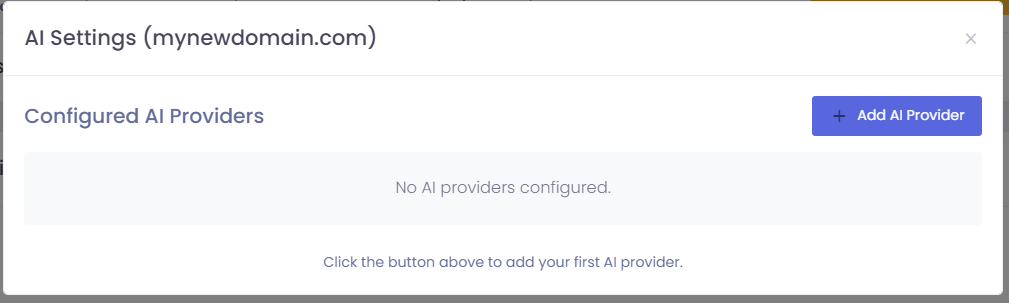
Click the Add AI Provider button.
-
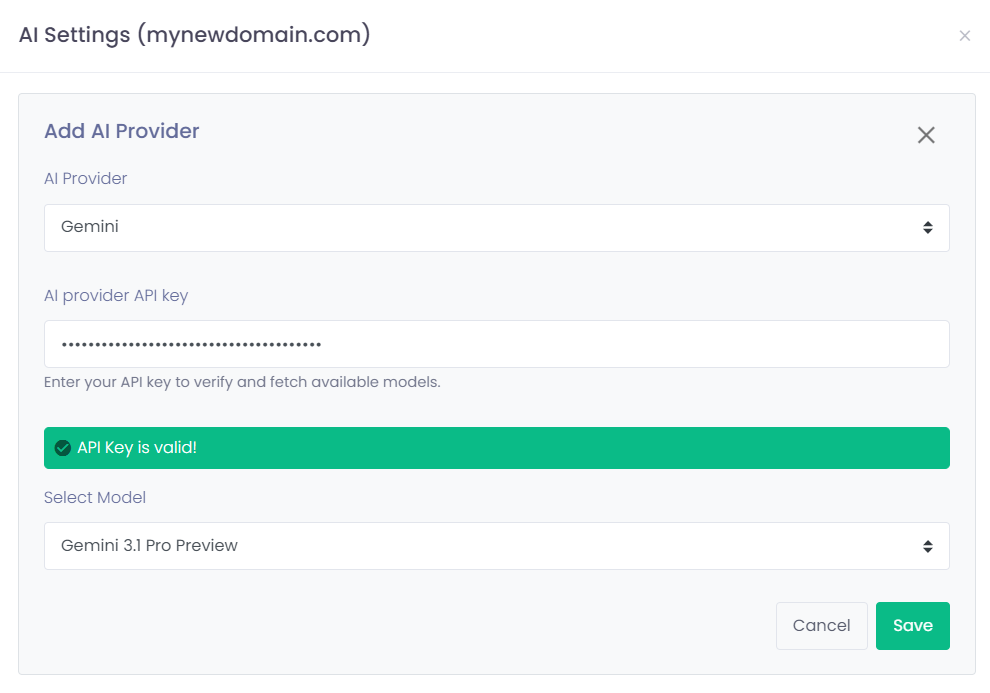
Select your preferred AI Provider and enter your API key to verify the connection.
-
Select a Model: You can choose between high-performance complex models or faster, more cost-effective ones.
Tip: For standard email composition and summarizing, a "fast" model (such as a Flash-tier model) typically provides the best balance of speed and cost-efficiency.
-
Click Save.


Step 2: Grant User Permissions
Once the domain is configured, you must specify which users have permission to use the AI tools.
-
In the Admin Panel, go to the Users section.
-
Select the relevant domain from the list.
-
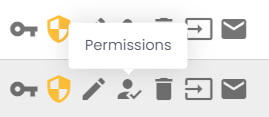
Locate the specific user and click the Permissions icon (represented by a person with a checkmark).
-
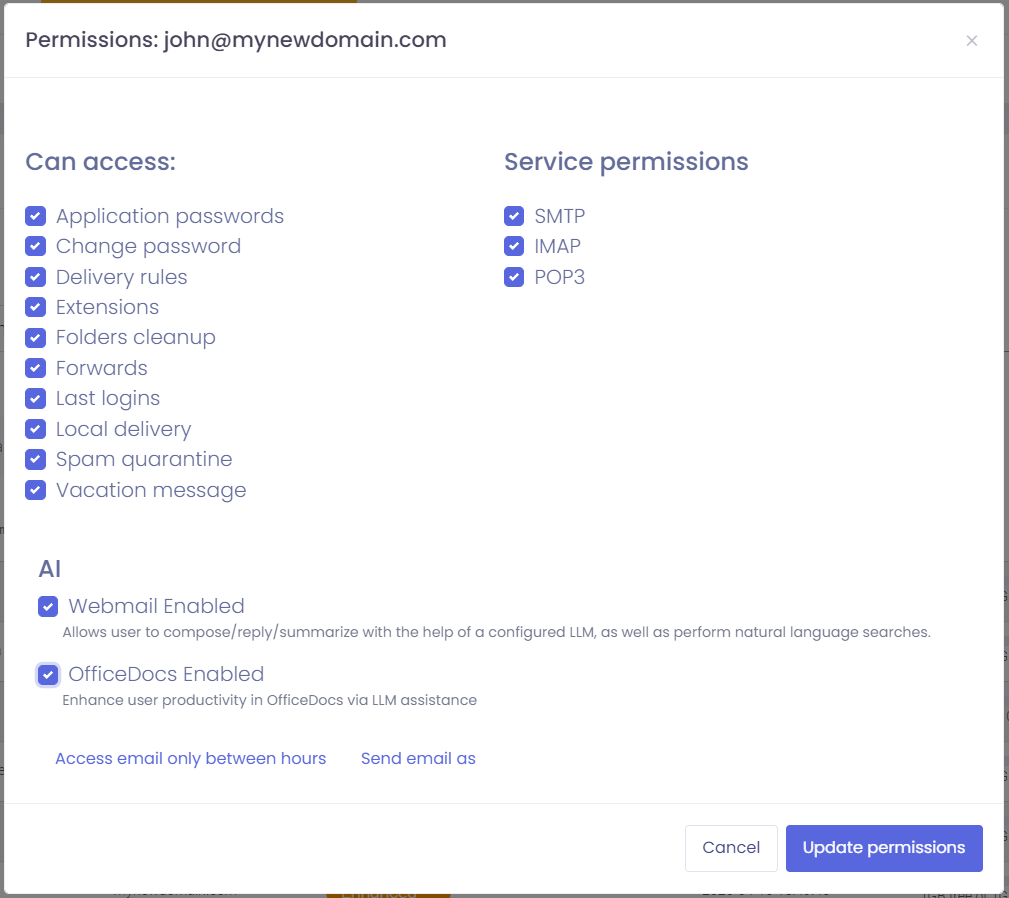
Scroll down to the AI section of the permissions window.
-
Check the boxes for the tools you want to enable:
-
Webmail Enabled: Allows the user to use AI for composing, replying, and summarizing within their email interface.
-
OfficeDocs Enabled: Enhances productivity by enabling AI assistance within the office document editor.

-
-
Click Update permissions to finalize the changes.

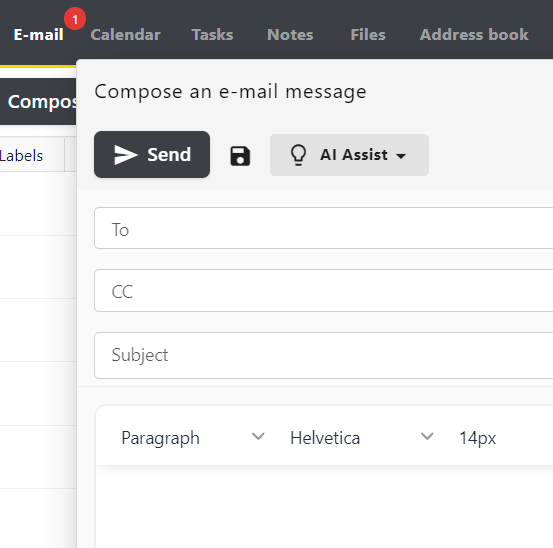
Using AI Assist
Once enabled, users will see the AI Assist button in their Webmail interface. It is available in:
-
The Compose Window: To draft new messages from brief notes.
-
Reply Windows: To suggest professional responses based on the conversation history.
-
Email Summaries: To quickly digest long or complex email threads.