# Webmail - Account Consolidation for Enhanced Mailboxes
Enhanced mailboxes offer the flexibility to manage multiple email accounts through a single Webmail interface. By consolidating your accounts, you can read and send messages from various internal or external addresses without needing to log in to separate profiles.
#### Before You Begin
This feature allows an **Enhanced mailbox** to add other accounts, whether they are **Basic** or **Enhanced**, into one view. Ensure you have the following details for the account you wish to add:
- The full email address and password.
- The IMAP (Incoming) and SMTP (Outgoing) server names.
### Step-by-Step Consolidation Guide
1. Log in to your **Webmail** account
2. Click the **User Icon (Settings)** in the top right navigation bar.
3. Select **My account** from the menu.
4. Navigate to the **E-mail Accounts & Aliases** tab in the left-hand sidebar.
5. Click the **Manage E-mail Accounts and Aliases** button.
6. **Add New Account**: In the Accounts window, click the **plus (+)** button in the top right corner.
[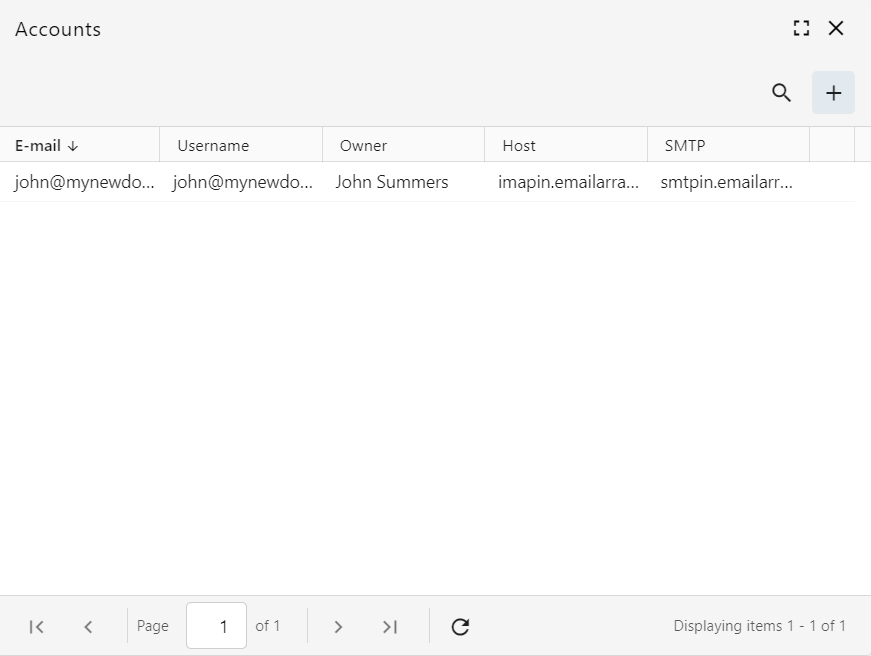](https://wikidev.emailarray.com/uploads/images/gallery/2026-03/webmail-add-a-new-email-account-click-on-plus-button.PNG)
7. **Configure the email account**:
- On the **Properties** tab, fill in the "**Name**" (how you want to appear to recipients) and the full "**E-mail**" address.
[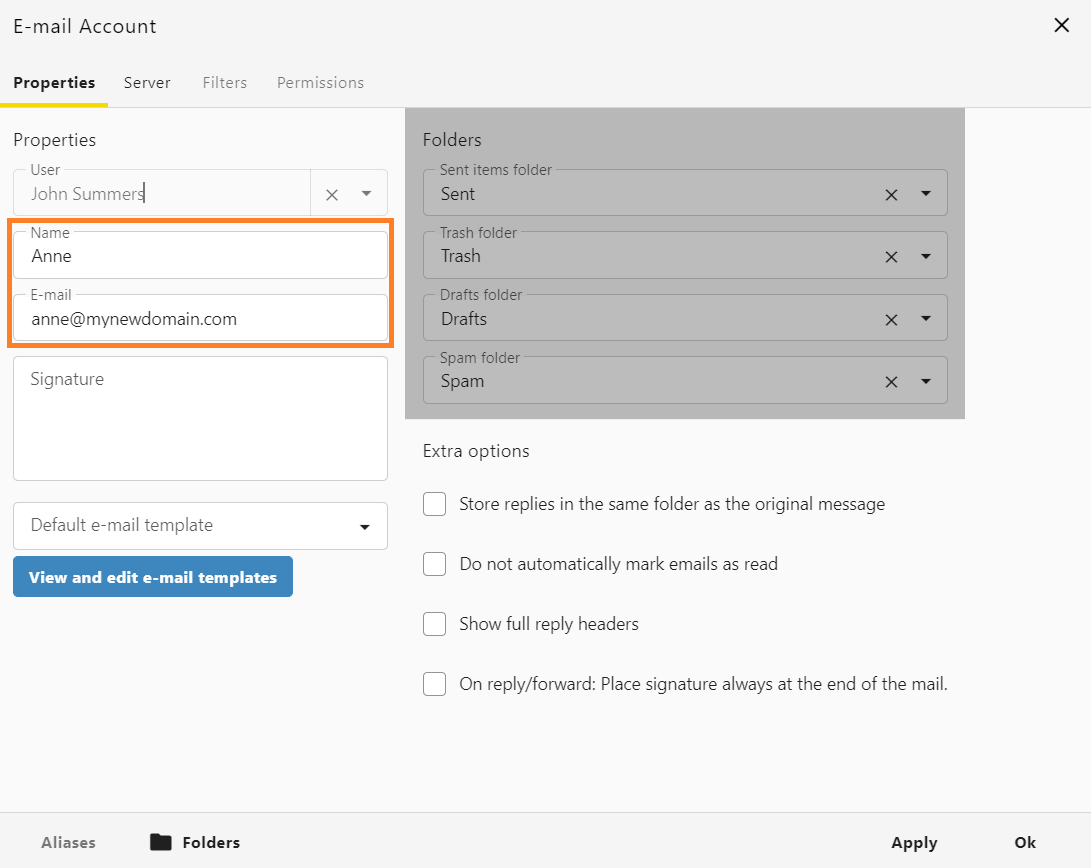](https://wikidev.emailarray.com/uploads/images/gallery/2026-03/webmail-add-a-new-email-account-properties-tab.PNG)
- Click the **Server** tab to enter the connection information:
[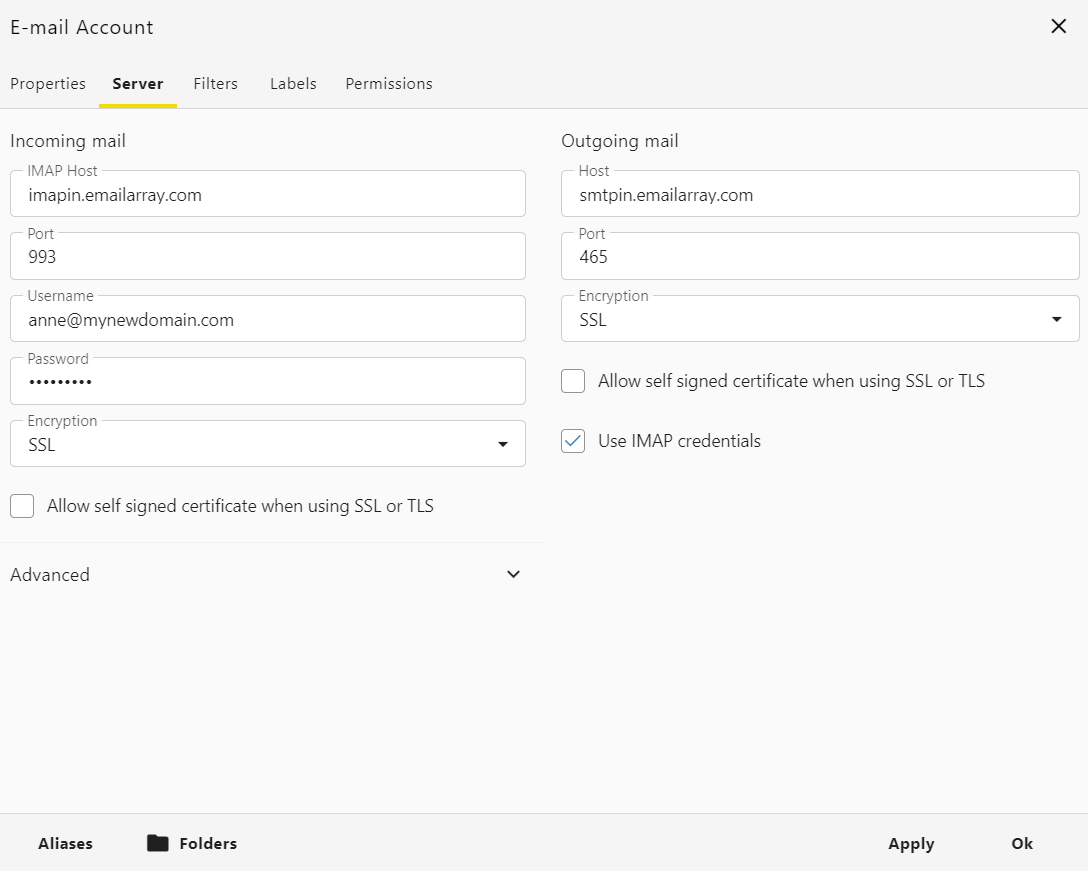](https://wikidev.emailarray.com/uploads/images/gallery/2026-03/webmail-add-a-new-email-account-server-tab-internal-mailboxes-with-ssl.PNG)
- **Encryption**: choose **SSL** for *Incoming mail* and *Outgoing mail*
- **Internal Accounts (Hosted with us)**:
- `imapin.emailarray.com` for the IMAP Host
- `smtpin.emailarray.com` for the SMTP Host
- You may also use the standard `imap.emailarray.com` and `smtp.emailarray.com`.
- **External Accounts**: Enter the specific IMAP and SMTP server names provided by your external email provider.
- **Credentials**: Enter the **username** and **password** for the secondary account.
- For *Outgoing mail* settings, please check **Use IMAP credentials**.
8. **Save Changes**: Click **Apply** and then **Ok** to finalize the setup.