
Set Branding
The Admin Panel allows you to personalize the name, primary color and logo being displayed in the Webmail.
Need specific branding for different clients? You can override these global settings at the domain level. If you want a specific domain to have its own unique logo and colors, just head over to Admin Panel > Domains > Branding.
To update the branding for your account
- Go to the Admin Panel
- Log in using your Admin username and password.
- Click on Branding in the menu bar
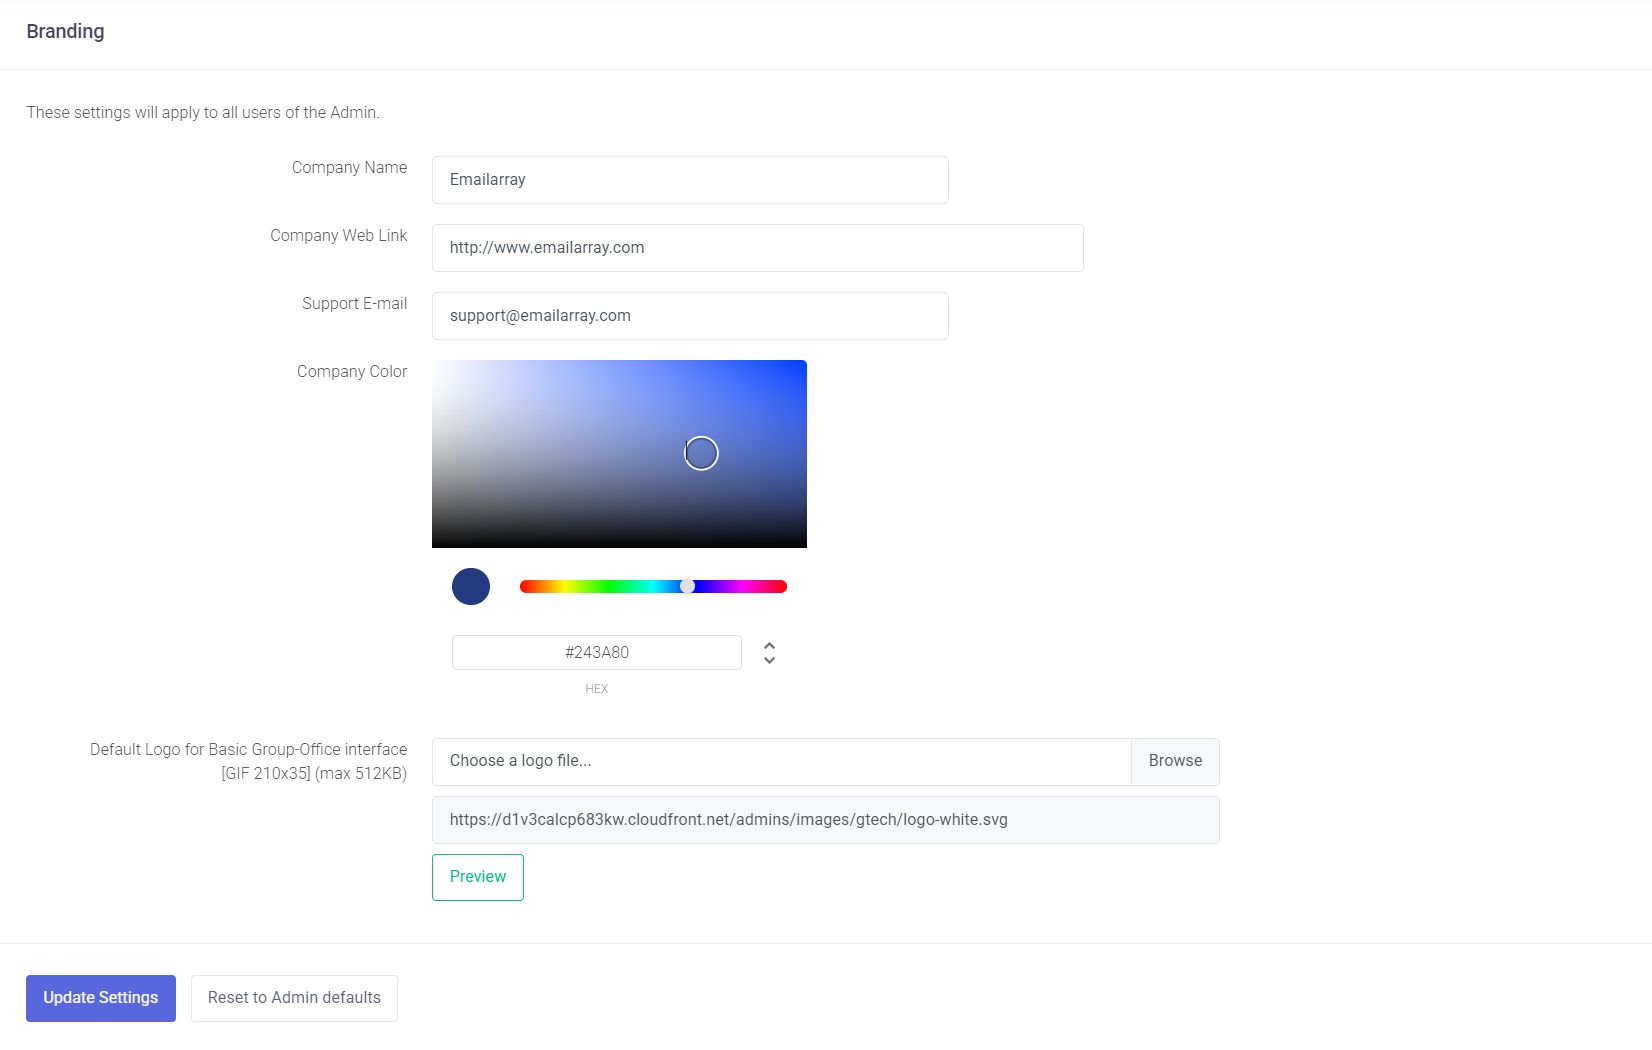
- Update the fields
-
Company Name: Enter your company name - it will be displayed as the Webmail page title in the browser
-
Company Web Link: Enter the link to your website
-
Support e-mail: Enter the e-mail address used as the sender for Spam Reports
-
Company Color: Change the primary color for the Webmail to customize the look and match your own branding guidelines
-
Upload Your Logo: Click the upload button to select a logo file directly from your computer.
Note on Size: While there is no longer a strict size limitation for uploads, your logo will be displayed within a 210px x 35px section in the Webmail. For the best visual results, we recommend using an image that respects these ratios.
-
- Click on the Update Settings button to save the changes.
Managing Defaults and Resets
If you are testing new branding or want to start over:
-
Reset to Admin Defaults: Use this button to clear current custom values and return the branding to the system defaults. You can then enter new branding information as needed.