
Setup Email on iOS
If you have an Enhanced mailbox, you can use ActiveSync, to not only sync emails, but also contacts and calendars.
Automatic Email Setup for iOS
The easiest way to setup your mailbox on iOS is by downloading your iOS profile from the Webmail. The profile will include email, calendars and contacts if you have an Enhanced mailbox, or just the email if you have a Basic mailbox. Alternatively, you can use the steps for manual setup.
Here are the steps for automatic email setup on your iOS device:
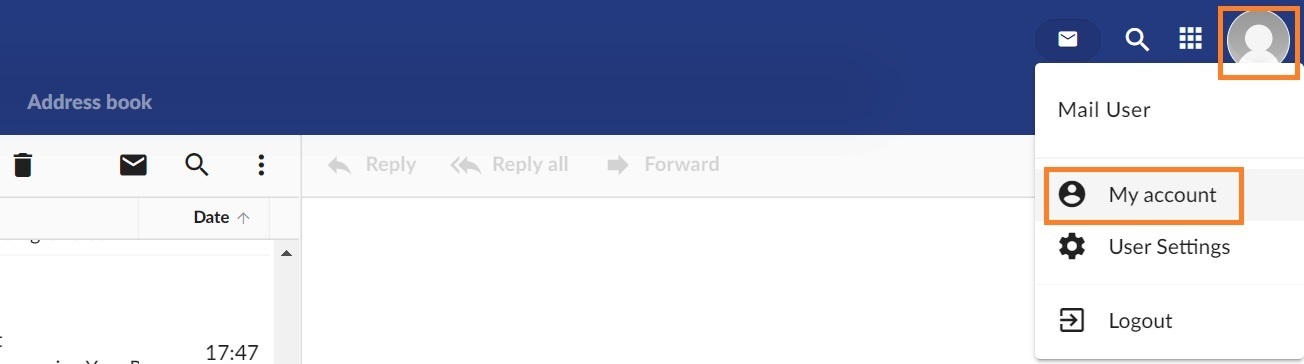
- From your iOS device login to your Webmail.
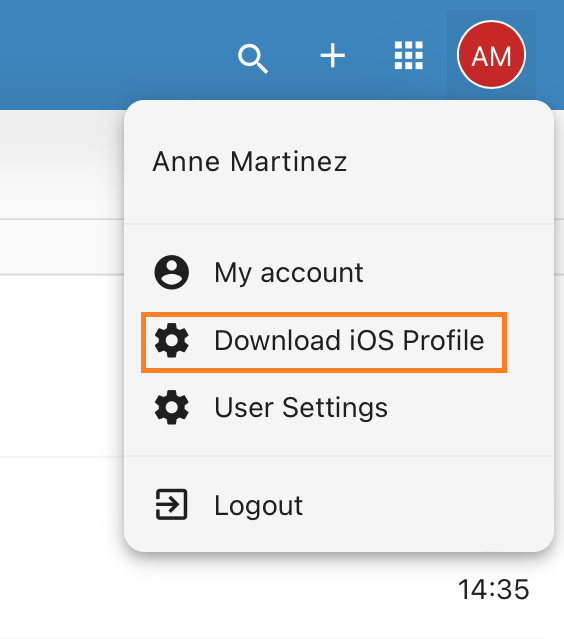
- Click on your profile image and click on Download iOS Profile from the dropdown menu. This option will only appear if you are logged in from an iOS device.
- A pop-up message will appear with the message Configuration profile available - Continue downloading? Click on the Continue button or confirm the download.
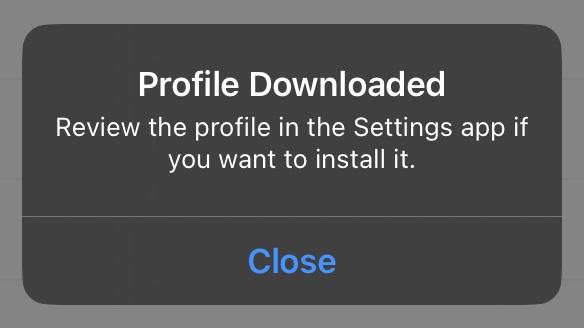
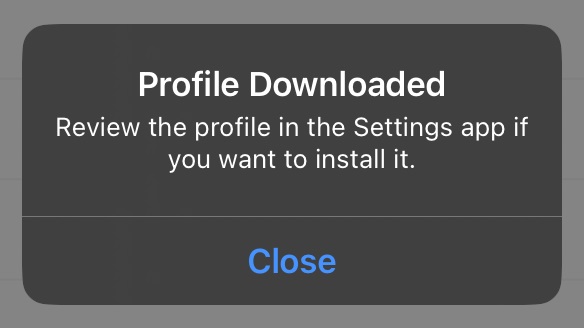
- After the profile is downloaded, a confirmation pop-up will show with the message Profile Downloaded - Review the profile in the Settings app if you want to install it.
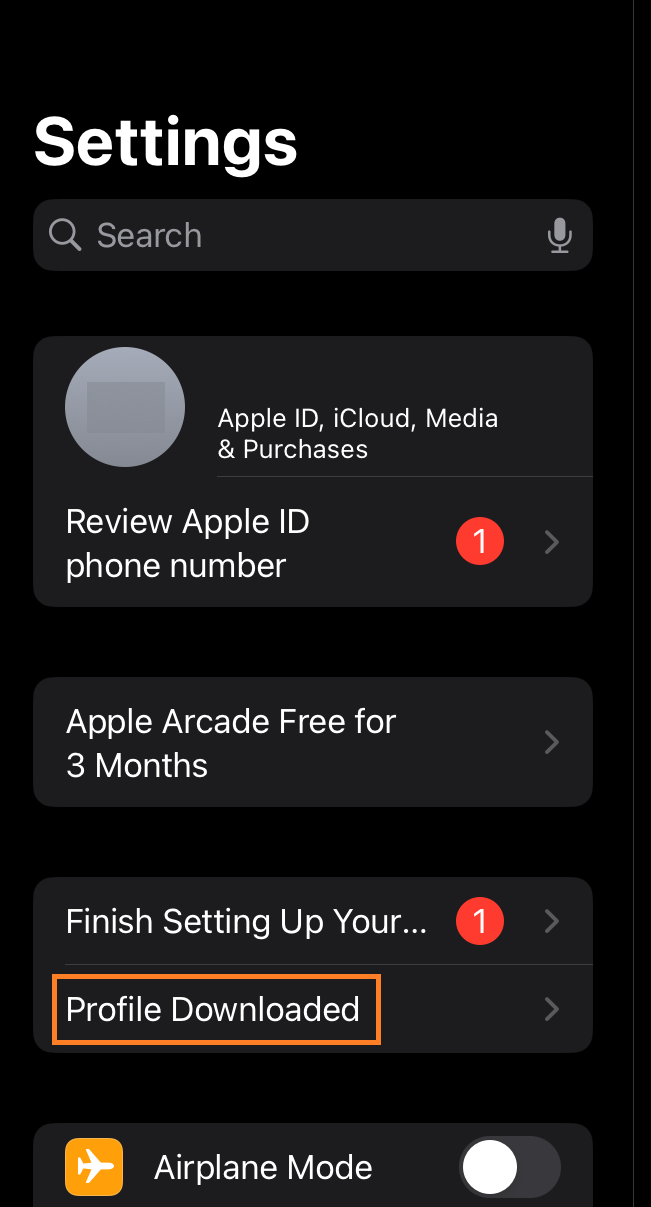
- Go to your iOS device Settings and you should see a new menu item on the left hand with the text Profile Downloaded. Click on it.
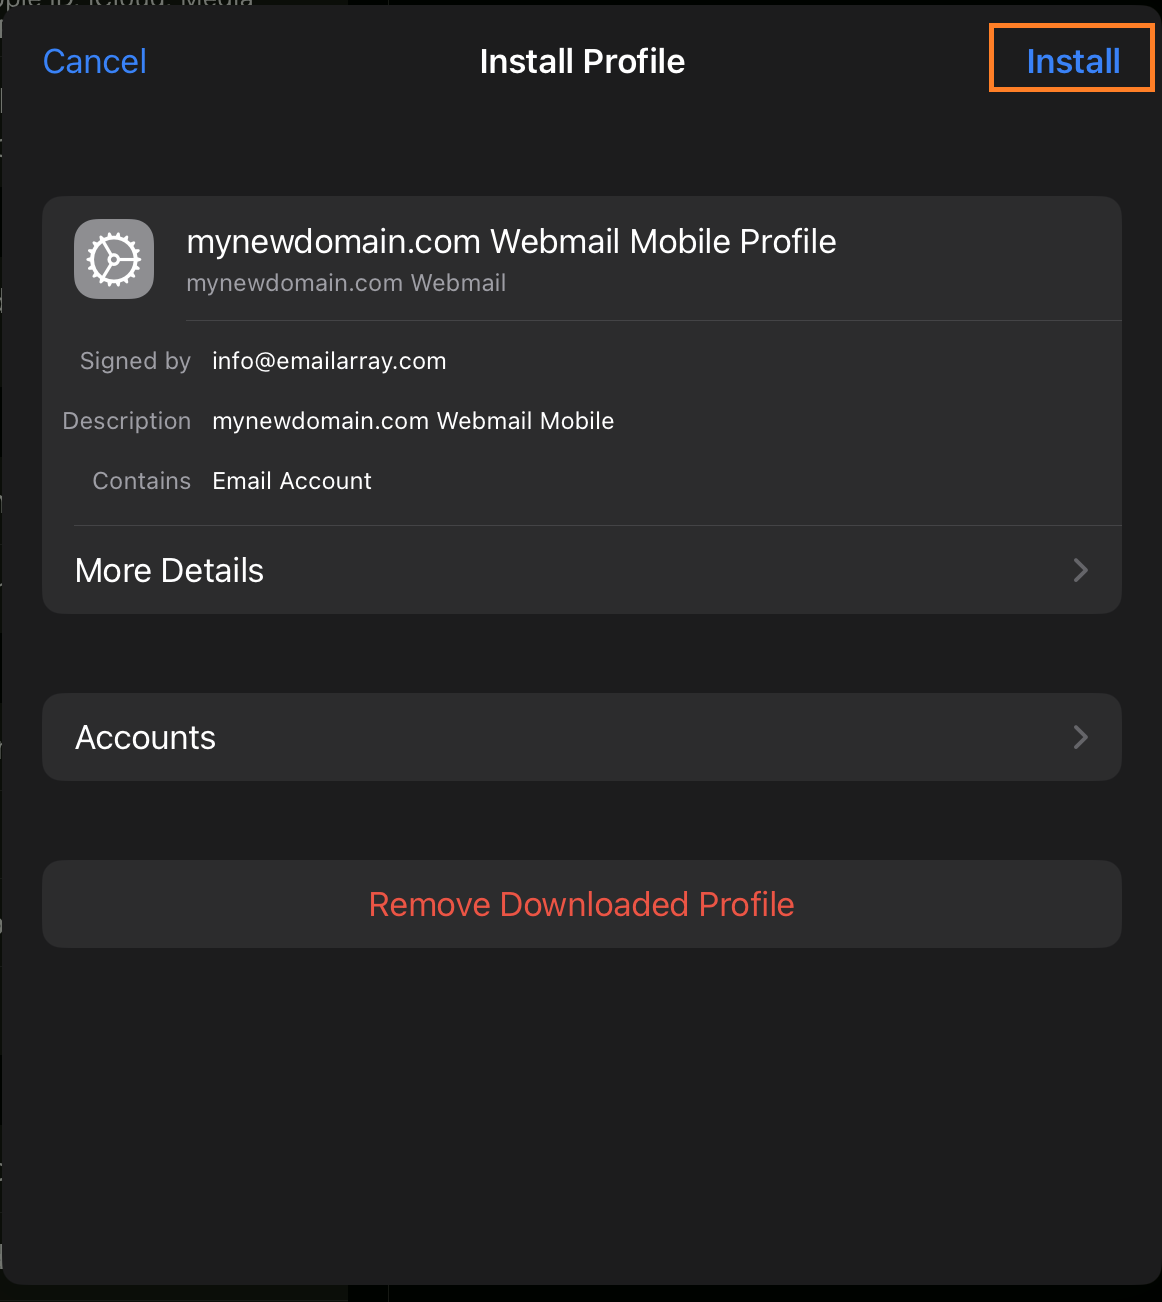
- A new window with Install Profile will show. Click on the Install button.

- Next, depending on your mailbox type, it will ask you to enter your mailbox password for Incoming Mail Server. Enter your mailbox password.
- And you're all done! The mailbox has been added to your iOS device and you can check the emails using the email app.

Manual IMAP Setup for iOS
Here's the step by step for setting up an IMAP account on iOS.
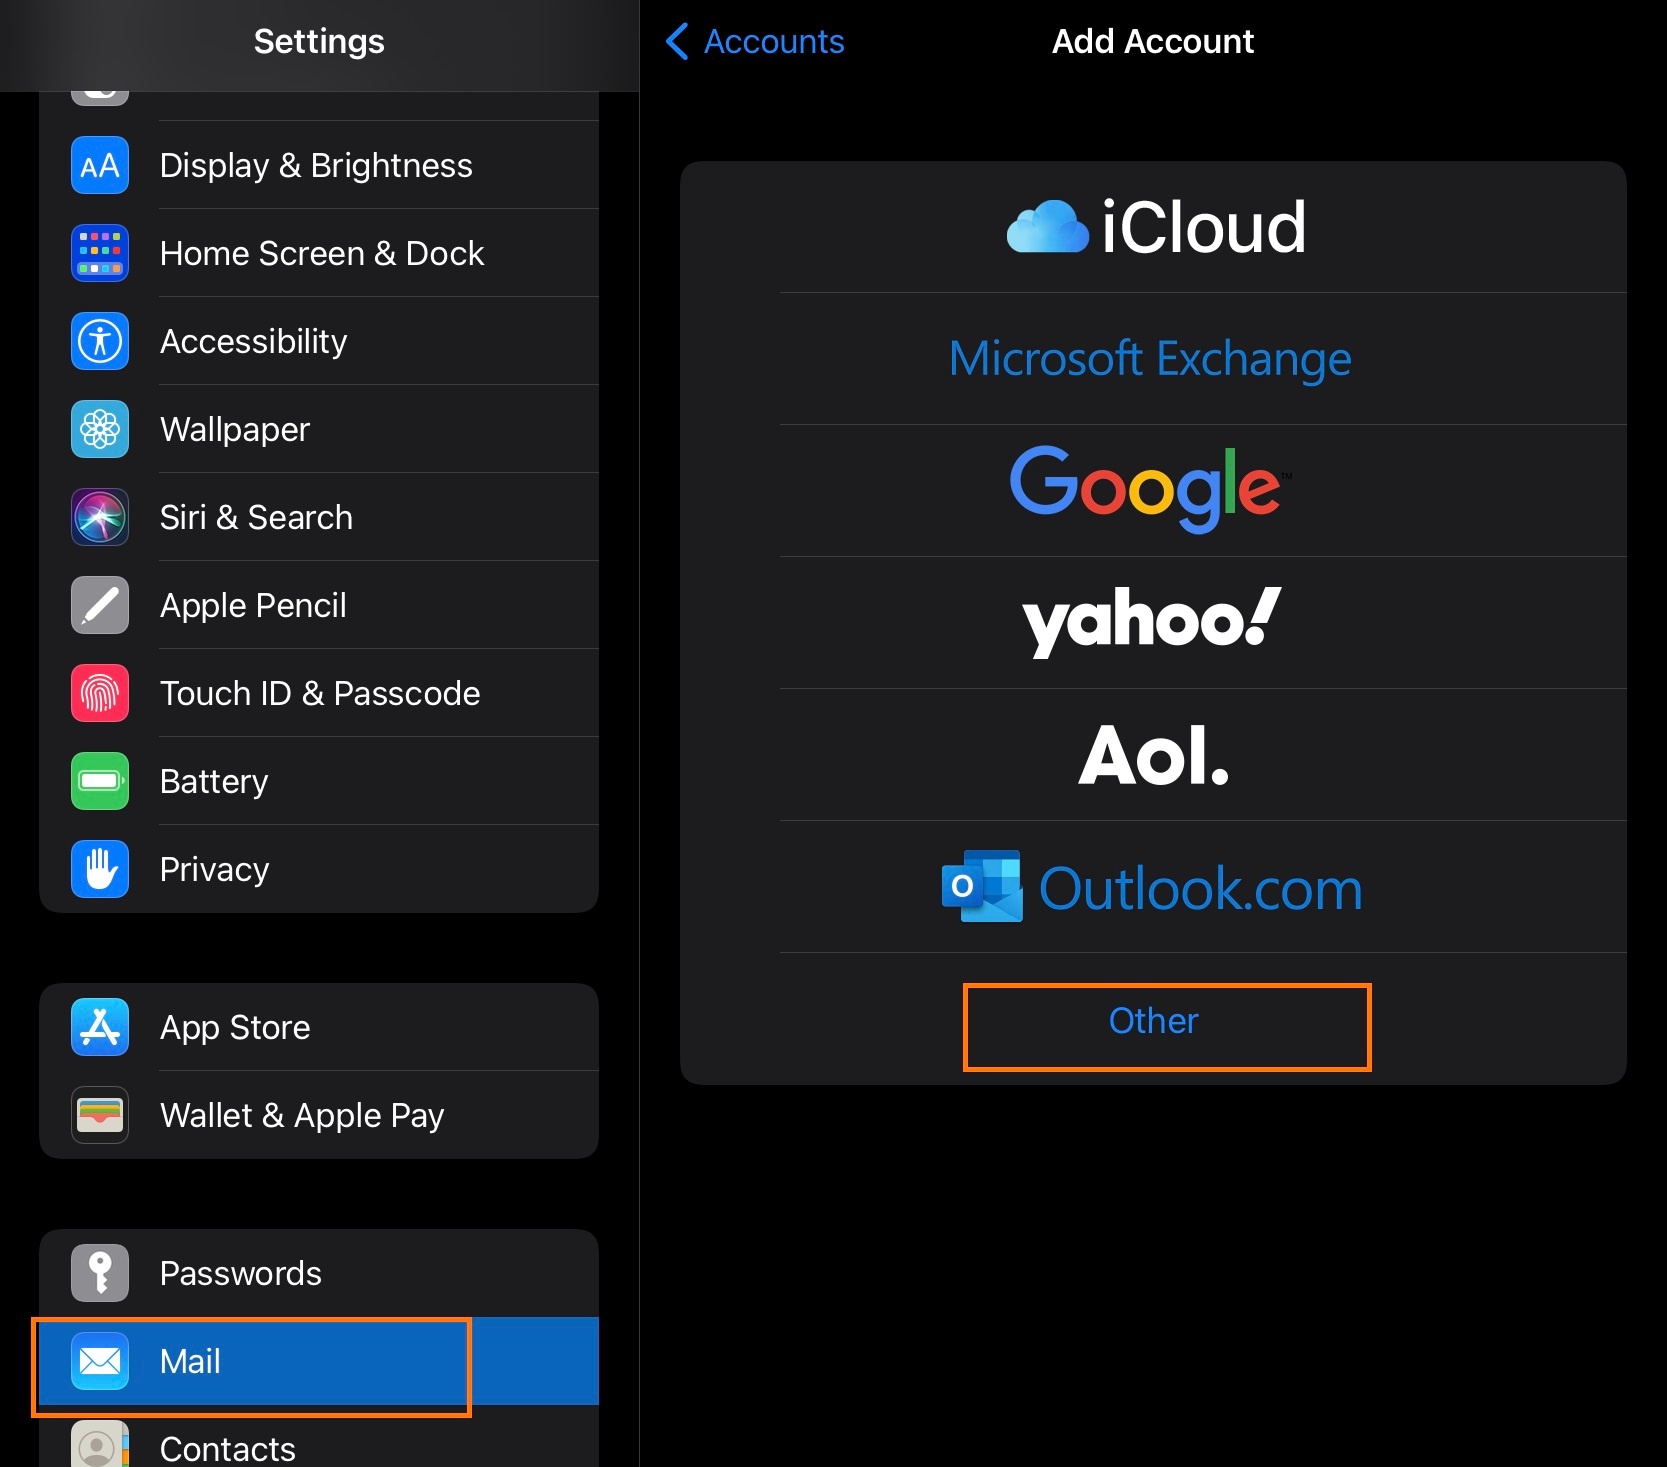
- Click on Settings
- Click on Mail, Contacts, Calendars
- Click on Add Account
- Click on Other
- Click on Add Mail Account
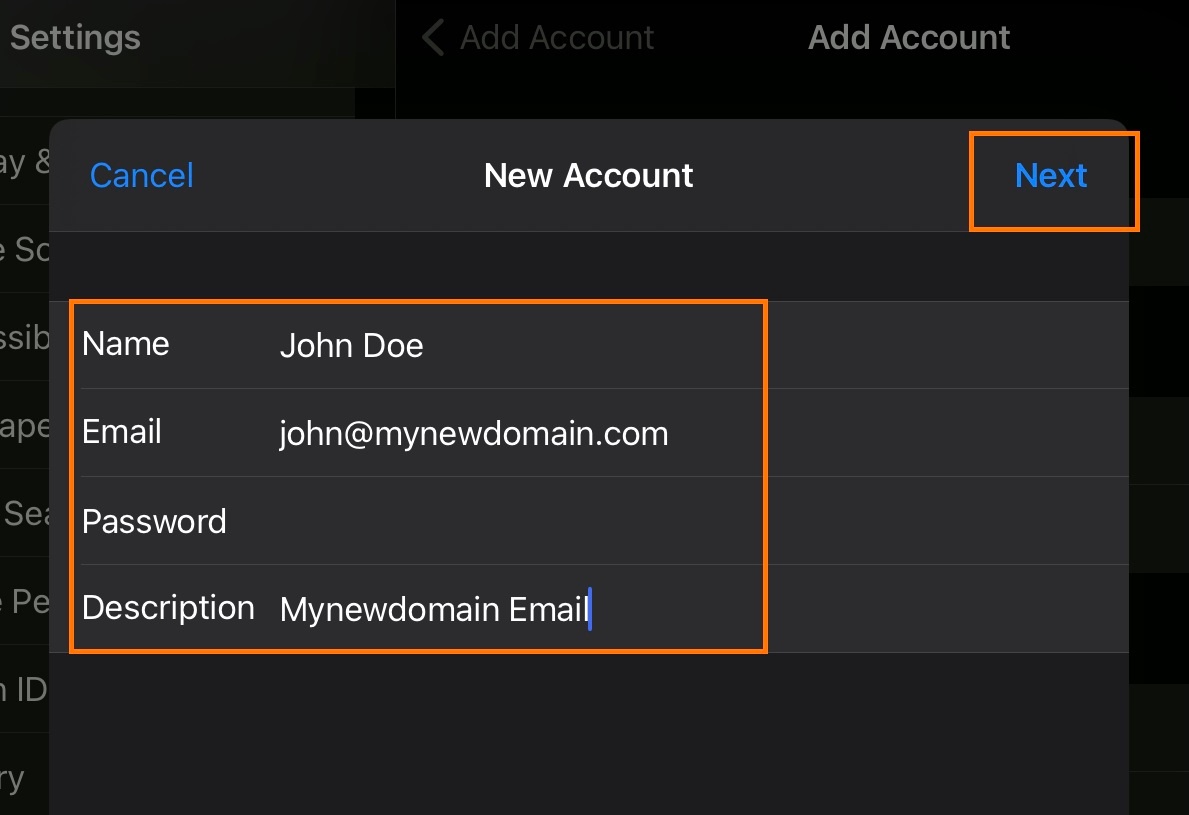
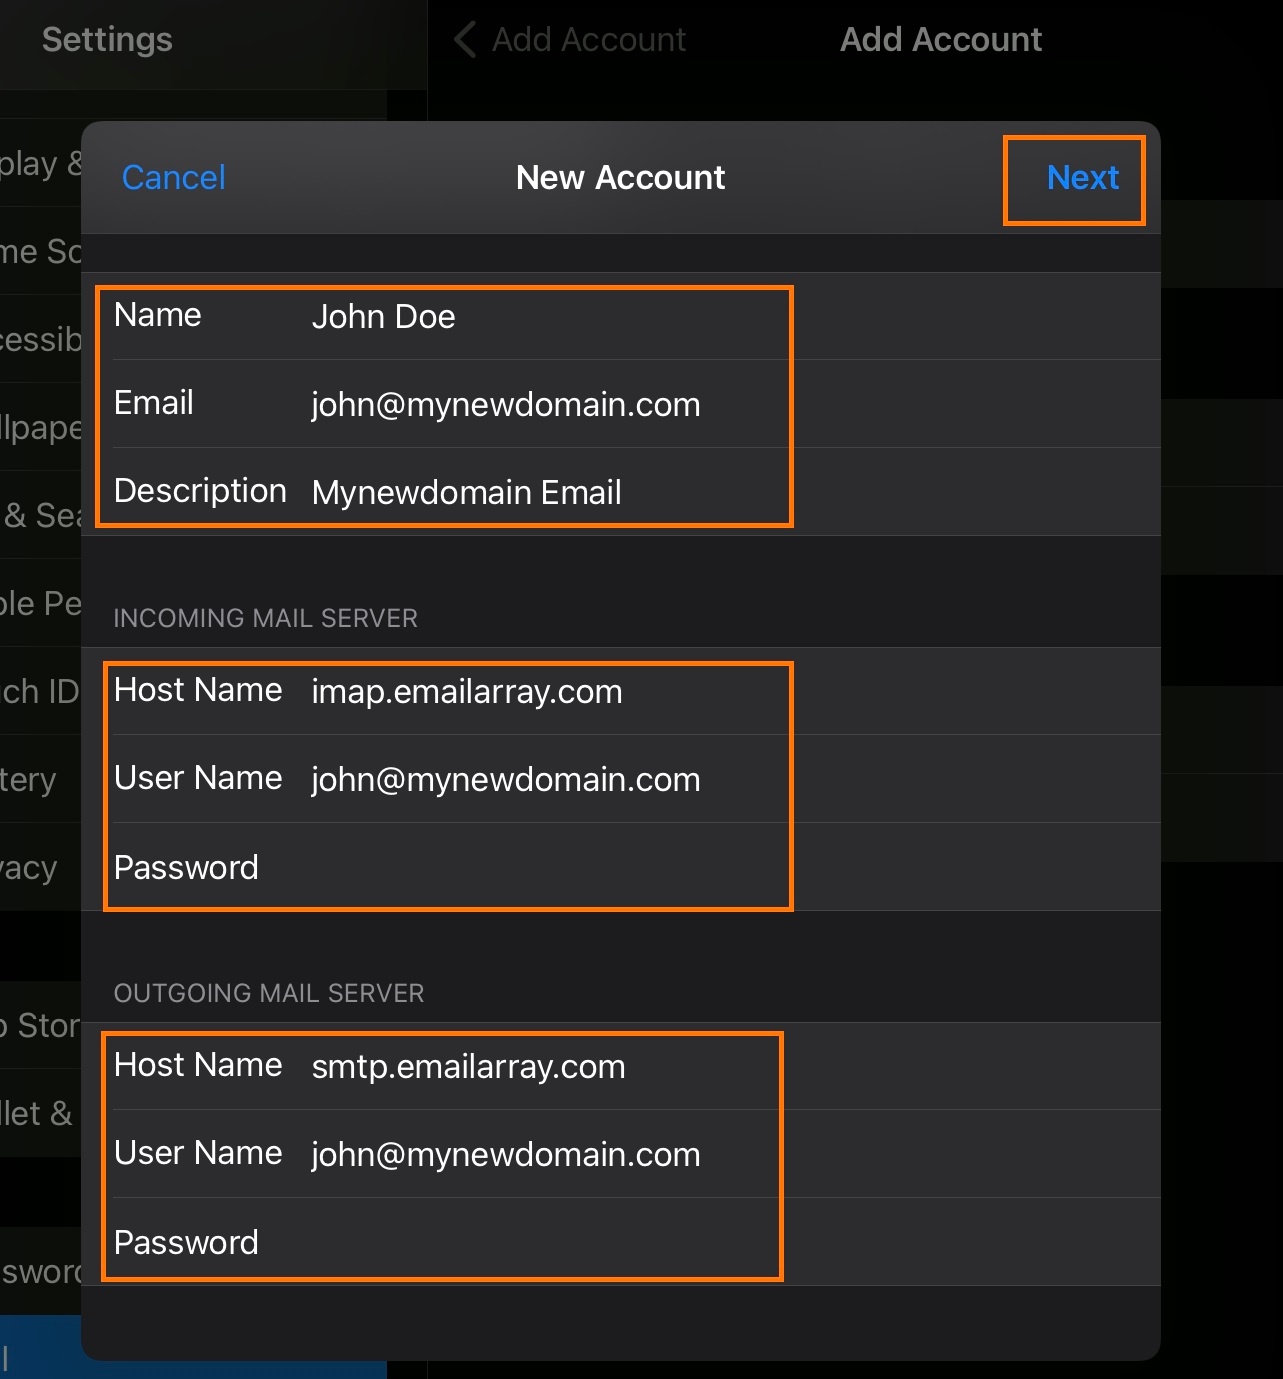
- Inform the following
- Name - The display name you want on your outgoing email
- Email - Your full email address
- Password - Your email password
- Description - A description for your account
- Click on Next
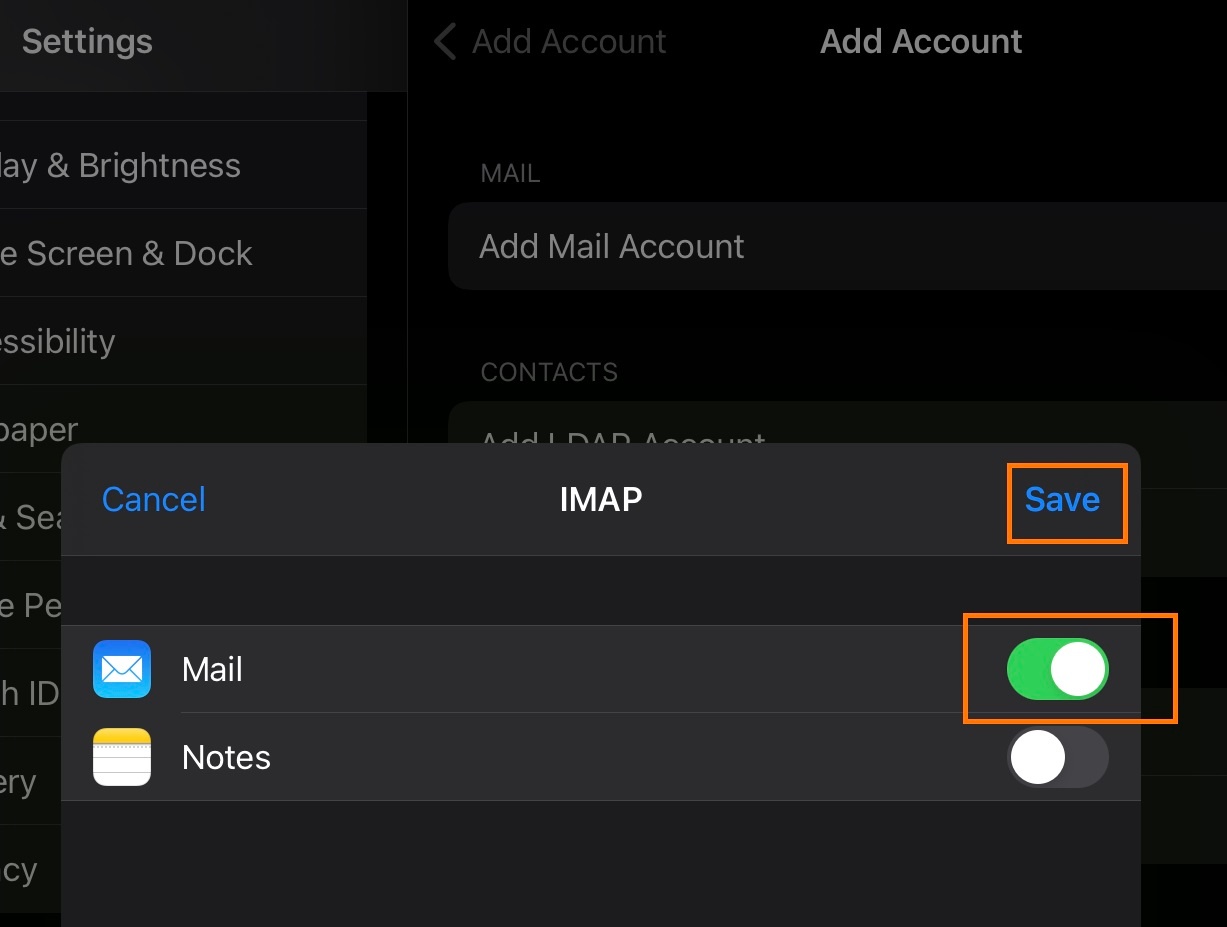
- IMAP is selected by default
- Under Incoming Mail Server, enter as below:
- Host Name -
imap.emailarray.com - User Name - Your full e-mail address
- Password - Your password
- Host Name -
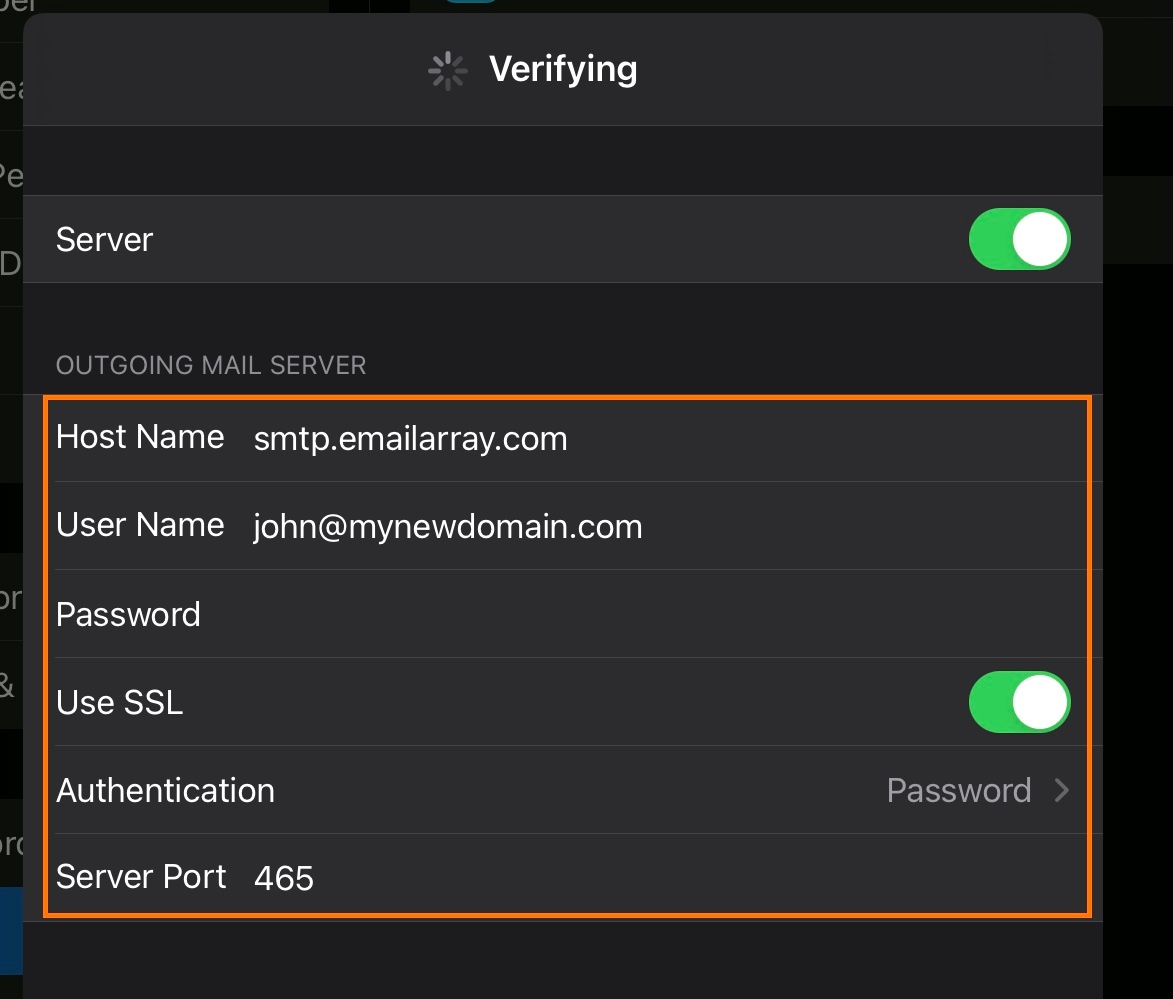
- Under Outgoing Mail Server, enter as below:
- Host Name -
smtp.emailarray.com - User Name - Your full e-mail address
- Password - Your password
- Host Name -
- Click on Next
- Click on Save
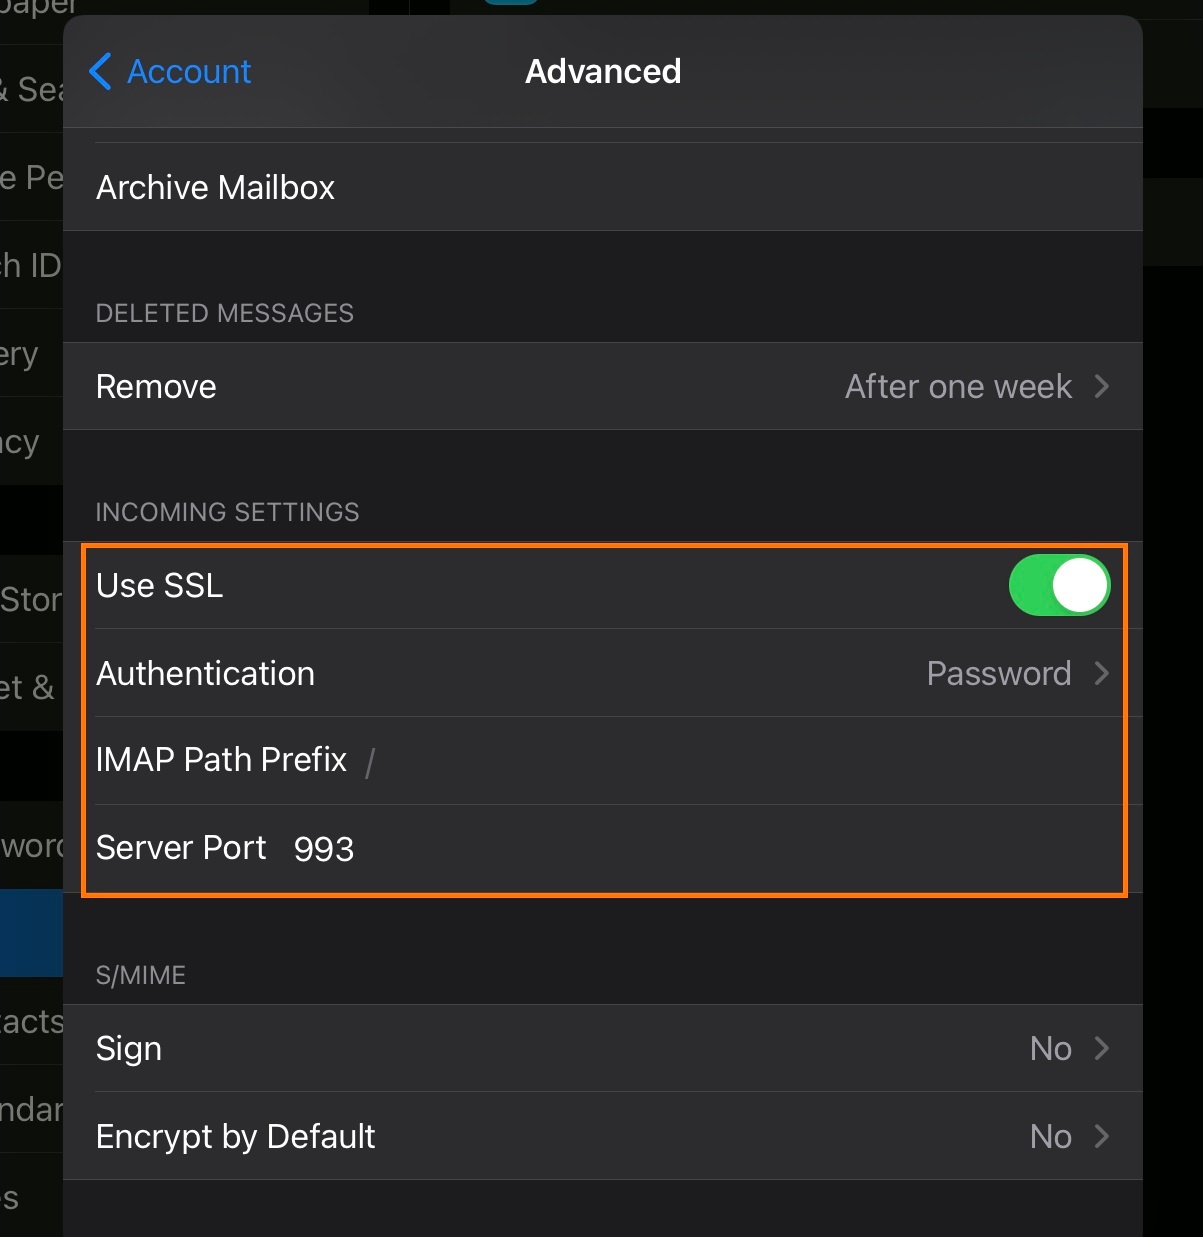
Note that IMAP is preferred over POP. If you want to set up the account as POP, you have to set it up manually. IMAP is a protocol made to support several devices accessing one same account, with all folders synced at our server, which also guarantees that our backups will be executed.
Example setup for iOS:
 |
 |
 |
 |
 |
 |