
Sync Contacts and Calendars using CalDAV and CardDAV
How to sync your calendar and contacts across all your devices.
With CalDAV and CardDAV, you can keep your schedule and address book perfectly in sync across smartphones, tablets, and desktop applications. These protocols allow you to use your favorite native apps (like the built-in calendar on iOS or Android) rather than being forced to use a specific web interface.
Note: Please ensure your email account is an Enhanced mailbox - which supports mobile synchronization features - before beginning.
Step 1: Get Your Server URLs
You will need a specific URL for your Calendar and another for your Contacts. You can find these directly in your webmail interface:
-
Log into your Webmail.
-
Click on your Profile Picture/Icon in the top corner.
-
Select My Account.
-
Navigate to the Synchronization tab on the left-hand menu.
-
Copy the unique links found under CalDAV URL and CardDAV URL.

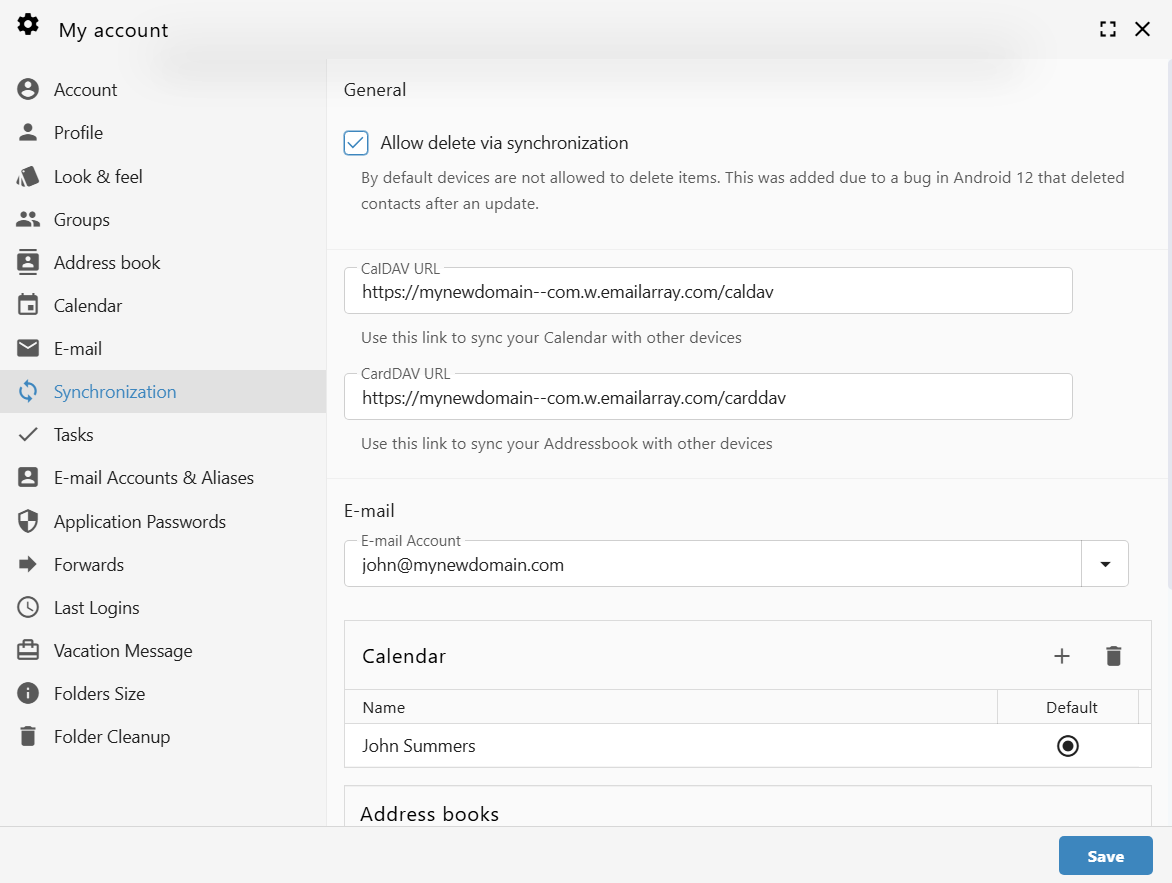
The URLs generally follow this format:
-
CalDAV:
https://yourdomain--com.w.emailarray.com/caldav -
CardDAV:
https://yourdomain--com.w.emailarray.com/carddav
Step 2: Add a New Account to Your Device
The process is similar across most platforms (iOS, Android, macOS, or Thunderbird).
-
Open your device's Settings or your preferred Calendar/Contact app.
-
Find the option to Add Account.
-
Select Other or Advanced Setup (do not select Google, Outlook.com, or iCloud).
-
Choose CalDAV (for Calendars) or CardDAV (for Contacts).
Step 3: Enter Connection Details
When prompted for account details, use the Manual or Advanced setup option:
-
Username: Your full email address (e.g., john@mydomain.com).
-
Password: Your email account password.
-
Server URL: Paste the specific URL you copied from your webmail in Step 1.
-
Description: Give the account a name, such as "Work Calendar" or "My Contacts."
Click Finish or Save to complete the setup. Your device will now begin the initial synchronization.