
ActiveSync / EAS - Sync Email, Calendars and Contacts
Sync your email, calendar, and contacts in real-time.
ActiveSync is the most powerful way to connect your mailbox to your mobile devices and desktop apps. Unlike standard email setups, ActiveSync provides a "push" connection that synchronizes your email, calendar, contacts, and notes instantly across all your devices. When you delete an email on your phone, it’s gone from your computer; when you add a meeting to your calendar, it appears everywhere.
Note: ActiveSync is a premium feature available for Enhanced mailboxes.
Pro Tip: If your configured Autodiscover in your domain’s DNS settings, you can often skip the manual server entry. Simply enter your email and password, and the device will find the correct server settings automatically.
Pre-requisites
Before starting, ensure you have the following details ready:
-
Your Full Email Address: (e.g., john@mydomain.com).
-
Your Password: The same password you use for webmail.
- You have added the Autodiscover DNS record for your domain to simplify the configuration. Otherwise, you can use the manual setup.
Step 1: Add a New Account
-
Open the Settings app on your smartphone or tablet.
-
Navigate to Mail or Accounts and select Add Account.
-
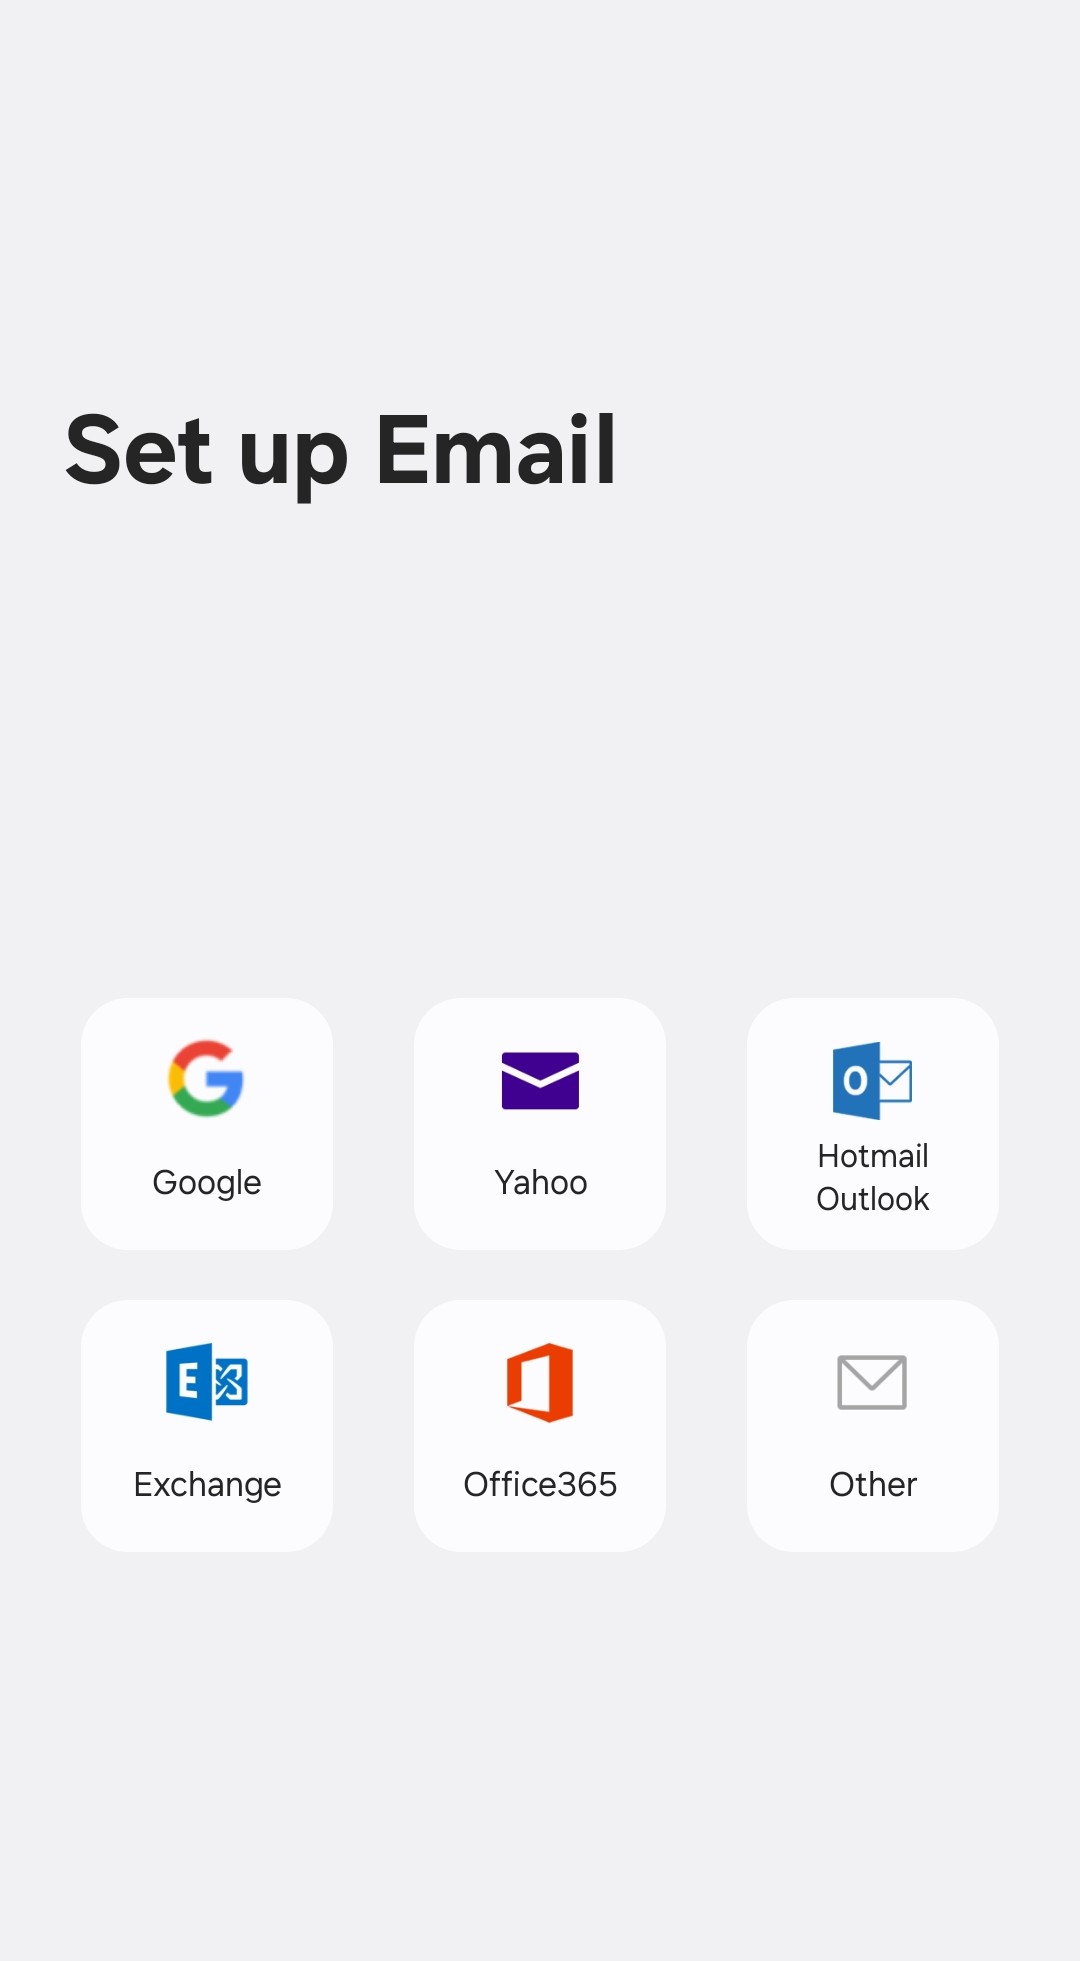
From the list of account types, select Exchange, Microsoft Exchange, or ActiveSync.
Step 2: Enter Account Details
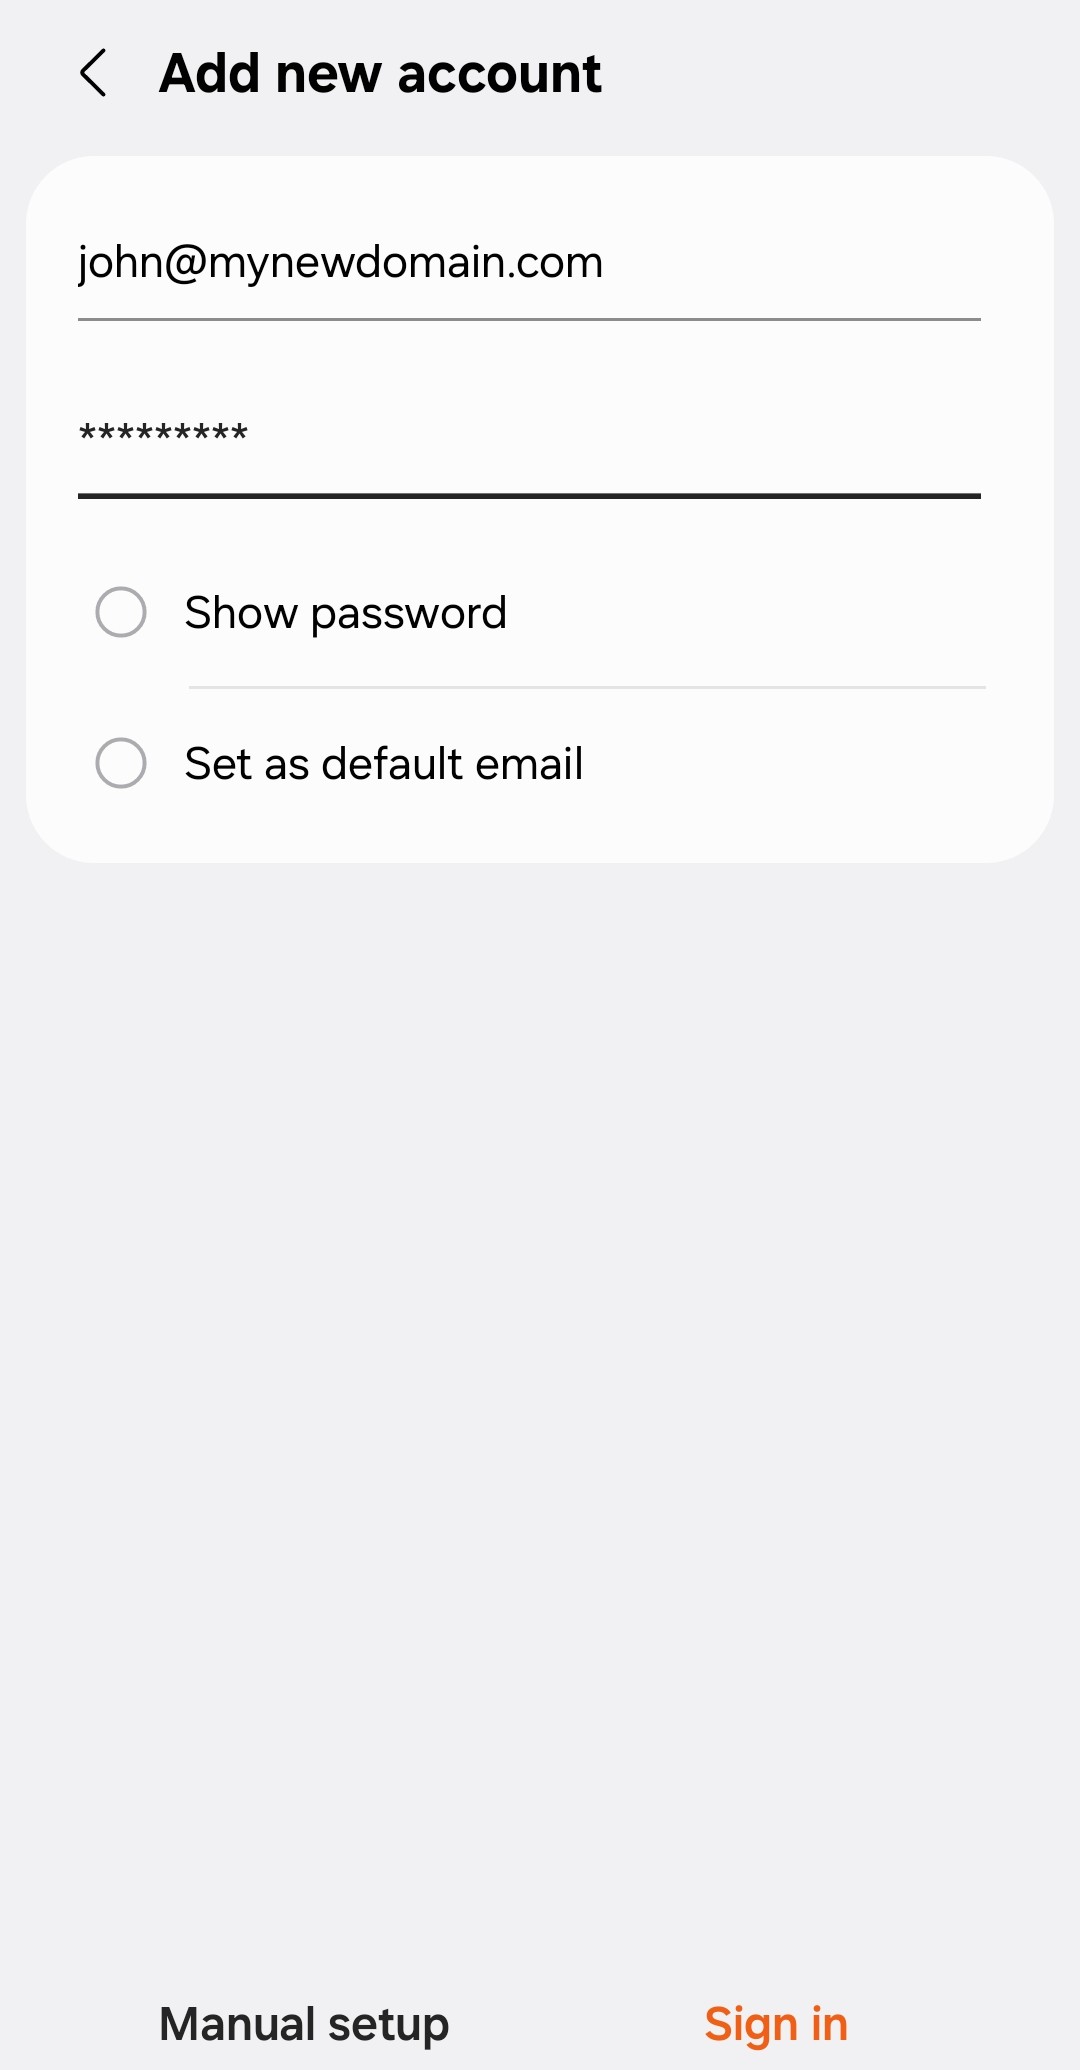
Simply enter your email and password, and the device will find the correct server settings automatically. Click on Sign In or Finish.
Example setup on Android with Autodiscover:
 |
 |
Manual Setup
Step 1: Add a New Account
-
Open the Settings app on your smartphone or tablet.
-
Navigate to Mail or Accounts and select Add Account.
-
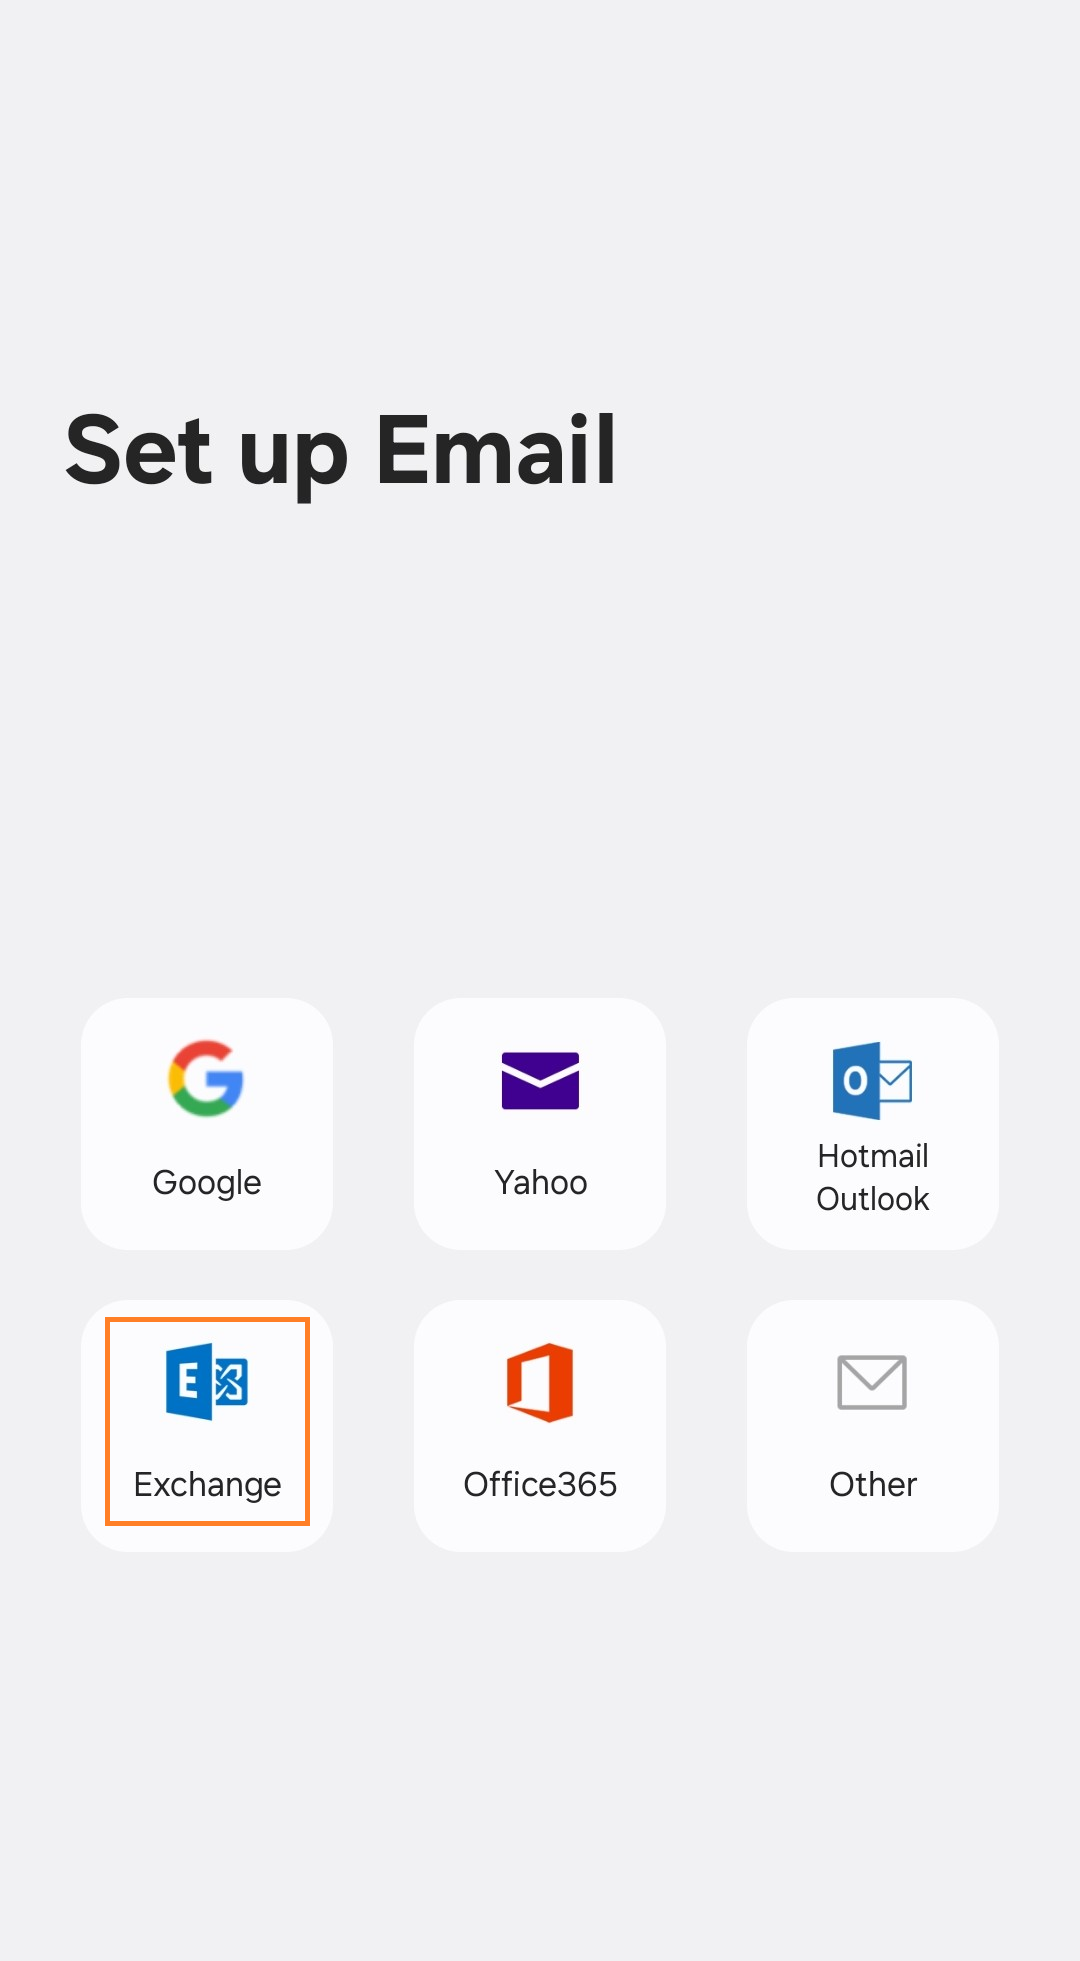
From the list of account types, select Exchange, Microsoft Exchange, or ActiveSync.
Step 2: Enter Account Details
Enter your email and password. Click on Manual Setup.
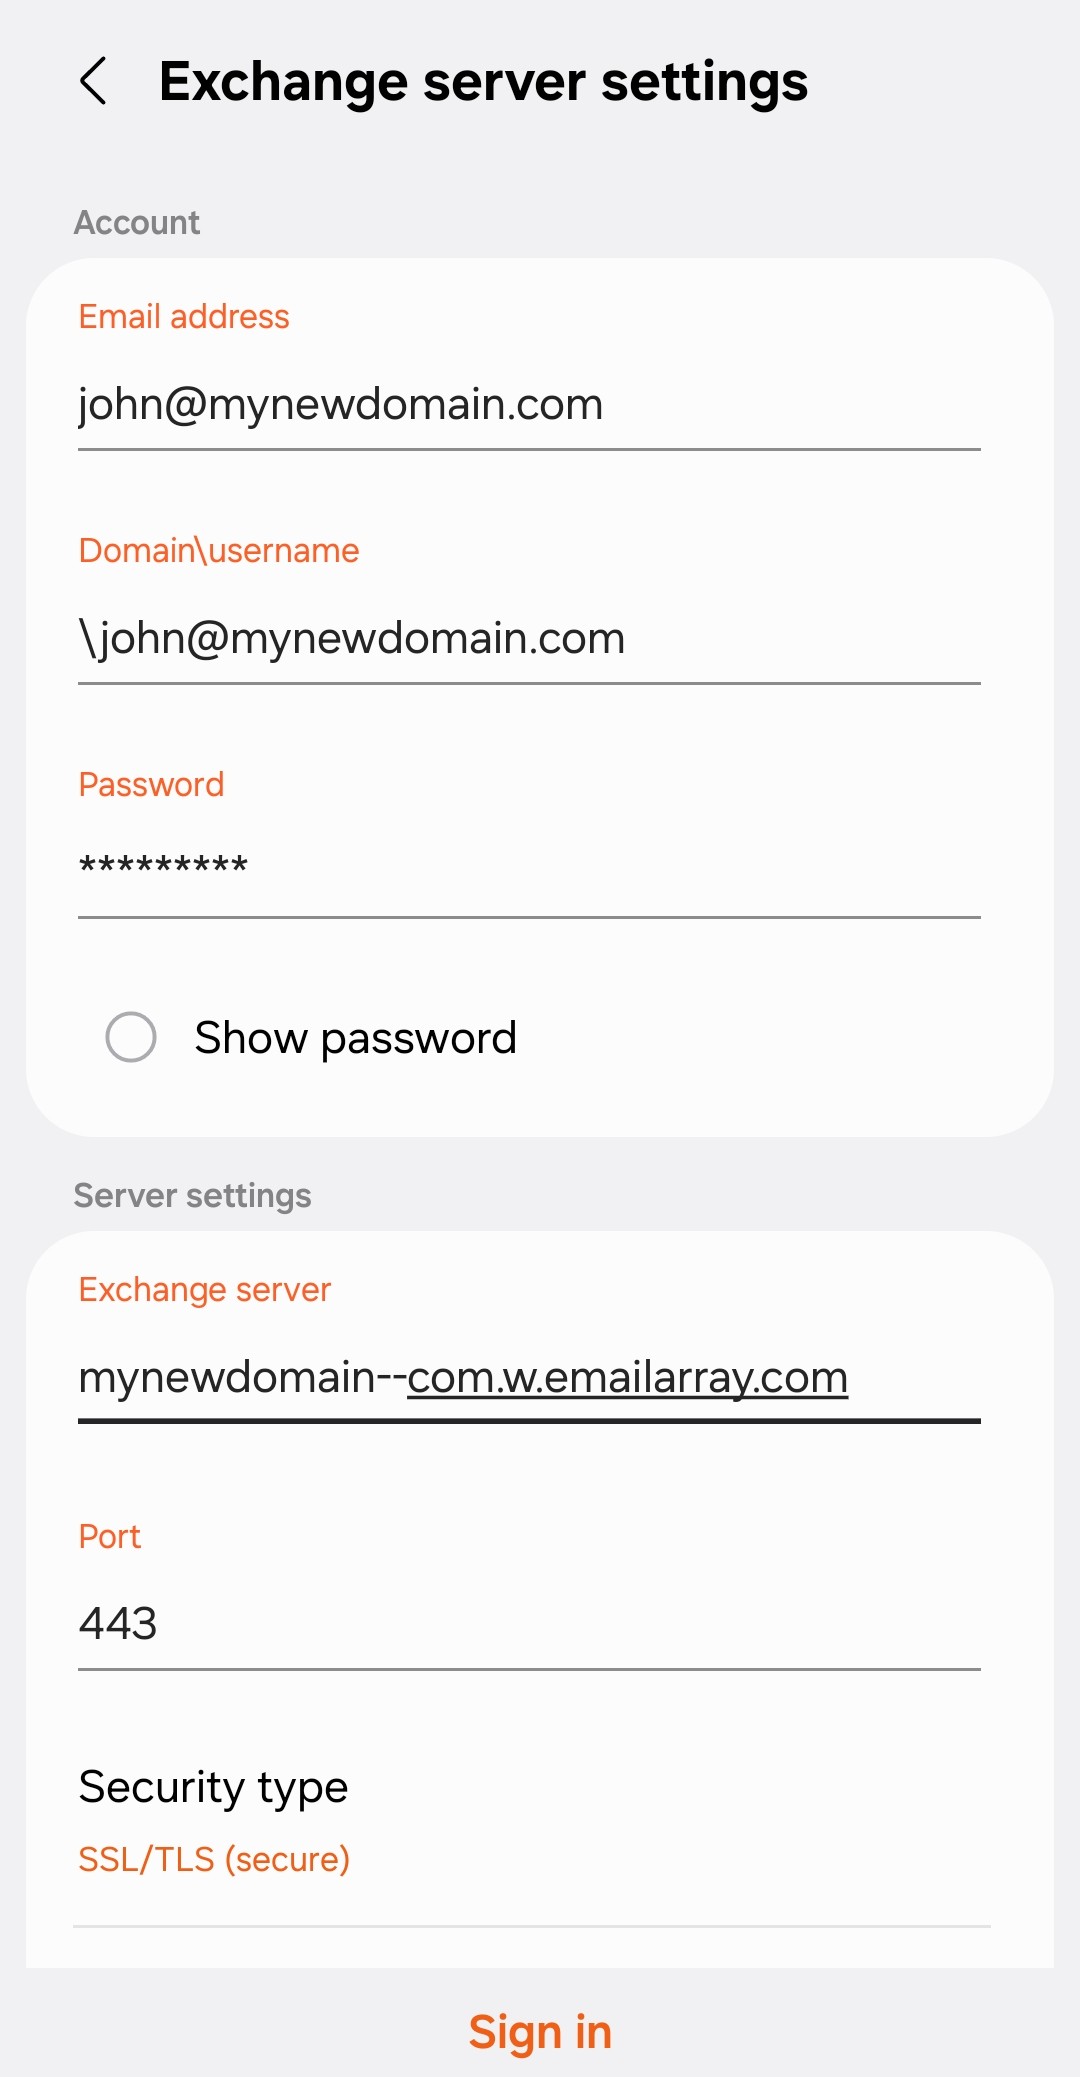
Step 3: Enter Server Settings
- Server: Use your domain name in this format:
yourdomain--com.w.emailarray.com.
Server Address Formula To create your server address, take your domain name and:-
Replace any dots (.) with two dashes (--).
-
Add .w.emailarray.com to the end.
Example: If your email is
john@my-company.com, your server is:my-company--com.w.emailarray.com. -
-
Domain: Leave this blank (unless your specific device requires it).
-
Username: Your full email address.
-
Password: Your email account password.
-
SSL: Ensure "Use SSL" is turned ON.
Click on Sign In, Continue or Finish.
Example Setup on Android for Manual Setup:
 |
|
 |