Setup Email on eM Client (IMAP)
eM Client provides a modern, intuitive interface for managing your communications. This guide will walk you through setting up your mailbox using Automatic Setup (recommended) or manual configuration.
As with our other desktop guides, we recommend using IMAP with SSL/TLS to ensure your data stays synchronized across all your devices and is protected by our professional backups.
Syncing Other Services: eM Client is a full groupware suite. If you have an Enhanced mailbox, you can also add your Calendar (CalDAV) and Contacts (CardDAV) directly through the setup wizard to keep your professional life in sync.
Option 1: Automatic Setup (Recommended)
If your DNS is configured with Autodiscover, eM Client can automatically detect your server settings in seconds.
-
Start the Wizard: Open eM Client and go to Menu > Accounts. Click on Add Account.
-
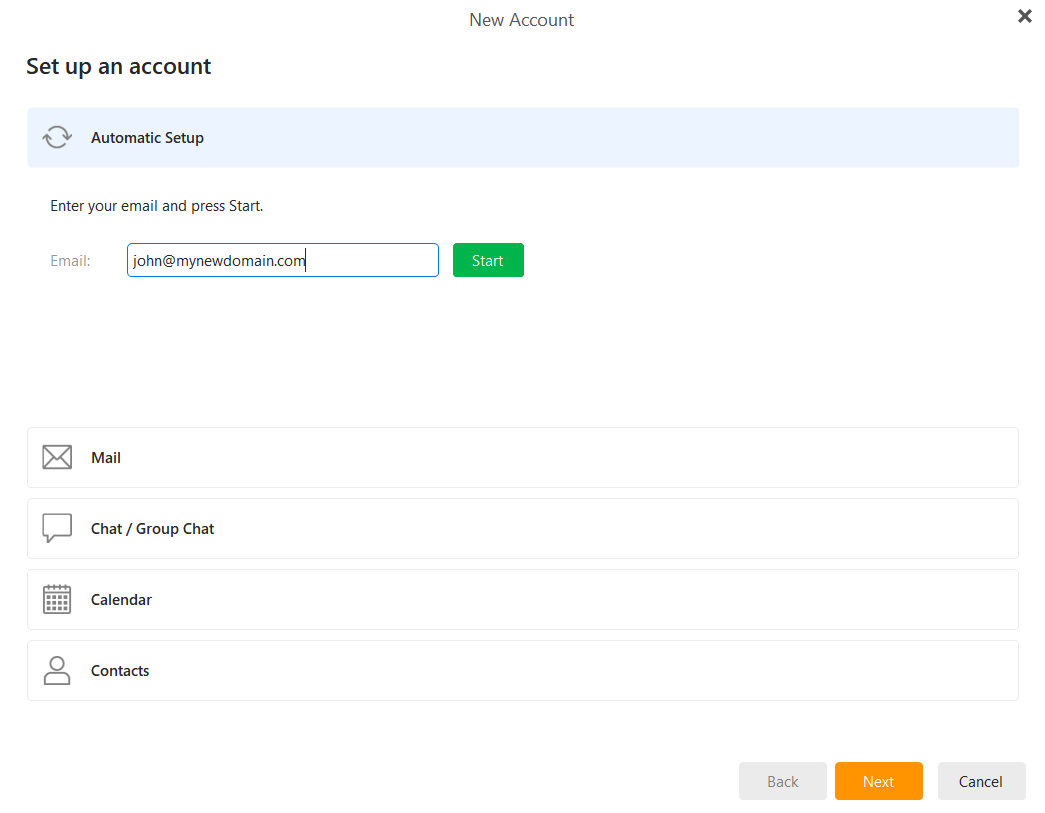
Enter Email: In the Automatic Setup section, enter your full email address and click Start.

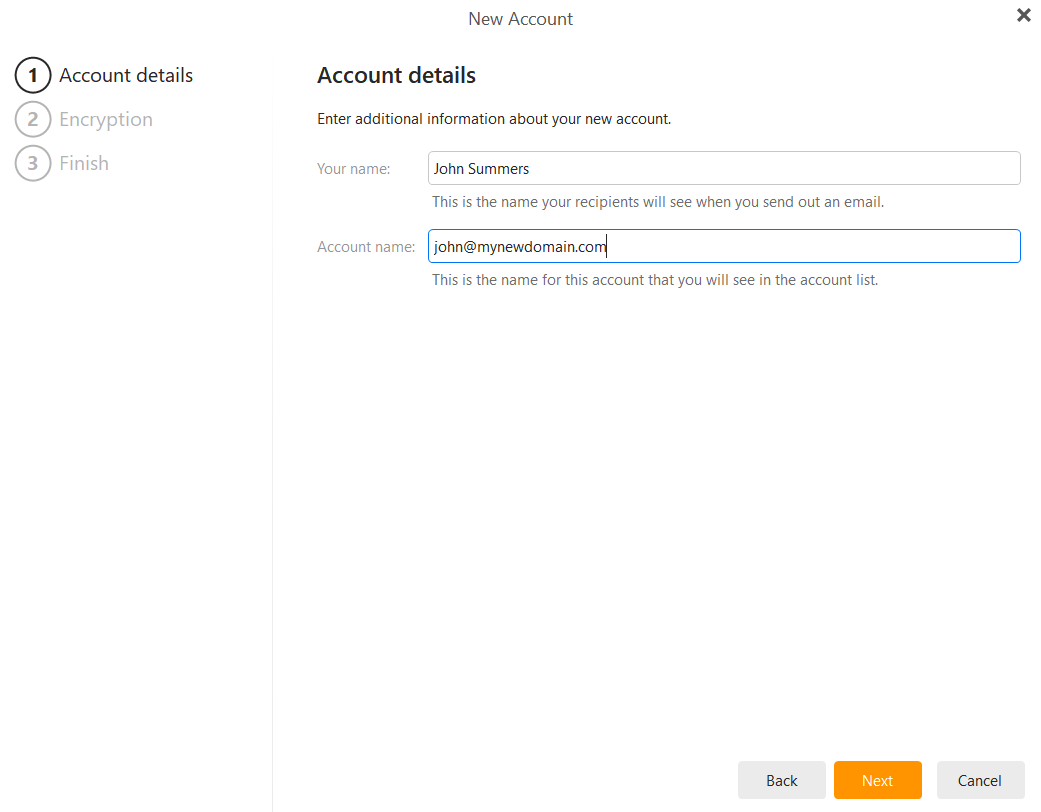
- Account Details: Enter the name you want recipients to see when you send an email (e.g., "John Smith") and an account name for your internal list. Click Next.

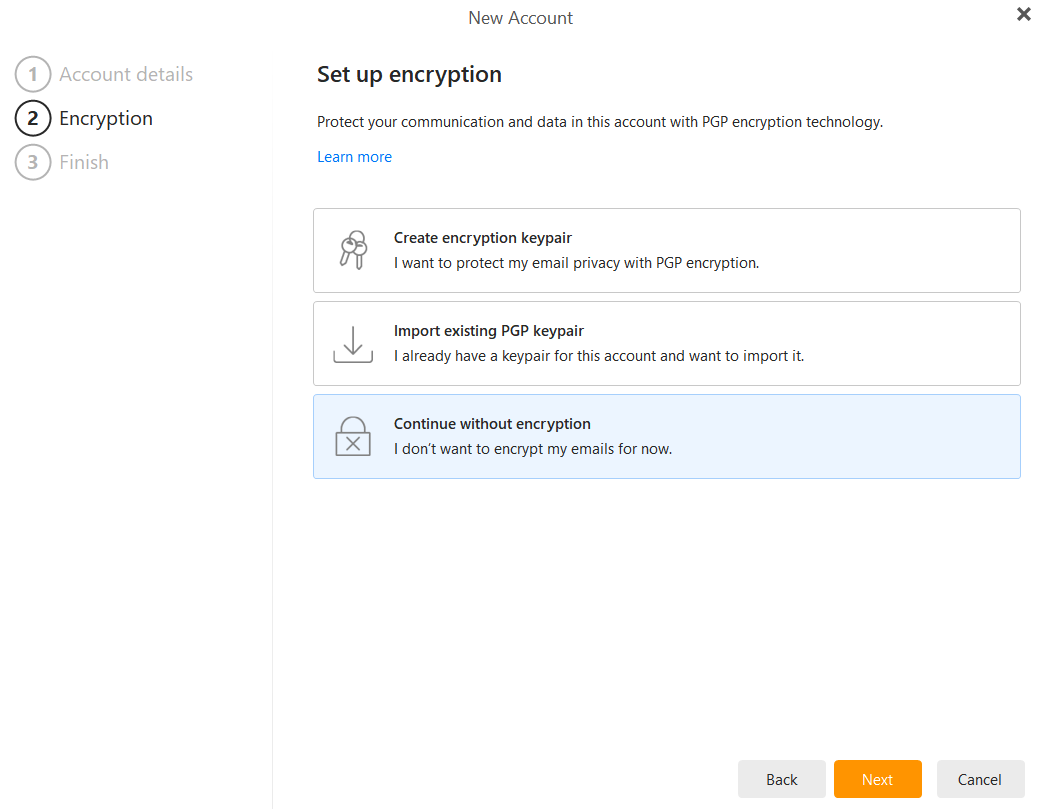
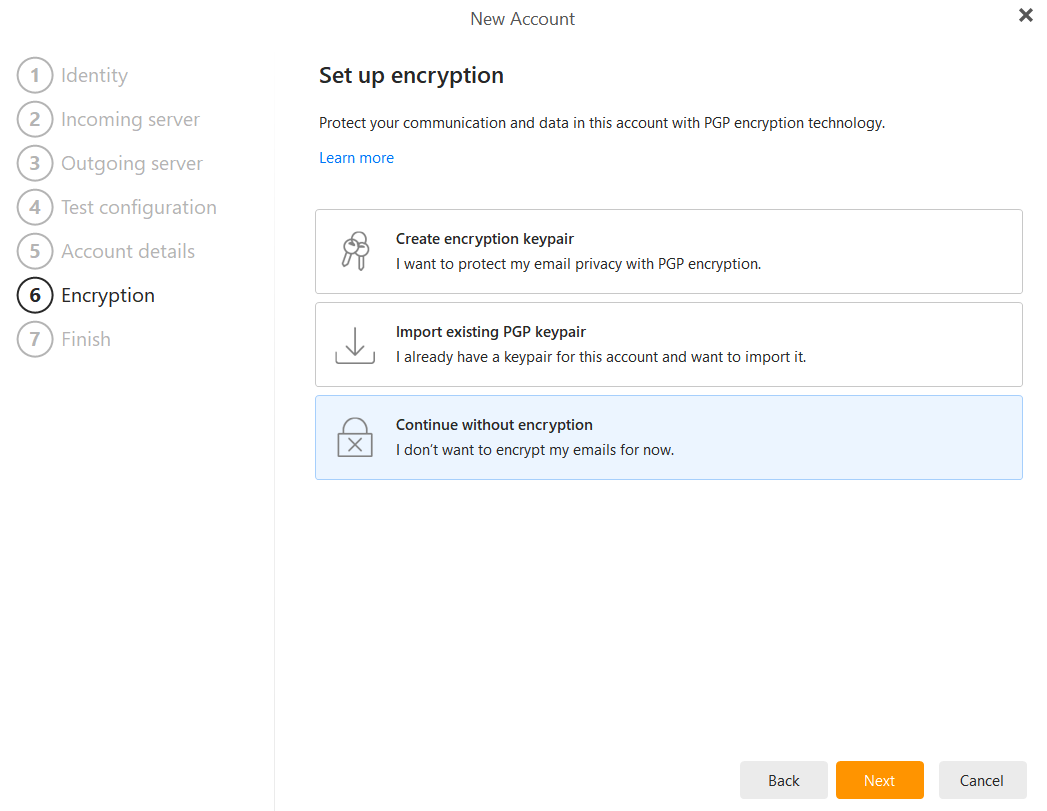
- Encryption: You will be asked about PGP encryption. For most users, we recommend selecting Continue without encryption unless you specifically require PGP technology. Click Next.

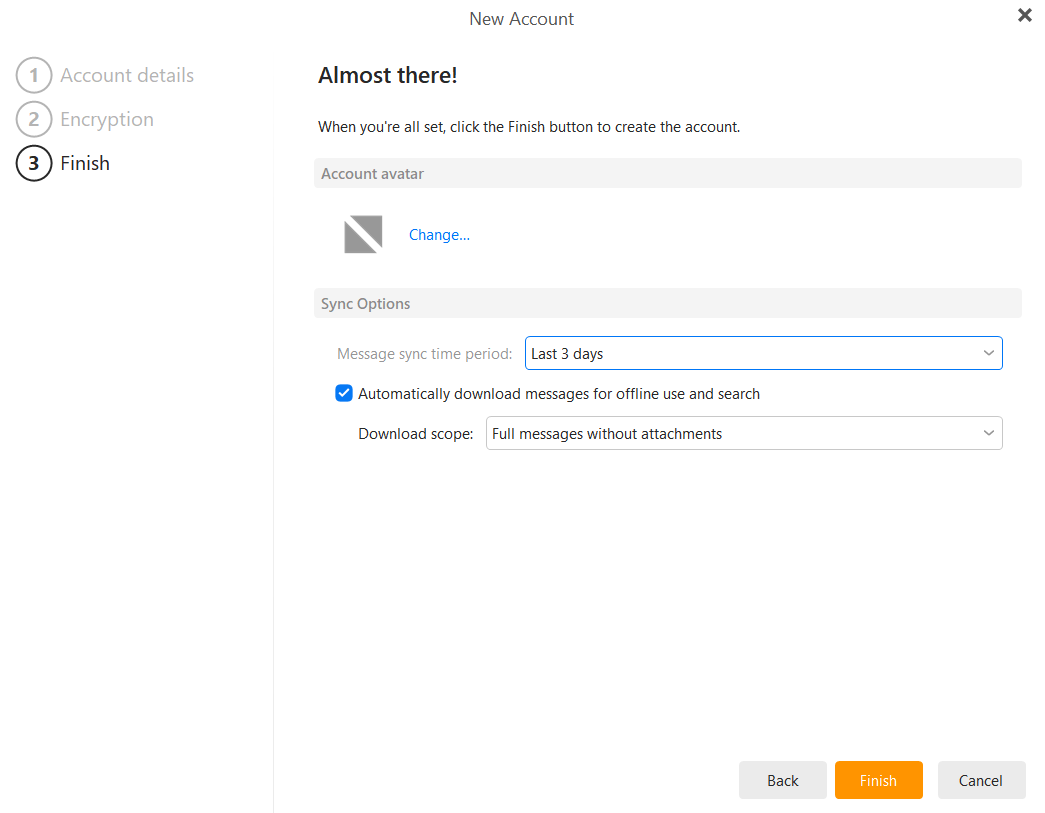
- Choose your synchronization options (e.g., "Last 3 days" for faster initial setup) and click Finish.
-
Authentication: A window will appear asking for your credentials. Enter your email password and click OK. Ensure "Save password" is checked to avoid repeated prompts.

Option 2: Manual Configuration
If you need to enter settings manually or want to use specific ports, follow these steps:
-
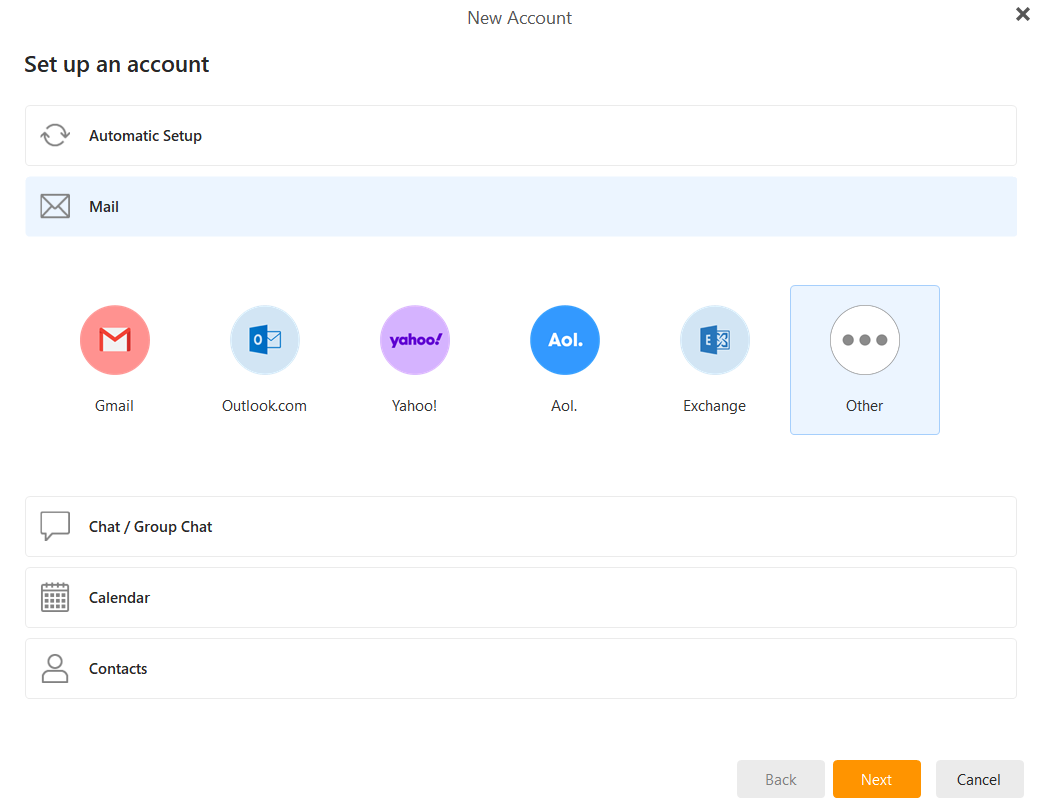
Select Mail: In the New Account window, instead of Automatic Setup, click the Mail tab and select Other. Click Next.
-
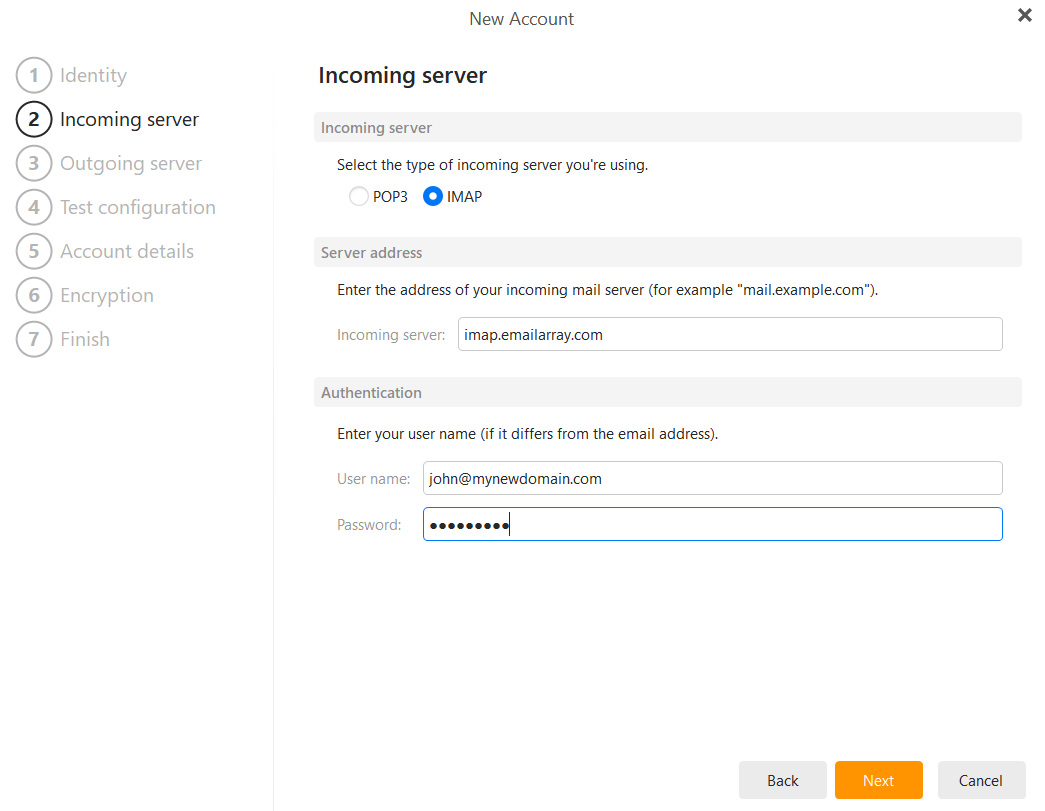
Incoming Server: Select IMAP
-
Hostname:
imap.emailarray.com -
User name: Your full email address.
-
Password: Your email account password.
-
Port: 993
-
Security: SSL/TLS

-
-
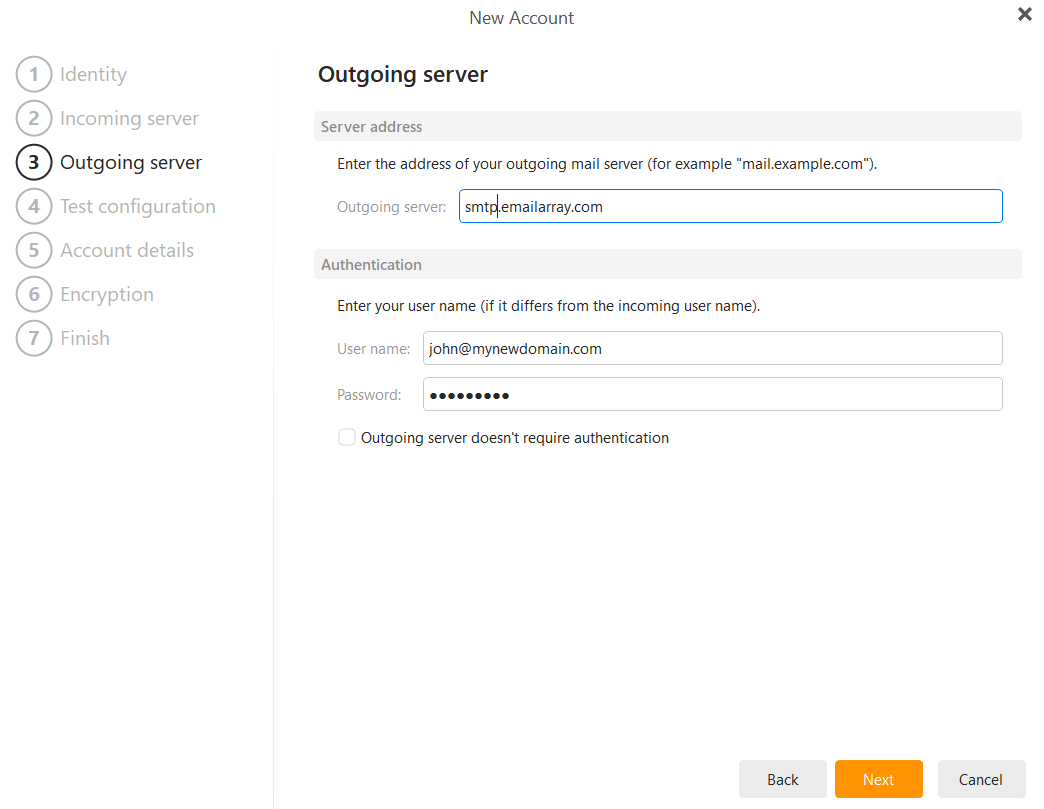
Outgoing Server:
-
Hostname:
smtp.emailarray.com -
User name: Your full email address.
-
Password: Your email account password.
-
Port: 465
-
Security: SSL/TLS

-
-
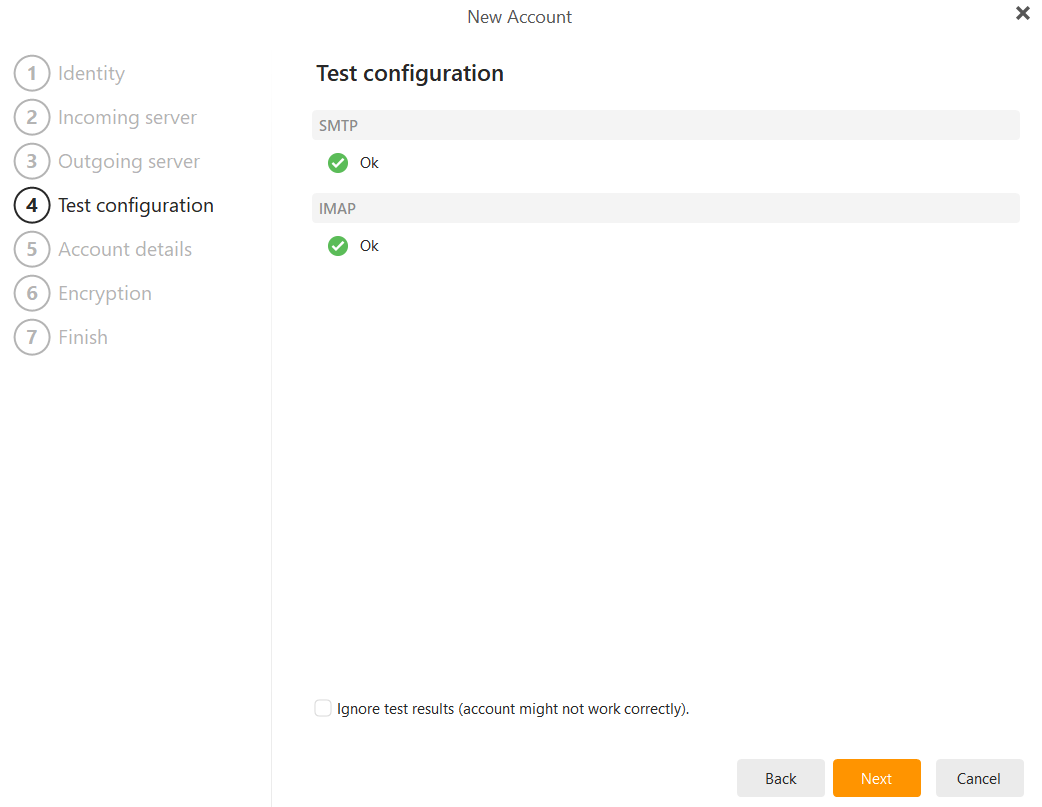
Test Configuration: eM Client will verify both the SMTP and IMAP connections. Once you see the green "Ok" status for both, click Next.
-
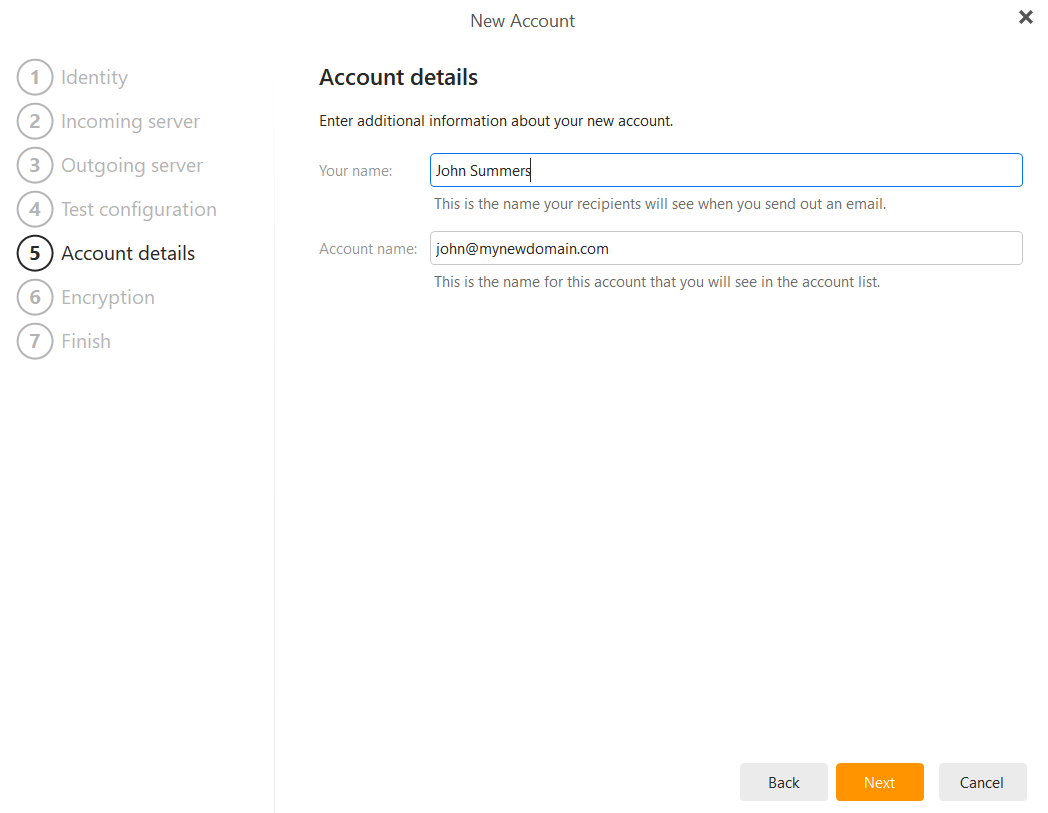
Account Details: Enter your name (as it should appear on sent mail) and an internal account name. Click Next.

-
Encryption: Select Continue without encryption and click Next.
-
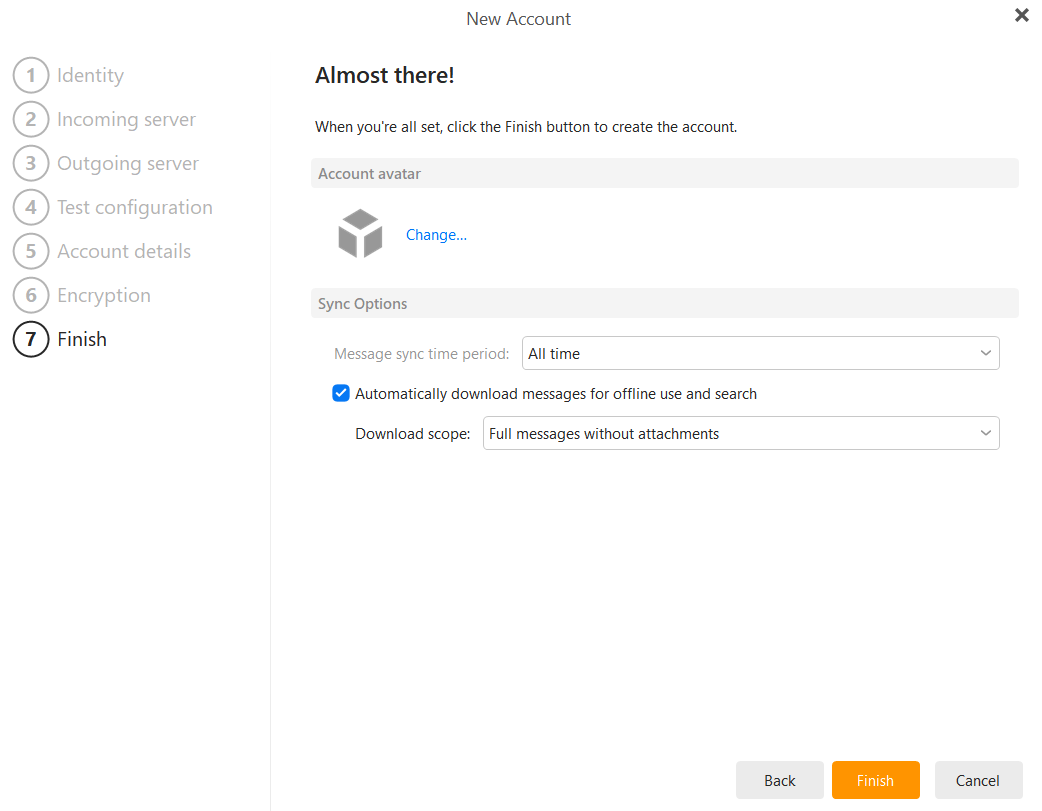
Finish: Choose your message sync time period (e.g., "All time") and click Finish.