Webmail - Files and Folder Sharing Guide
Whether you need to send a single document or collaborate on an entire project, sharing is simple and flexible. You have two main options:
The Webmail allows you to share folders with other members of your organization, enabling seamless collaboration. With the latest updates, you have precise control over how you distribute your work, whether collaborating internally or sharing documents externally.
Document Editing and Collaboration
The ability to interact with documents depends on your active mailbox type.
-
Basic Mailboxes: Users can only upload and view documents.
-
Enhanced Mailboxes: Users can edit and collaborate on documents in real-time.
The live editing environment is powered by the OnlyOffice integration. Supported formats include Word documents, spreadsheets, presentations, and PDFs.
Sharing Folders
Folder sharing is restricted to internal use only, meaning you can only share folders with users within your domain.
How to Share a Folder
Follow these steps to activate sharing for a specific folder within your Webmail:
-
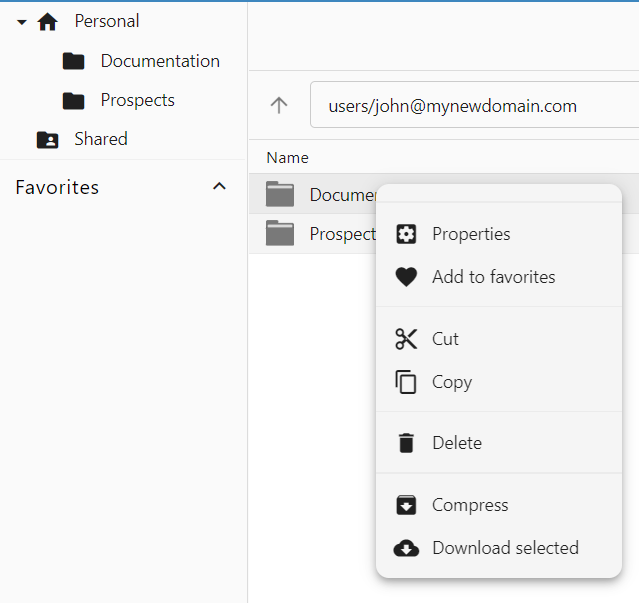
Select the Folder: In the Webmail files section, right-click on the folder you wish to share and select Properties.

-
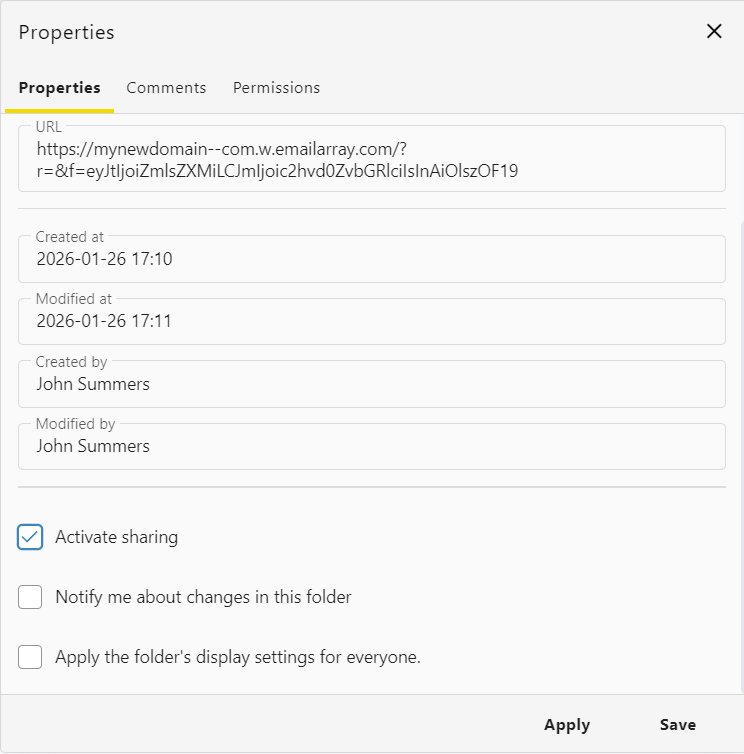
Activate Sharing: In the Properties tab, check the box labeled Activate sharing. This enables the sharing functionality for that specific directory.
-
Configure Notifications (Optional): You may also choose to:
-
Notify me about changes in this folder: Receive alerts when others modify files.
-
Apply the folder's display settings for everyone: Standardize the view for all collaborators.
-
-
Save Changes: Click Apply or Save.

Managing Permissions
Once sharing is active, you can define exactly who has access and what level of control they have.
-
Navigate to the Permissions tab within the Properties window.
-
Add Members: Click the plus (+) icon to add new users or groups to the folder. The default permission for new users is read-only.
Group sharing: you also have the optional choice to share the folder with everyone in your group for faster onboarding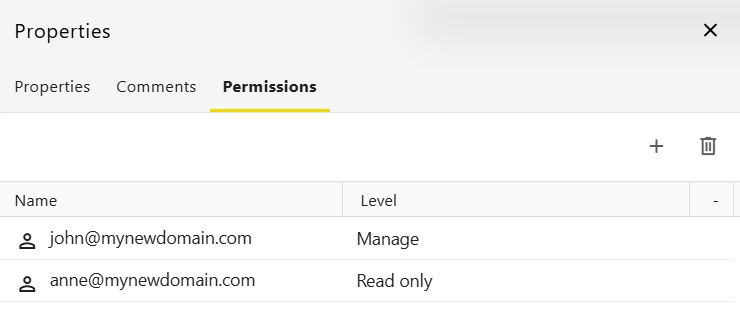
-
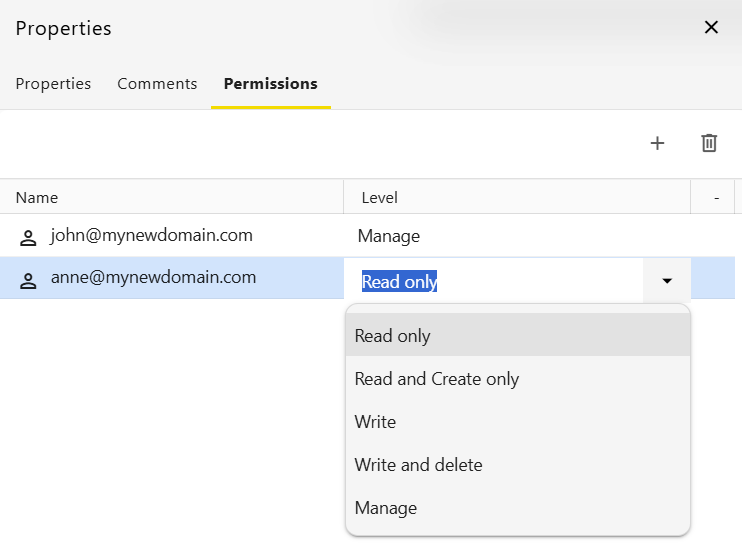
Change Access Levels: Double-click the permission level next to a user name to change it.
-
Read only: Users can view and download files but cannot make changes.
-
Read and Create only: Users can view files and upload new content but cannot delete or modify existing files.
- Write: view, upload or edit existing files.
- Write and delete: view, upload, edit or delete existing files.
-
Manage: Full access to view, upload, edit, delete and share content.
-
-
Remove Access: To stop sharing with a specific user, select their name and click the trash icon.
-
Finalize: Click Save to apply the permissions.


Accessing Shared Content
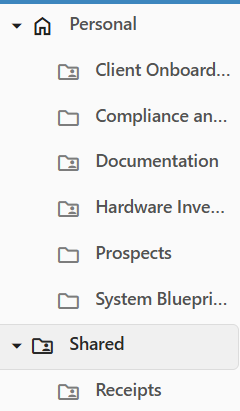
When a folder is shared with you, it will appear under the Shared section in your file navigation sidebar. This allows teams to maintain a central repository for shared documents, images, and project files.
Sharing Files
Please use caution when sharing the URL, as anyone with the link can access the file.
Creating a Secure Download Link
To generate a link that allows others to download a specific file:
-
Locate your file: Navigate to the Files section in your Webmail.
-
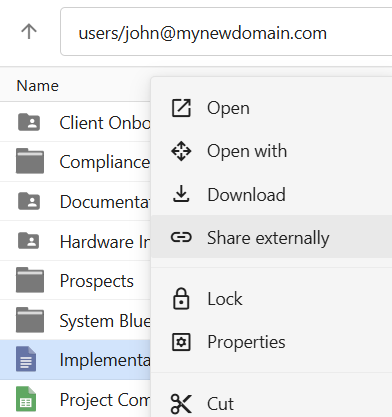
Open the sharing window: Right-click on the file you wish to share and click on Share Externally. This will open the sharing menu.
-
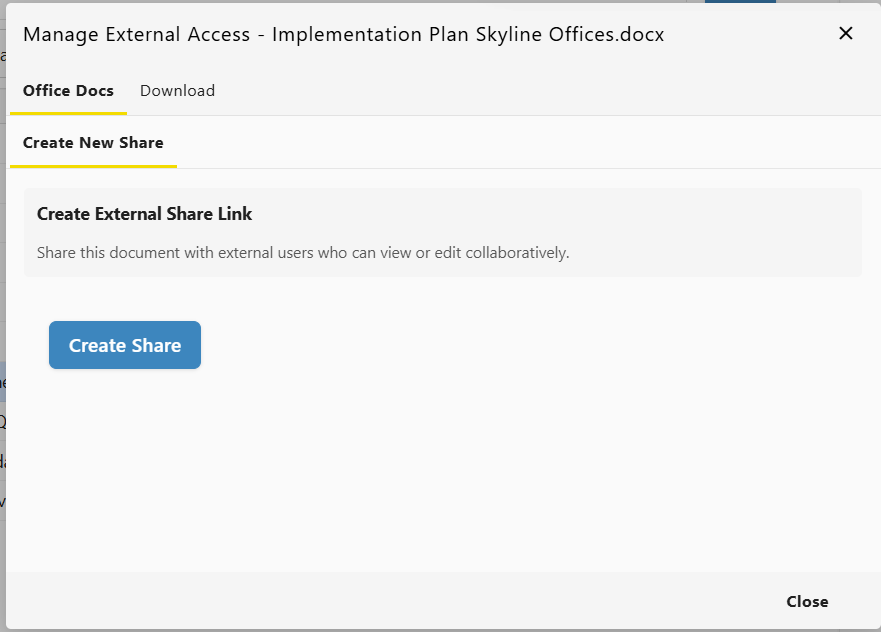
Generate the link: Click Create Share button from the new window.
-
Configure Access: Set your desired permissions and choose an expiration date for the link.
Download only: Users will download the file to their device.
View in browser: Users can view the document online (read-only).
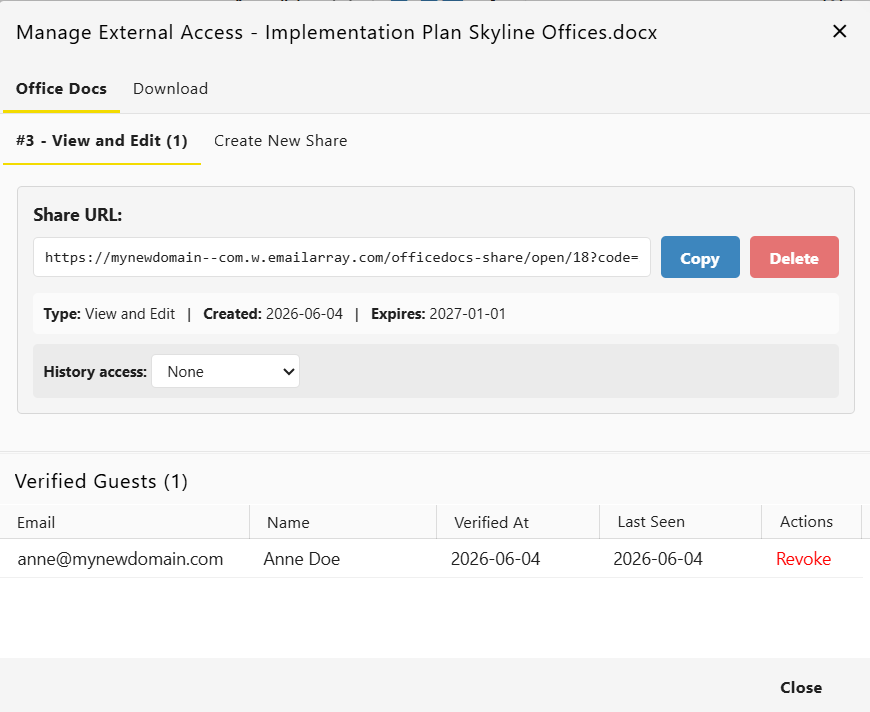
View and edit collaboratively: Multiple users can view and edit simultaneously. Each user verifies their email and appears with their name.
-
Distribute the link: Once generated, you can copy this link and send it via email or chat.

- Manage Links: You can check the status of your active sharing links at any time


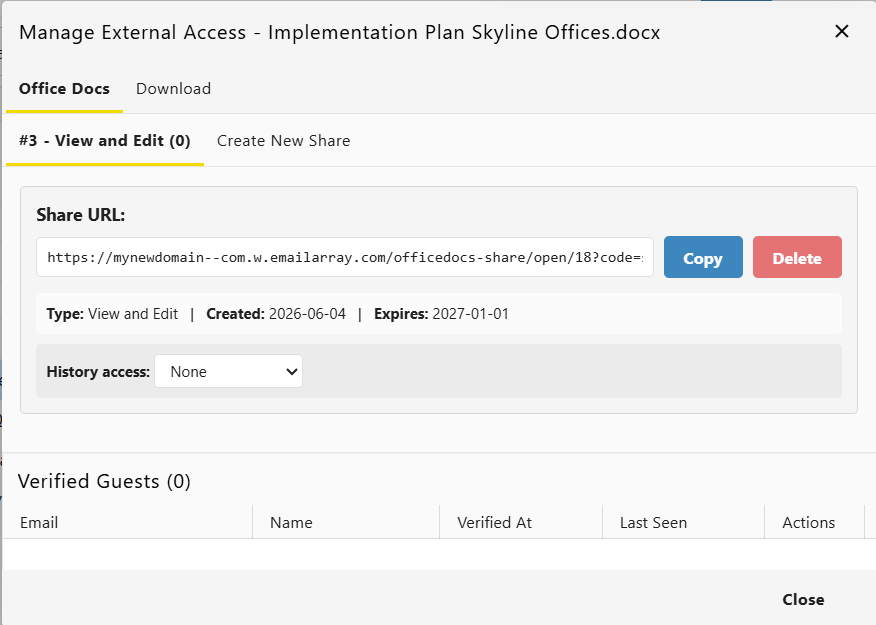
Viewing File Details and Active Links
You can review file information and manage active sharing links at any time, by:
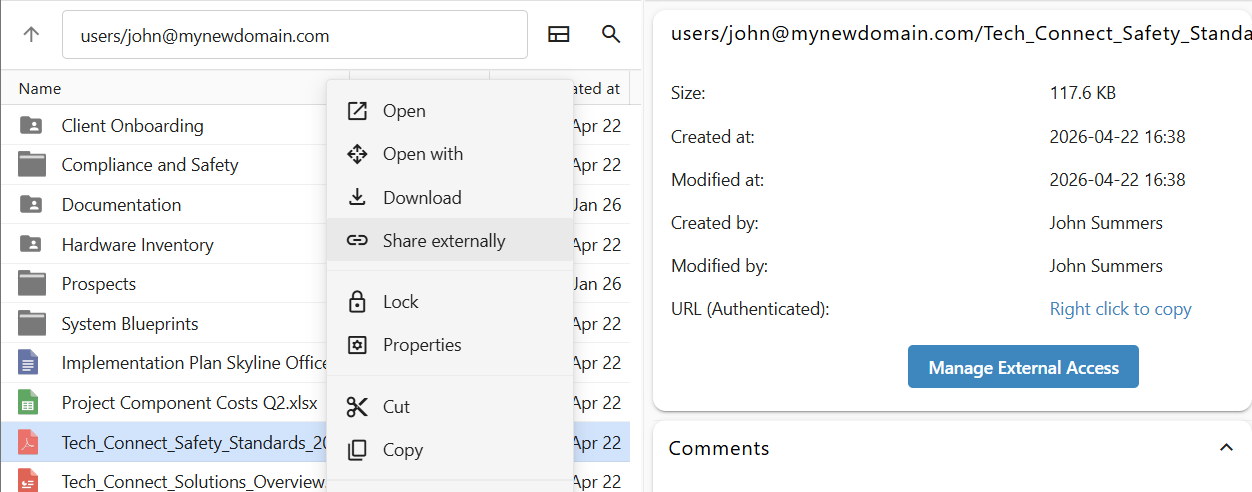
- Right-click on the file and click on Share externally to show the sharing stats window.
-
Click once on a file to open the details side-pane and click on Manage External Access to show the sharing stats window.

Additional Sharing Options
When you right-click a file, you also have access to:
-
Email files: Attach the file directly to a new email message.
Bonus: Remote Editing Applications
You do not need to be logged into the web interface to stay productive. You can use the free OnlyOffice application to edit documents on your webmail from any device, including laptops and mobile phones.
Follow these simple steps to connect your account to the OnlyOffice app:
-
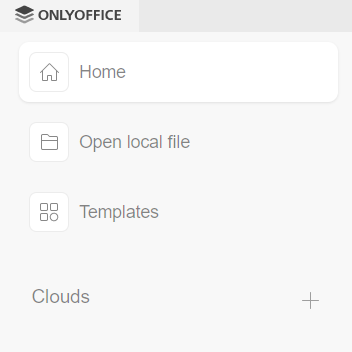
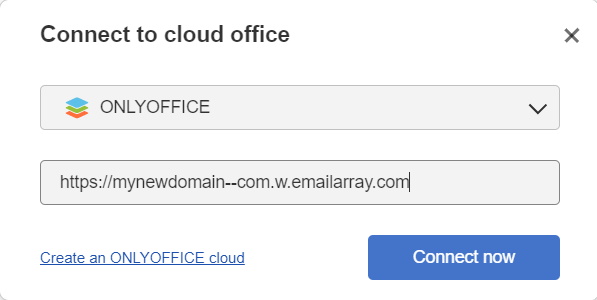
Add a cloud of type "OnlyOffice".


-
Fill in your webmail URL (for example: https://mynewdomain--com.w.emailarray.com).
-
You will be redirected to a login page. Use your email address and password to connect.
-
The dashboard will display the files section from your webmail inside the OnlyOffice app, keeping everything in sync.