
Creating Documents from Desktop
Creating Documents from Desktop
Create new documents directly in your OfficeDocs cloud storage using Desktop Editors, so you can start working right away without opening a web browser.
Creating a New Cloud Document
- Open Desktop Editors.
- Open your connected OfficeDocs account.

- Go to the folder where you want to create the document.
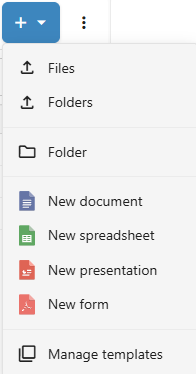
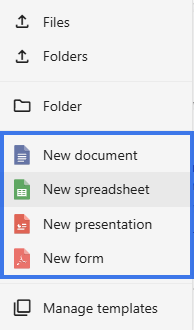
- Click Create or the new document button.
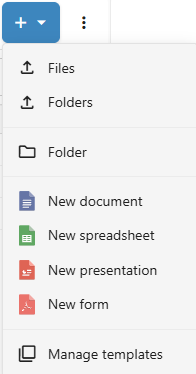
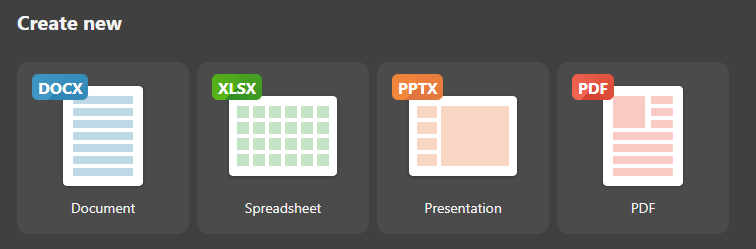
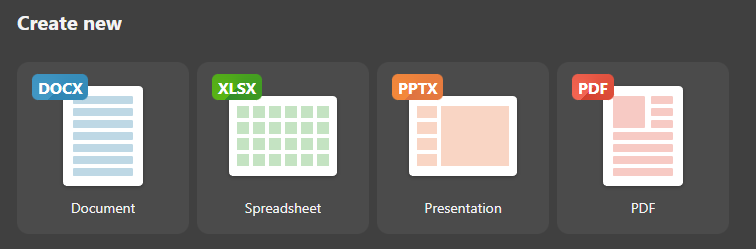
- Select the document type you want to create.
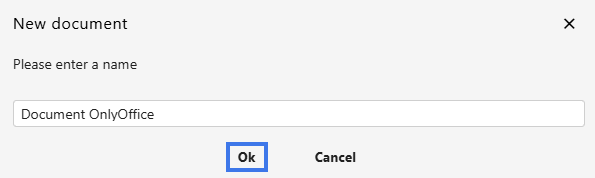
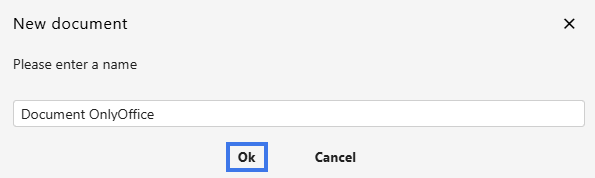
- Enter a name for the document.
- Click Ok.

Document Types
- Document — A word processing file, typically saved as .docx
- Spreadsheet — A spreadsheet workbook, typically saved as .xlsx
- Presentation — A slide presentation, typically saved as .pptx
- Form — A fillable document form, typically saved as .pdf
Creating from Template
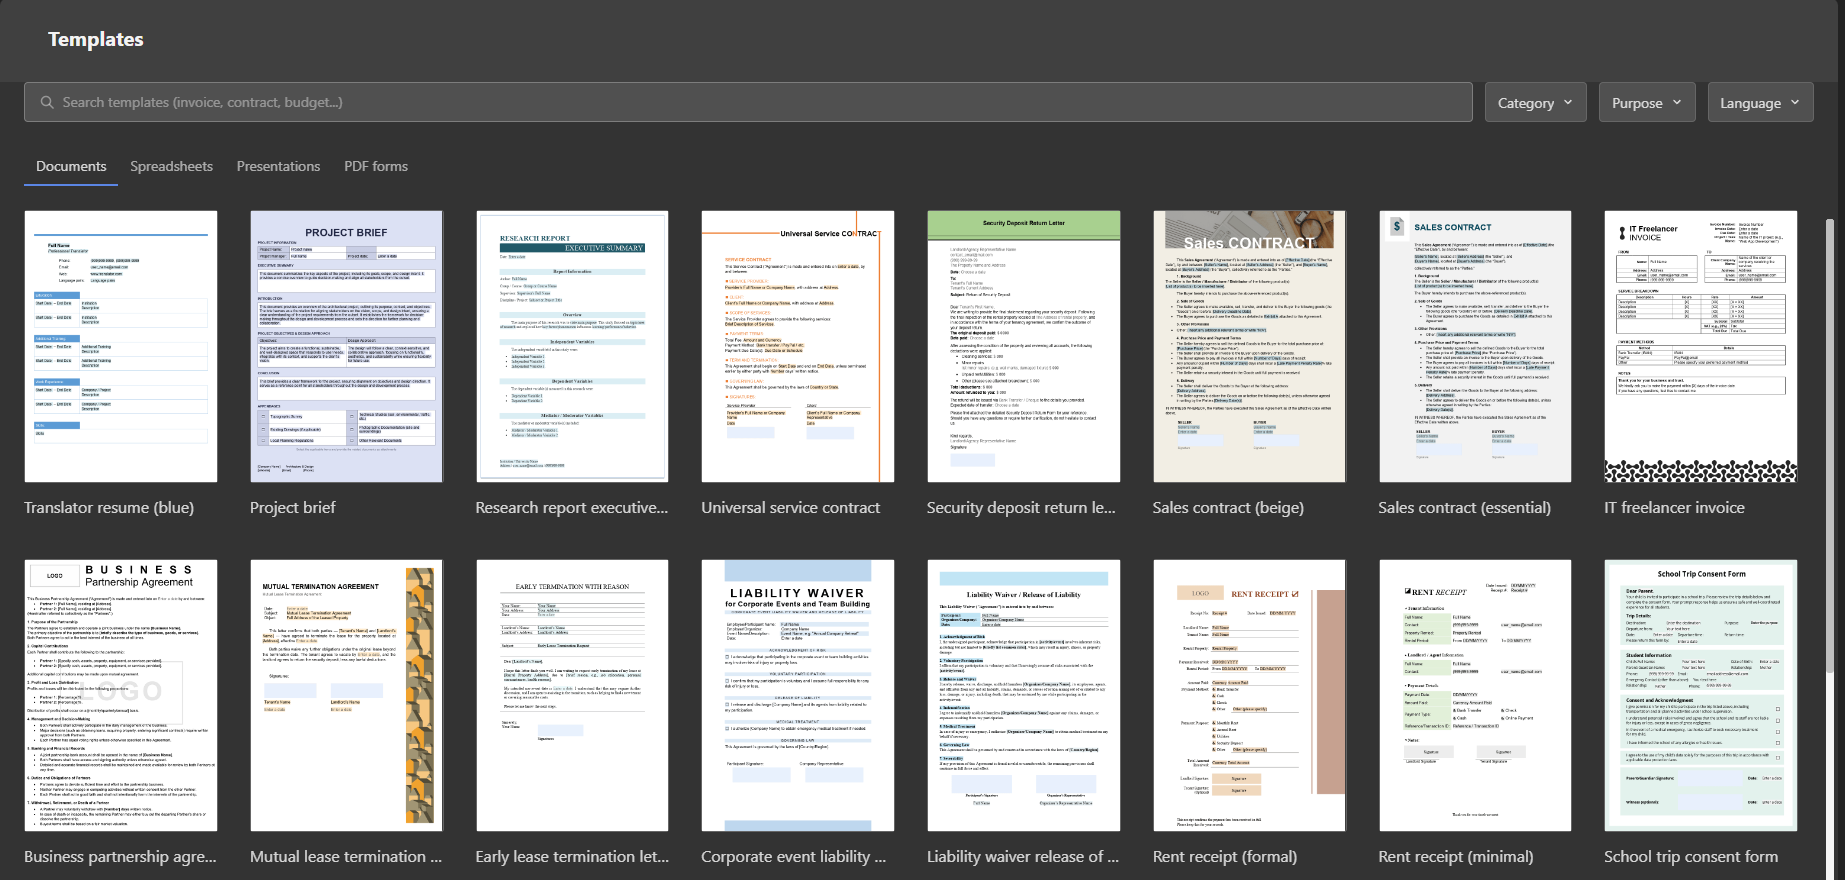
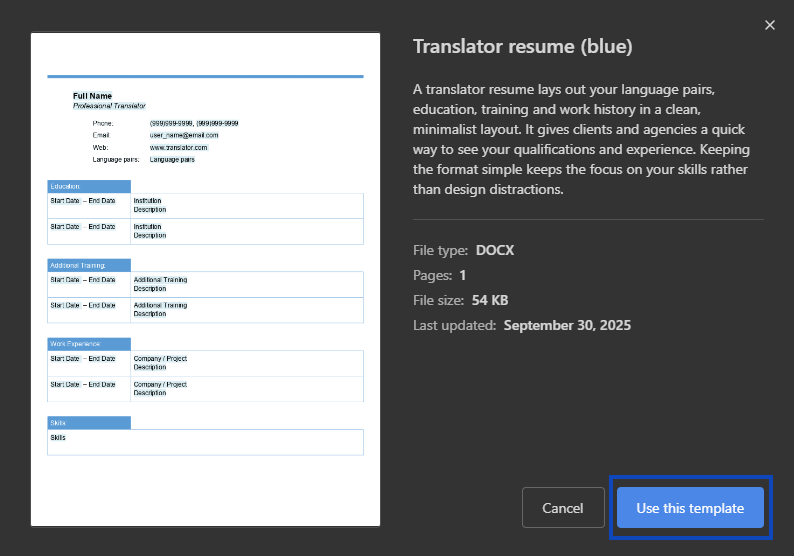
- Click Templates.

- Browse the available templates.
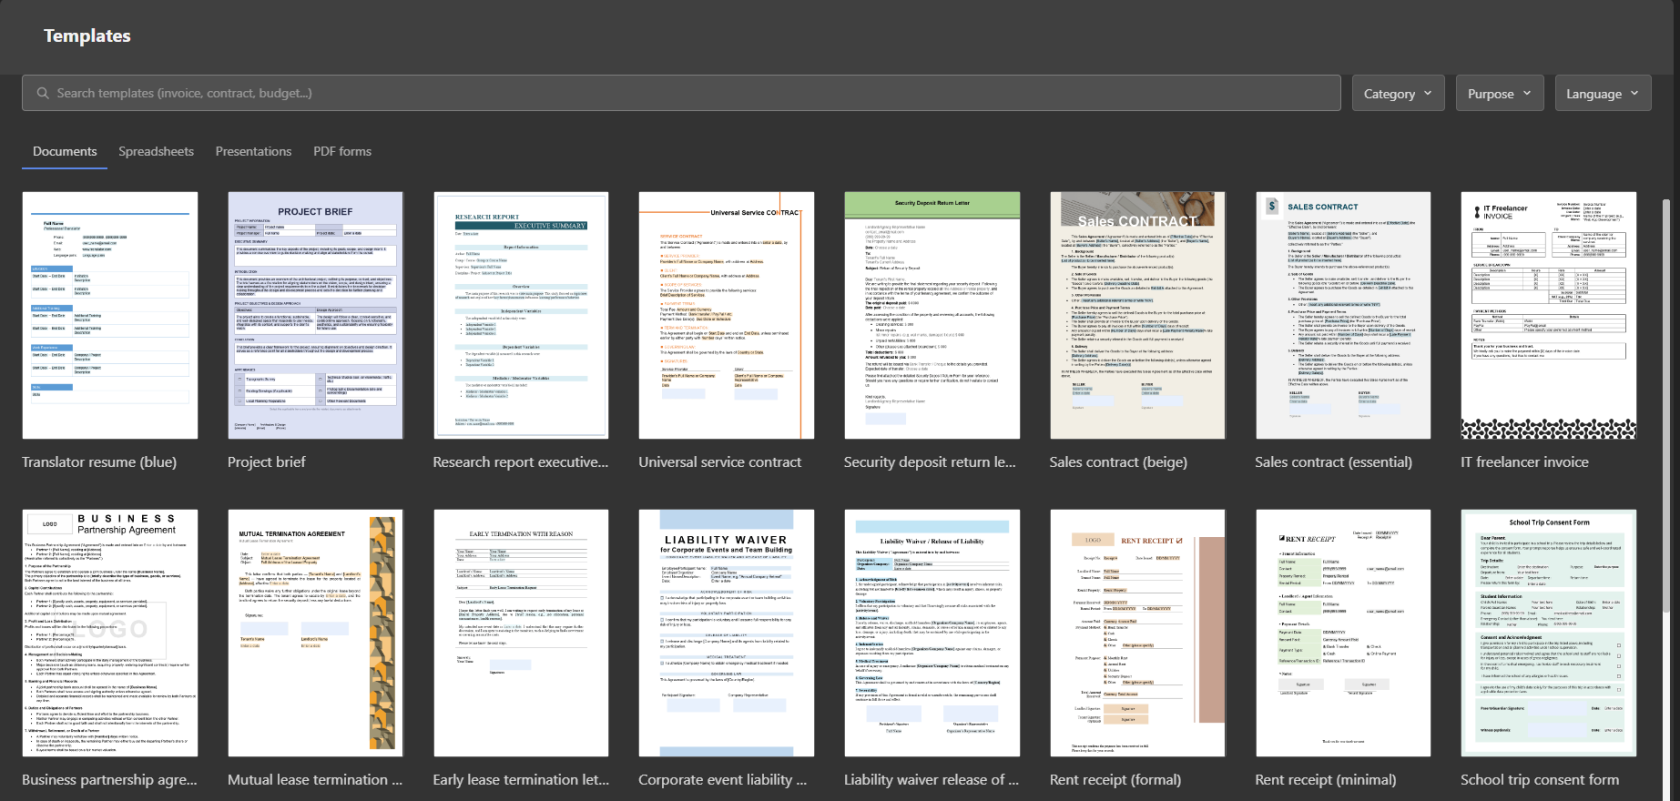
- Select the template you want to use.
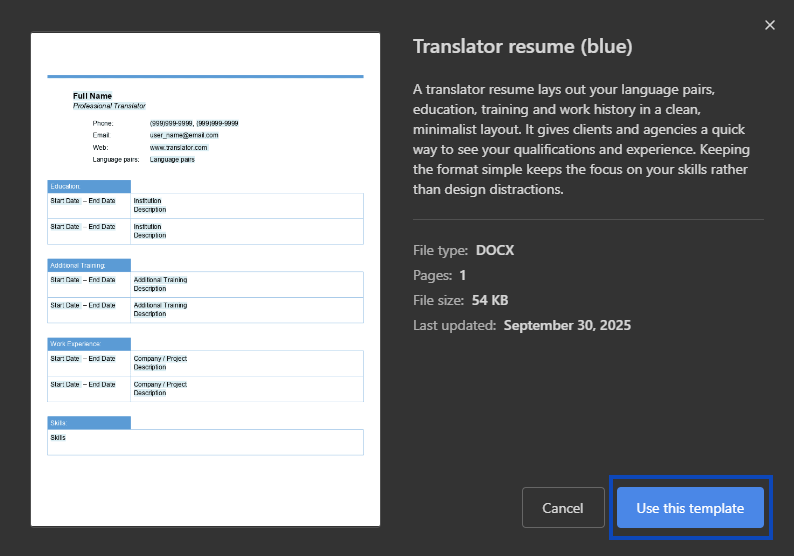
- The document opens with the template content already in place.

Creating Local Then Uploading
If you prefer, you can create the file locally first and upload it afterward:
- Click Create from the Desktop Editors Home screen.
- Create your document normally.
- Save it locally on your computer first.
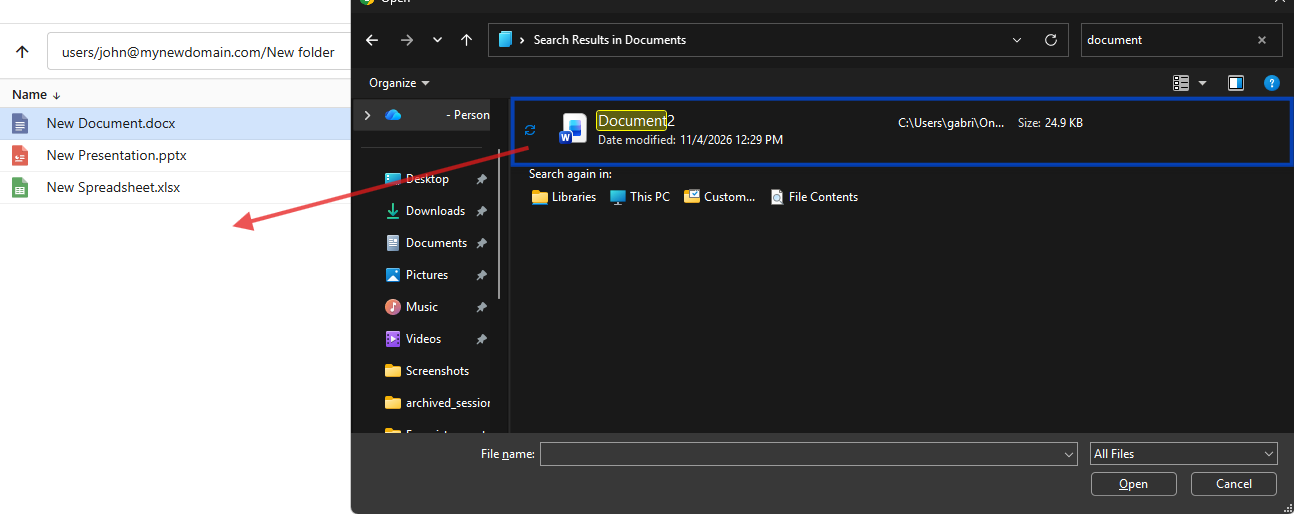
- Upload it to OfficeDocs later using the web interface or drag-and-drop.
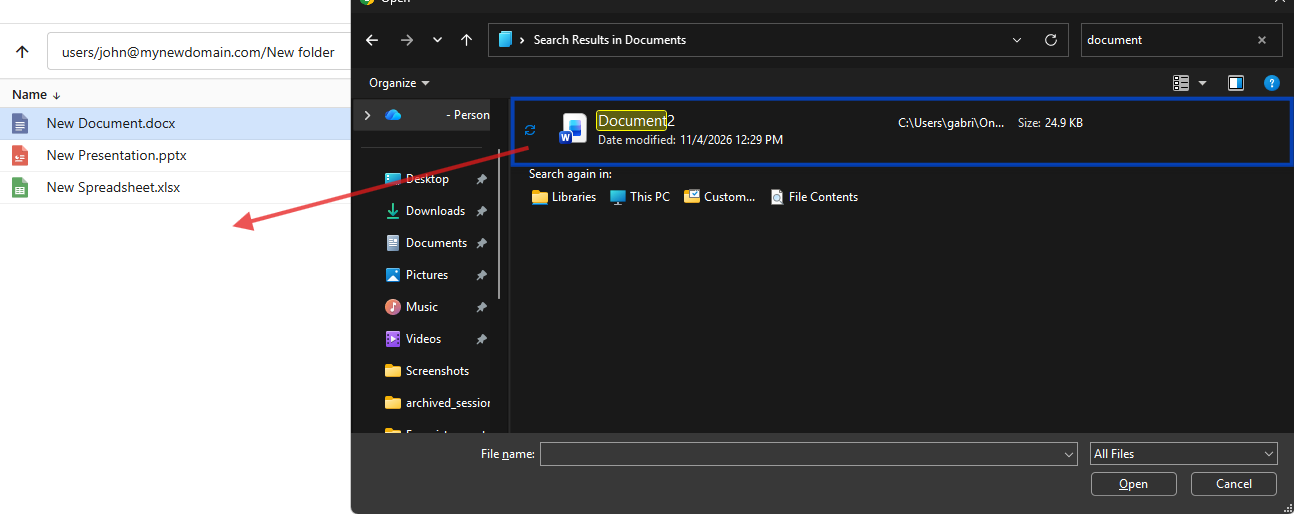
Document Naming (File Explorer)
- Use clear and descriptive names
- Avoid special characters that could cause issues
- Add a date or version number if it helps with organization
- Rename the document later if needed
After Creation
- The document opens in the editor
- You can begin adding content immediately
- Changes save to the cloud after the file is stored there
- You can share the document when it is ready
Tips
- Create documents directly in the folder where you plan to use them
- Use templates to save time on common file formats
- Name documents clearly so they are easier to find later