
Manage Domains
Domains are managed from the the Admin Panel. Here you can add or remove domains, set up a catchall, or define a domain-level timezone.time zone or footer.
Adding a New Domain
This guide will walk you through the process of adding a new domain to your account via the Admin Panel.
Steps to Add a Domain
-
GoNavigate tothethe Admin Panel. - Log in using your Admin username and
password.password. MakeVerifysurethat you have a sufficient domainquota,quotawhichavailable.canThisbeinformationcheckedis visible in the top menubar.bar of the Admin Panel.ClickInonthe side menu, click on Domainsin the menu..- Click on
thetheNewNewbutton.button, located in the upper right corner of the Domains section.
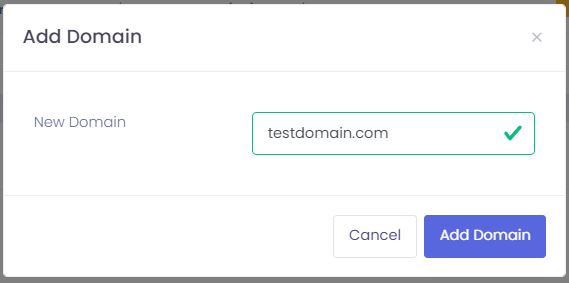
- In
thethe New Domainnamefield,field, specifyenter thenewfull domain you wish to add (e.g.,testdomain.com). - Click on Add domain to create the domain.
Make
You to modifywon't be able to add any mailboxes (Users) until you verify the domain ownership.
Verify Domain Ownership
After adding your domain, you must verify your ownership. This is done by adding a specific TXT record to your domain’s DNS settings and addat your domain registrar or DNS provider.
- Once the
MXdomainrecordsis added, it will appear in the domain list with a Fail health status indicating it needs verification, with a checkmark option to Verify
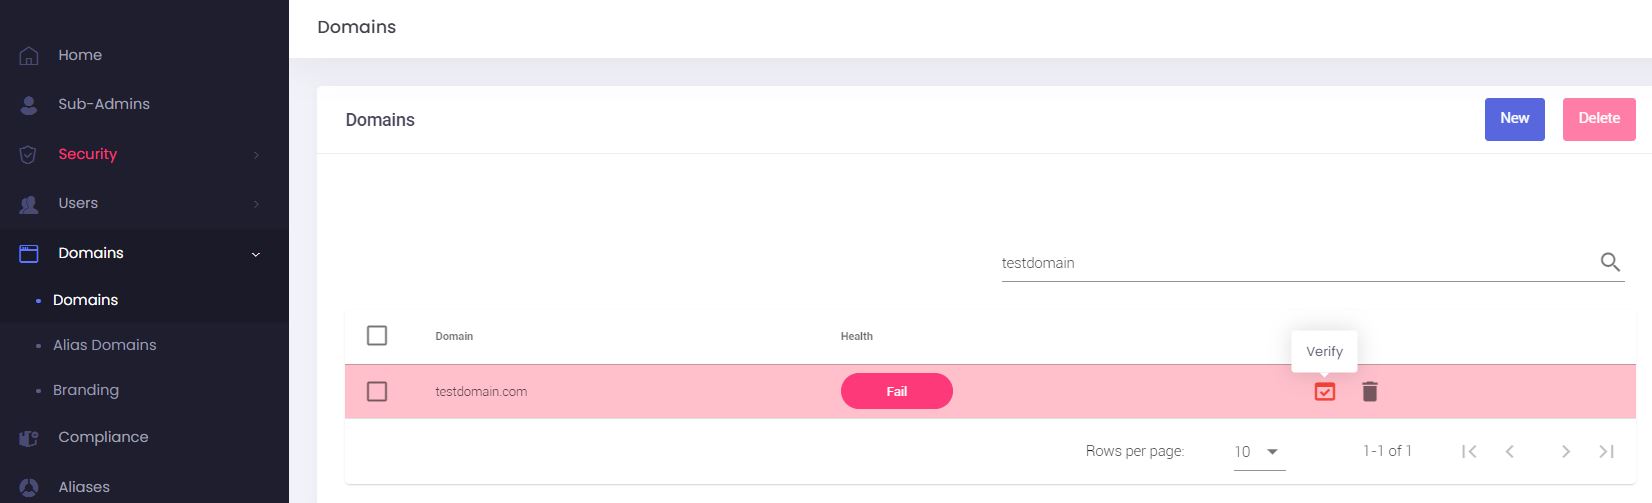
- To retrieve the necessary TXT record for verification, locate the newly added domain in the list. Click on the Verify button (represented by a red checkmark icon).
- A pop-up window will appear, displaying the Hostname, Type, and the unique Value required for the
domain.DNSThey should be:record.PrimaryHostname:with a preference of 5: mx.emailarray.commx-verificationSecondaryType:withTXTa- Value:
ofcopy10:themx2.emailarray.com
unique string from your pop-up window
preference
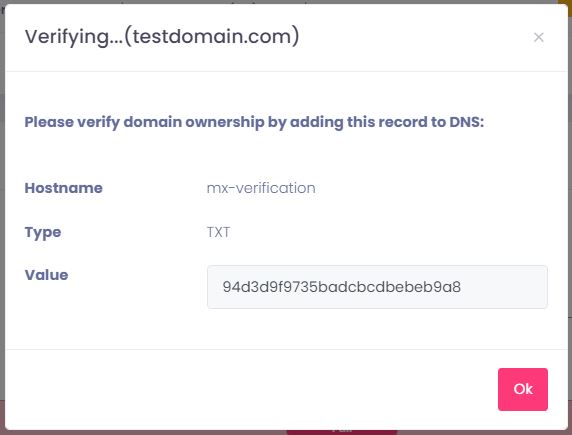
SetupGootherto your domain registrar's or DNS provider's control panel and add a new TXT record with the provided Hostname and Value.
Improve Domain Health
Once domain ownership is verified, you should configure additional DNS records using to ensure proper email functionality and improve your domain's overall health.
If you are planning an email migration to this new domain, you may choose to postpone making changes to critical records like MX records until the migration process is complete to avoid any disruption to your current email flow.
- In the Domains list, you can click on the Health status (e.g., "Fail" as shown in the example) option to see the Domain health status.
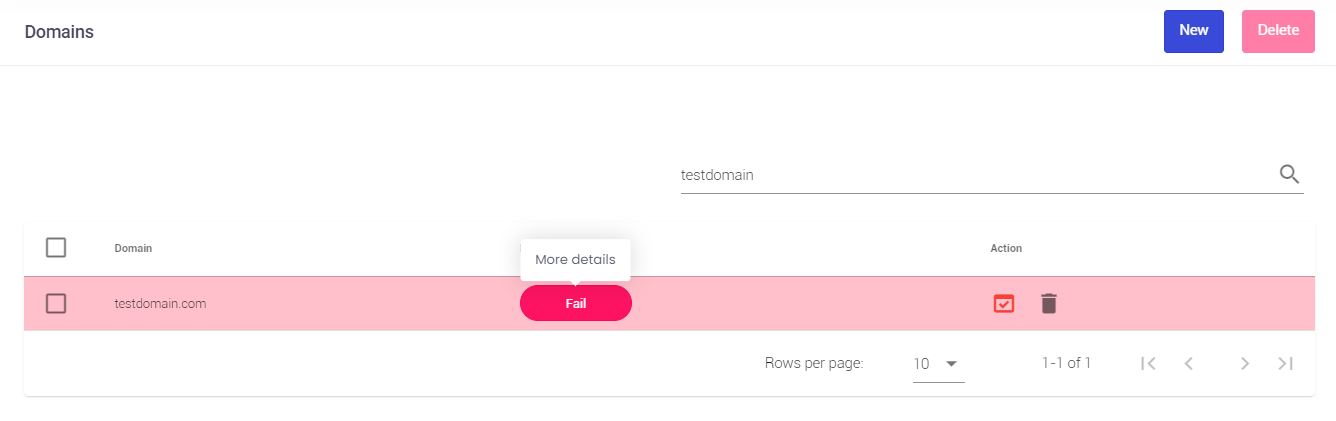
- The Domain health pop-up will show the status of various essential records. (See image below, which displays statuses for MX records, Webmail record, Webmail SSL, Autodiscover record, Autodiscover SSL, and SPF Record).
- Status is Disabled if the domain ownership was not verified / Enabled if the domain was verified.

- When you are ready, follow your service's specific DNS Configuration
pageguide to set up the following records correctly::- MX records - These direct incoming emails for your domain to the correct mail servers. They are crucial for receiving emails.
- SPF record
a TXT record thatThisspecifiesis alistTXTofrecord that lists authorizedhostsmailthatserverscanpermitted to sende-mailsemails on behalf ofayourdomaindomain, helping to prevent email spoofing and improve deliverability. - Webmail record
letsallows you to access yourWebmailwebmailfrominterface via apersonalizedcustom URLof(e.g.,your choosing, such aswebmail.yourdomain.com). - Autodiscover record (optional) - This record simplifies the process of configuring email clients (like Outlook or mobile email apps) by allowing them to automatically discover server settings.
- Webmail SSL and Autodiscover SSL: These will typically generate automatically once the corresponding Webmail and Autodiscover DNS records are correctly set up and have propagated. Please allow up to 30 minutes (or sometimes longer, depending on DNS propagation) for their status to update in the Domain Health pop-up.
- After configuring these records, you can use the Refresh or Verify again button in the "Domain health" section to update the status.
Remove a Domain
-
GoNavigate tothethe Admin Panel. - Log in using your Admin username and
password.password. - Click
onon Domains - Click on the delete icon next to the domain you wish to remove
- An alert pop up will appear, showing the
aliasdomain that will be deleted. Clickonon Delete
Removing a domain will PERMANENTLY erase all domain data from our servers, including all the users' messages, the aliases, lists, and all preferences.
Edit a Domain
-
Go to
thethe Admin Panel. - Log in using your Admin username and
password.password. - Click
onon Domains - Click on
thethe edit icon - You can edit the following information:
domain-level- Domain-level Timezone
,and Home Country - Catchall
, - Enable / disable
hybridLocalsetupDeliverywith - Enable
accounts./ disable Audit domain
activateExchange - Domain-level Timezone
You cannot change the name of a domain. The only way to accomplish this is to create the domain with the new name (correct a misspelling, add a hyphen, etc.) and then request a migration from the old domain to the new one by opening a support ticket.
Set a Catchall
A A Catchall address allows you to capture messages destined for non-existing mailboxes. It can help you salvage important messages that were sent to mistyped addresses. Still, on the other hand, it will surely cause you to receive many Spam emails sent via a dictionary attack, where the sender puts commonly used aliases.
To enable a a Catchall:
-
Go to
thethe Admin Panel. - Log in using your Admin username and password.
- Click
onon Domains - Click on
thethe edit icon - In
thethe Domain Catchall- No catchall:
- Accept & Delete:
- Username:
- No catchall:
Set a Footer
A A domain-level Footer will show up in all the emails that all the users of the domain send.
To add a domain domain Footer:
-
Go to
thethe Admin Panel. - Log in using your Admin username and password.
- Click
onon Domains - Click on
thethe footer icon - Fill in the Footer message using the available HTML editor.
- Click
onon Update