Setup Email on Android (IMAP)
Remember that, if you have an Enhanced account, you can use ActiveSync, to not only sync e-mails, but also contacts and events.
How to set up your email on an Android device
Here's the step by step for setting up an IMAP account on Android's native mail app.
- Press the device's Menu button.
- Tap Settings.
- Go to Manage Accounts
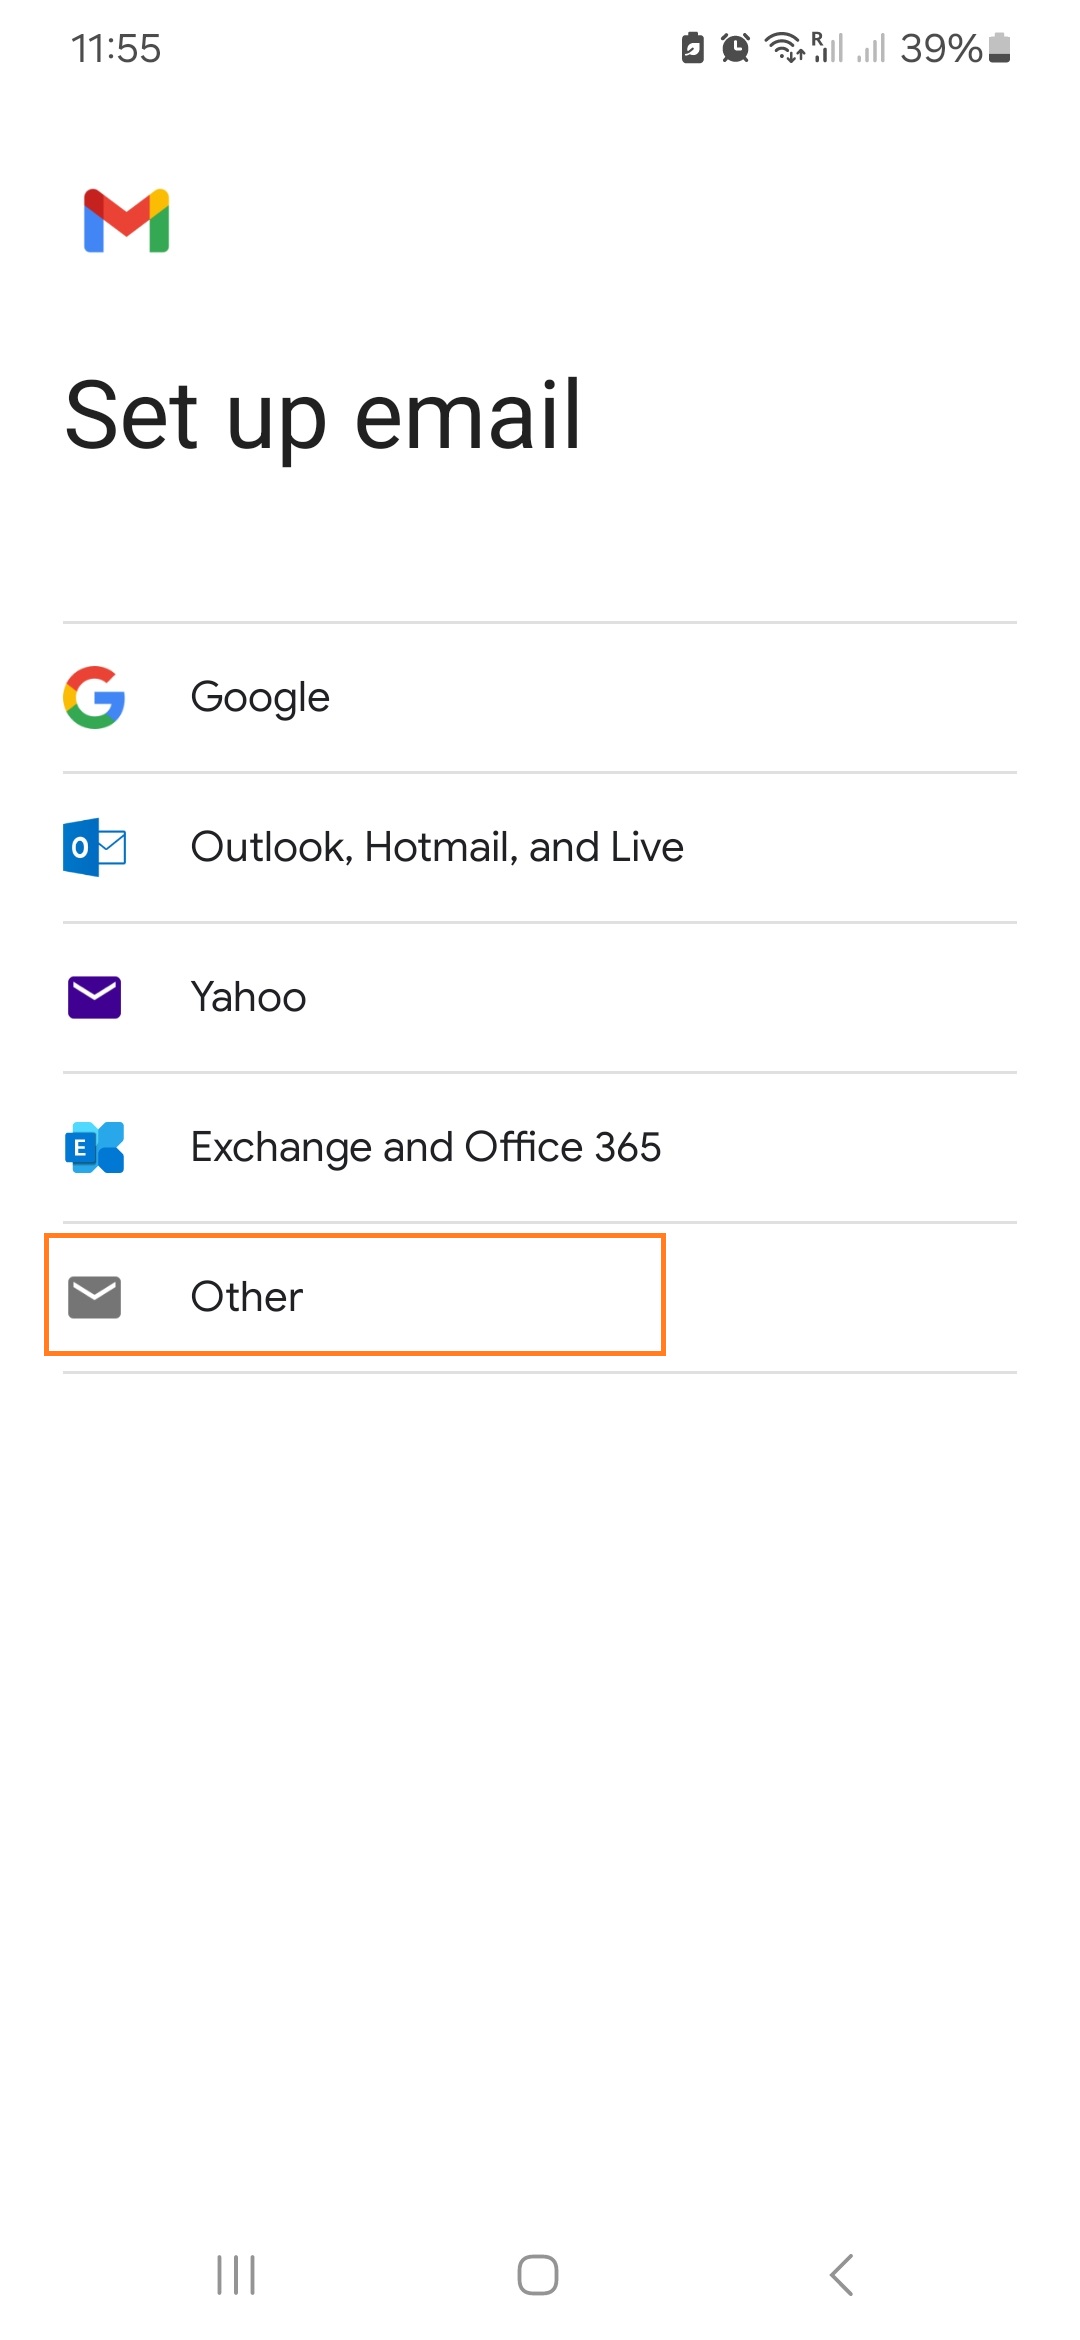
- Click on Add account.
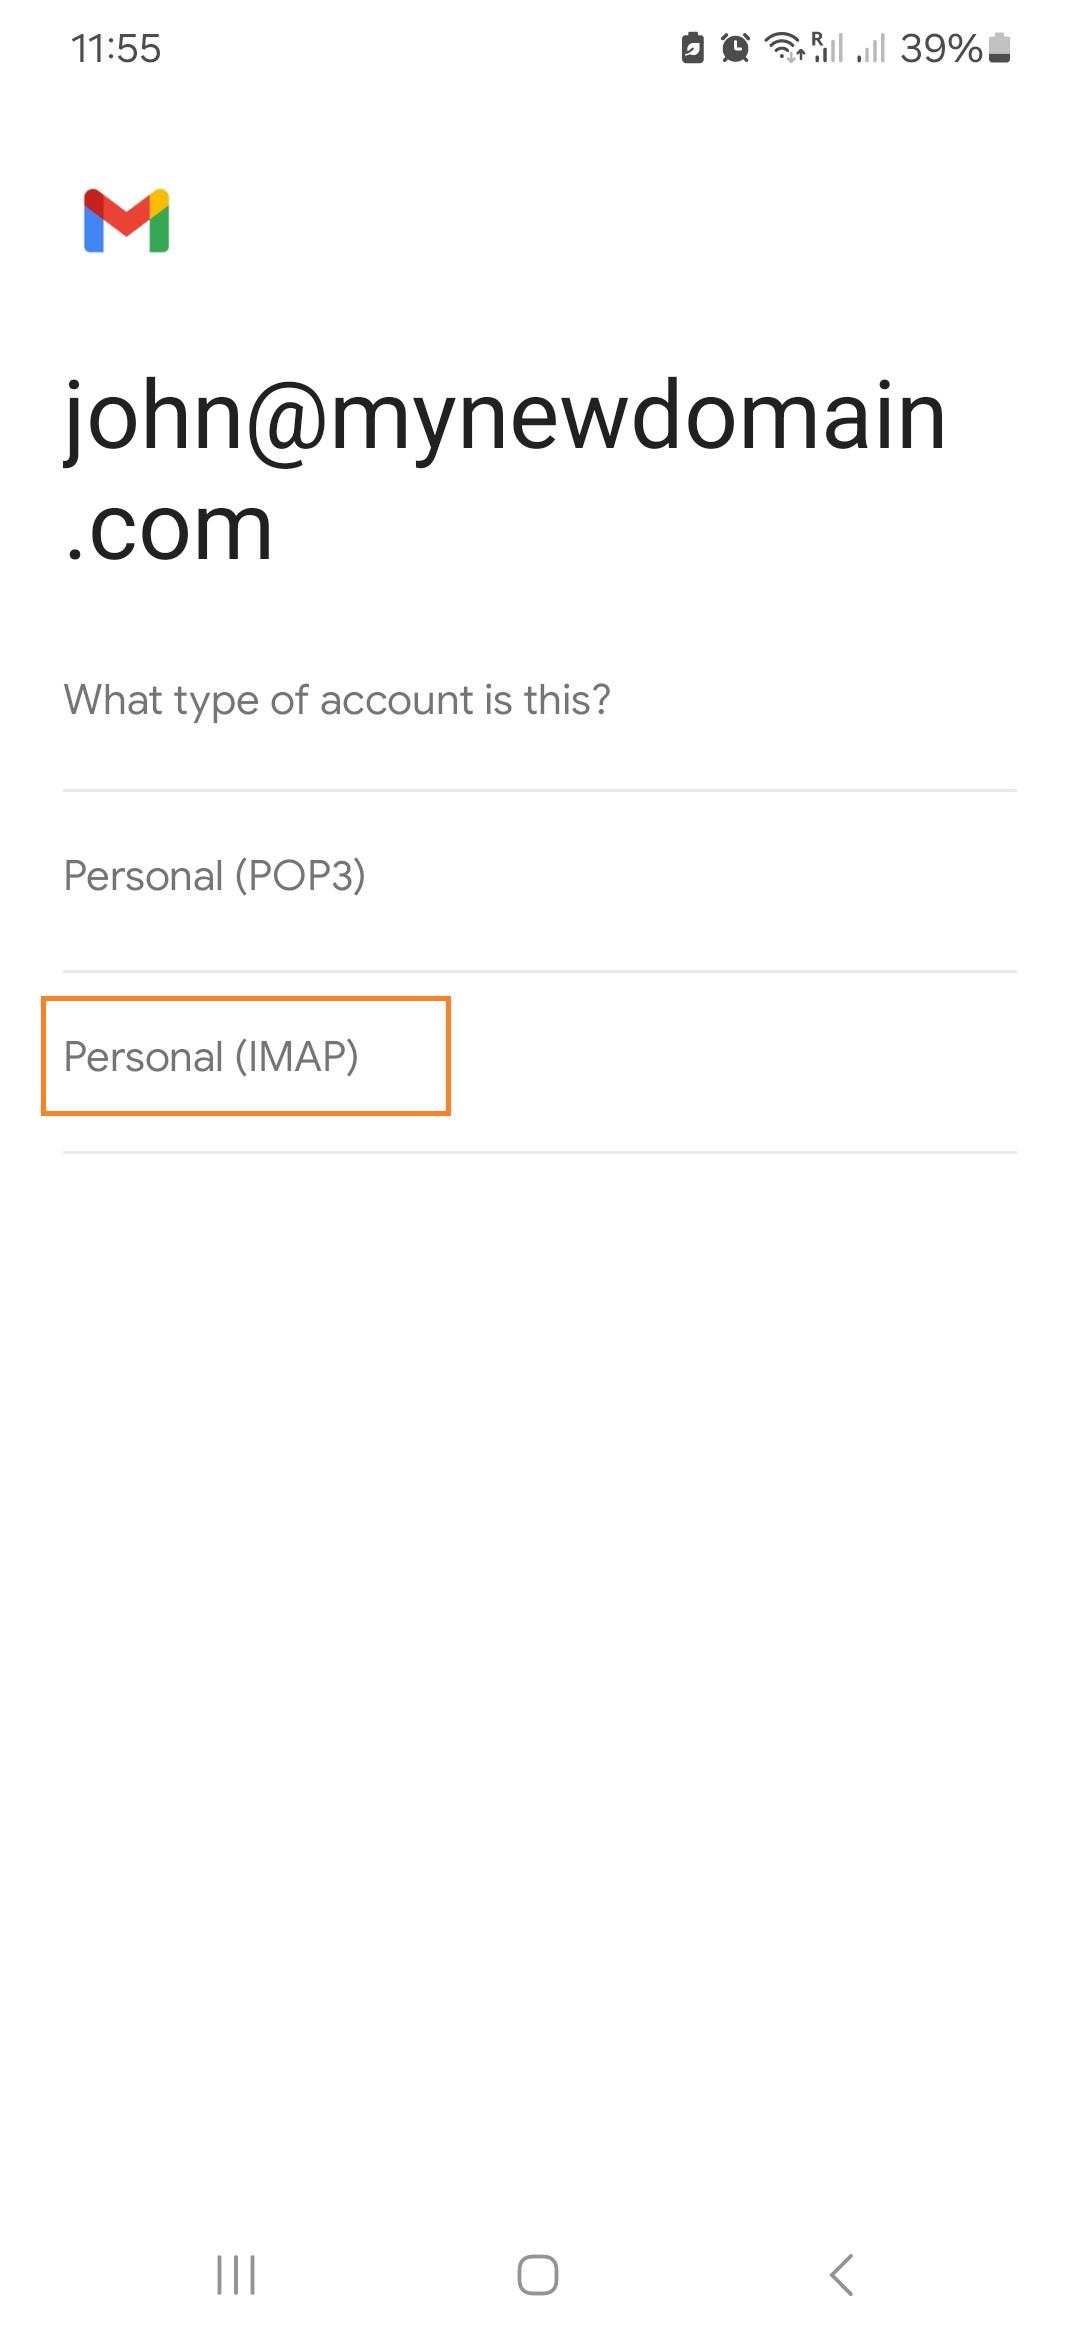
- Click on Email / Personal (IMAP)
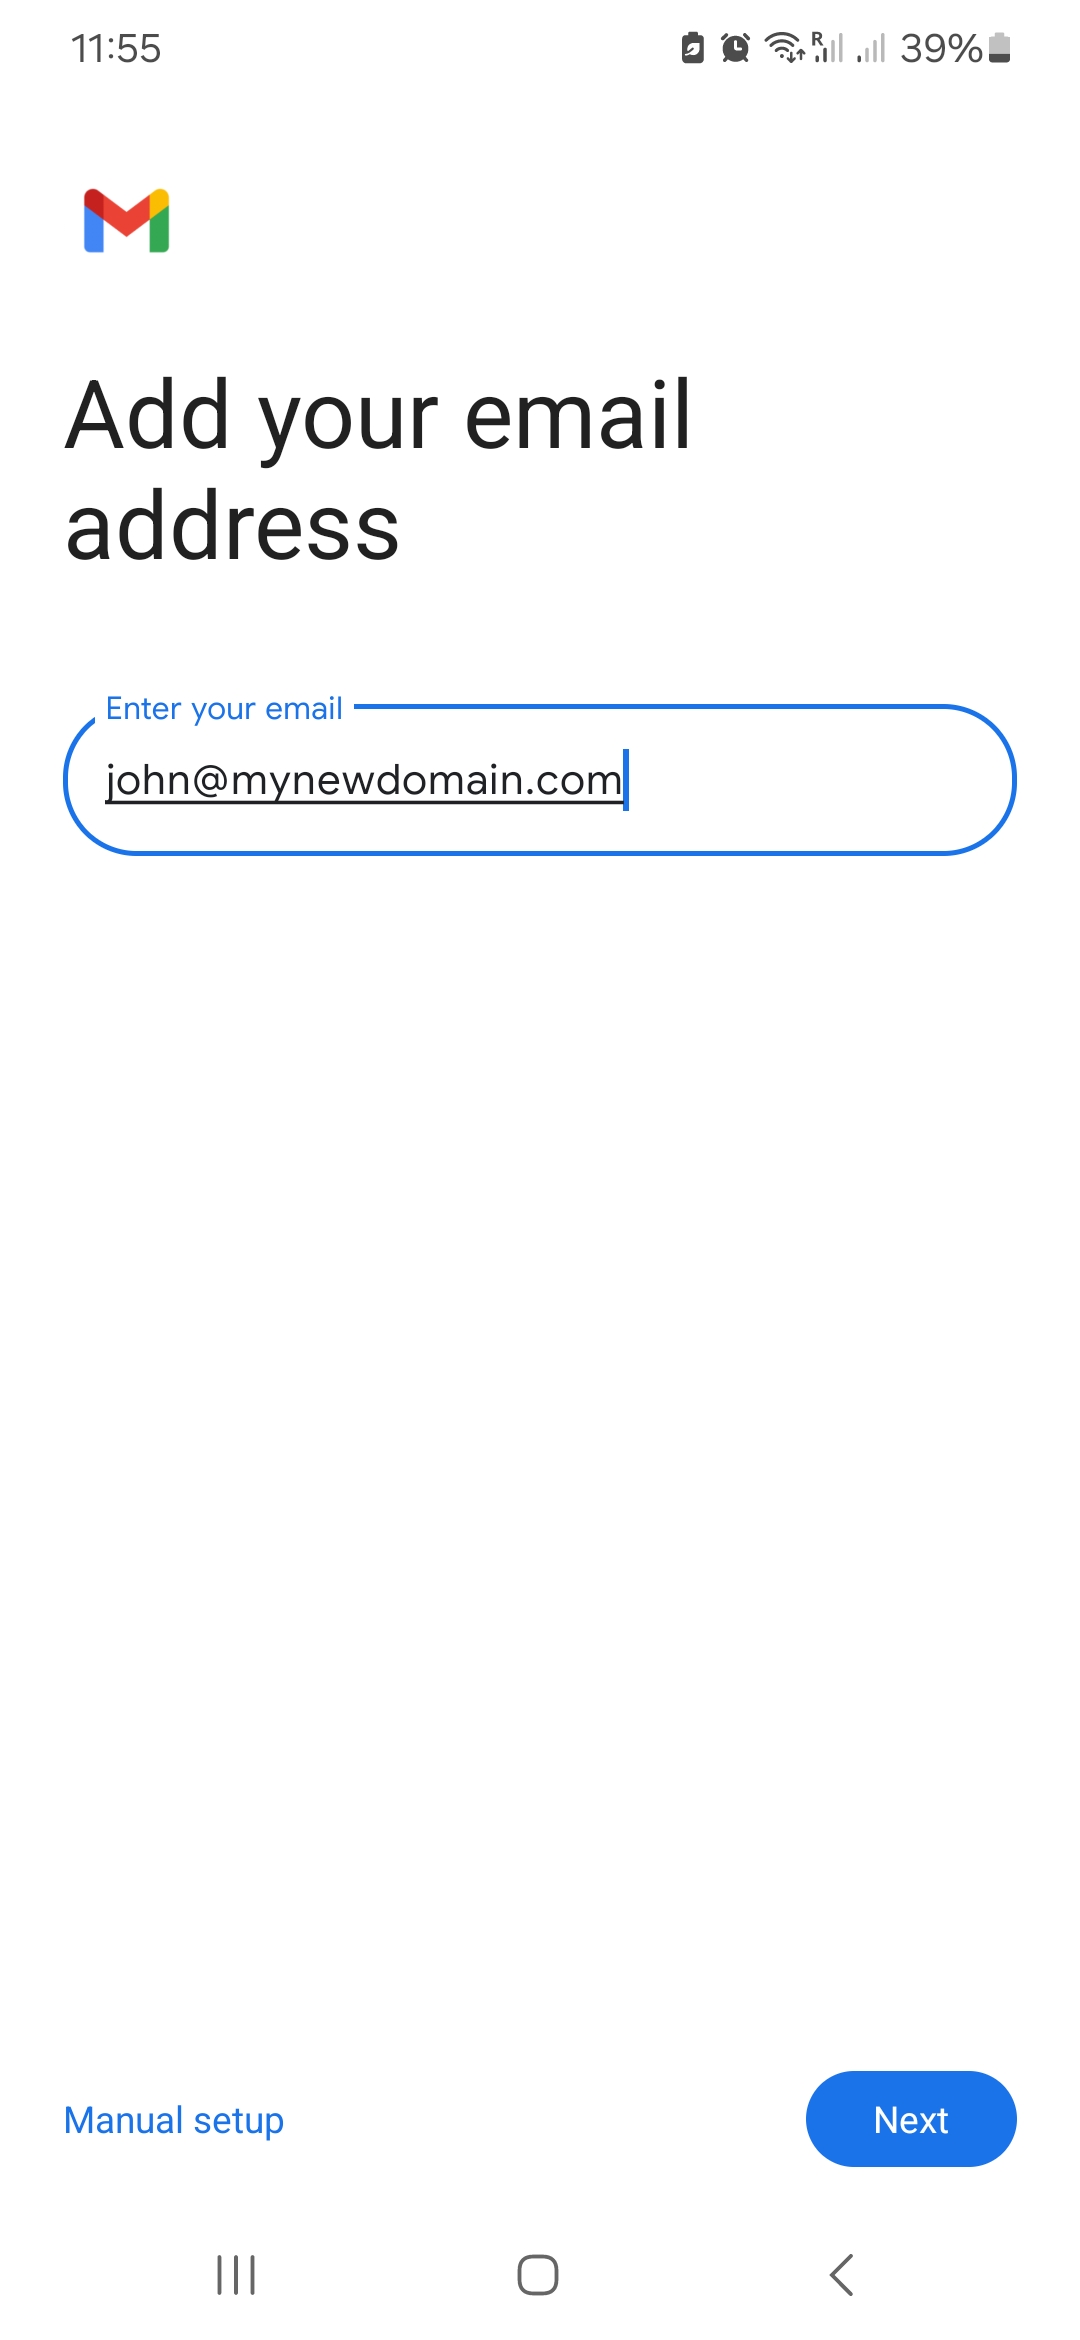
- Username: enter your full e-mail address
- If an account type is asked, choose IMAP account.
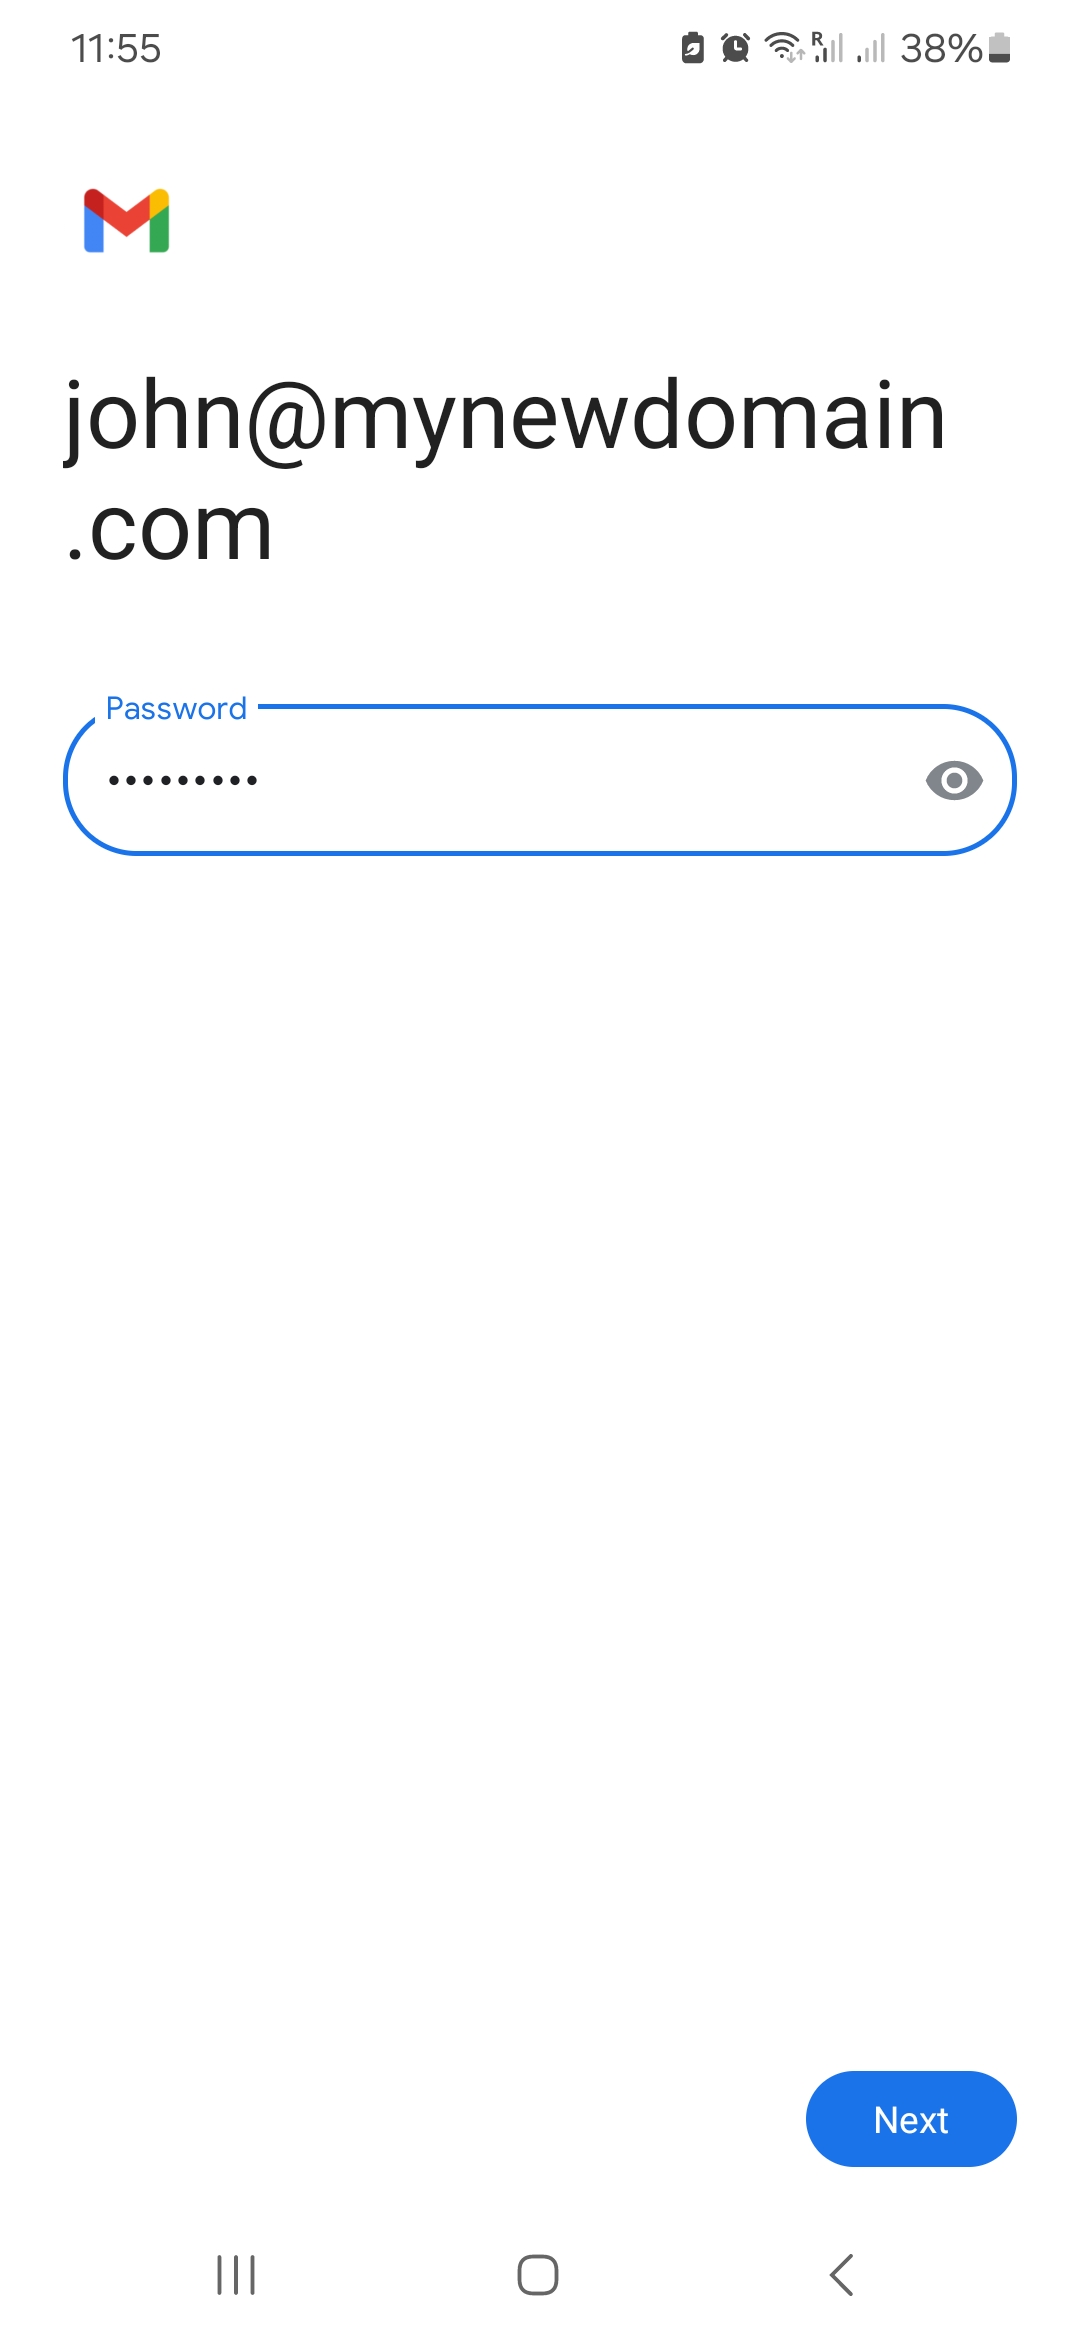
- Password: enter your email's password.
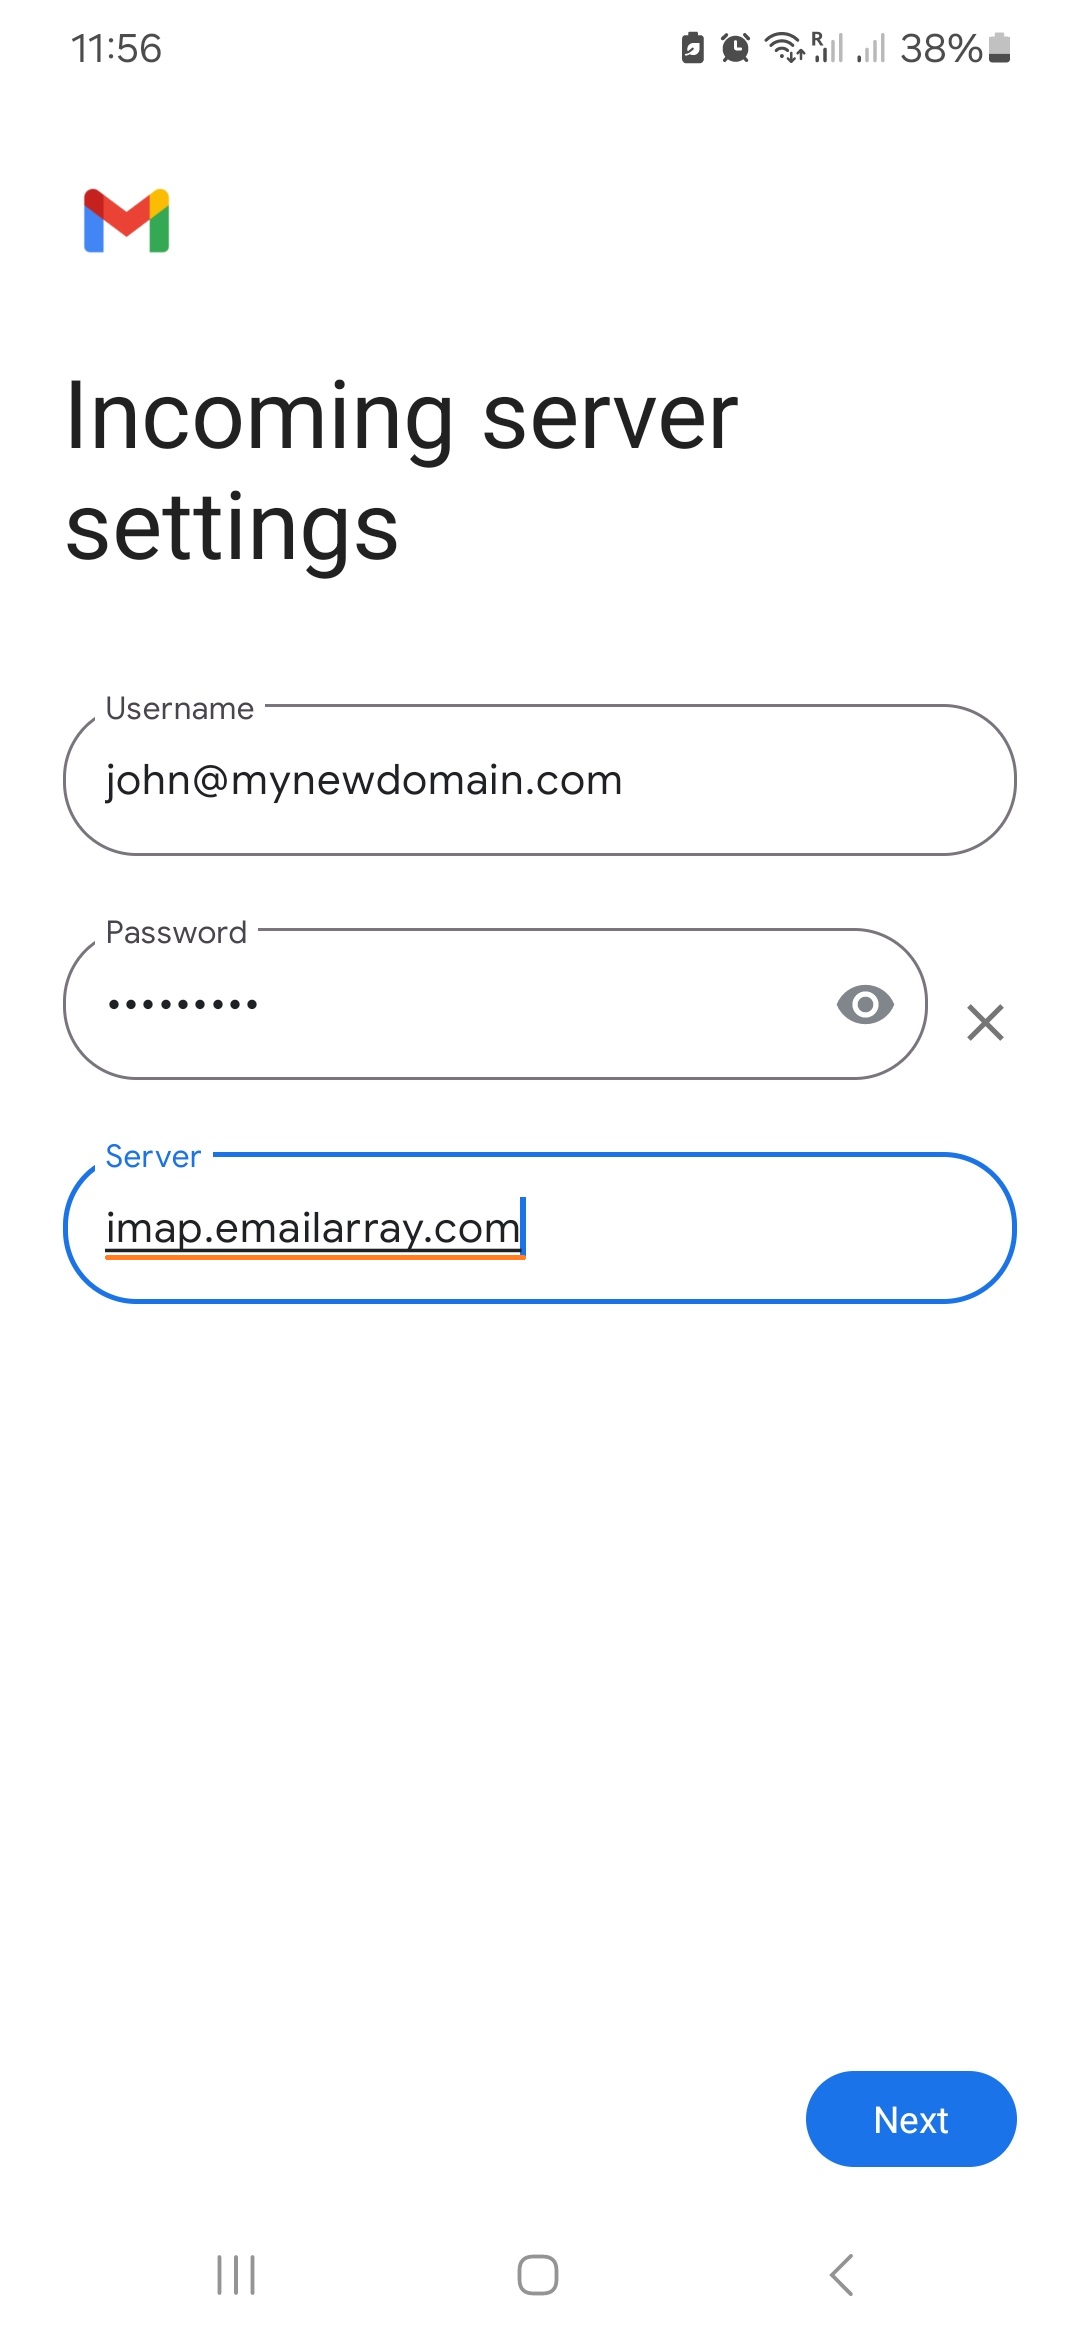
- Incoming server settings
- Username: your full email address
- Password: your email's password
- Server:
imap.emailarray.com. Android will automatically use yourdomain.com as host and you need to change it.
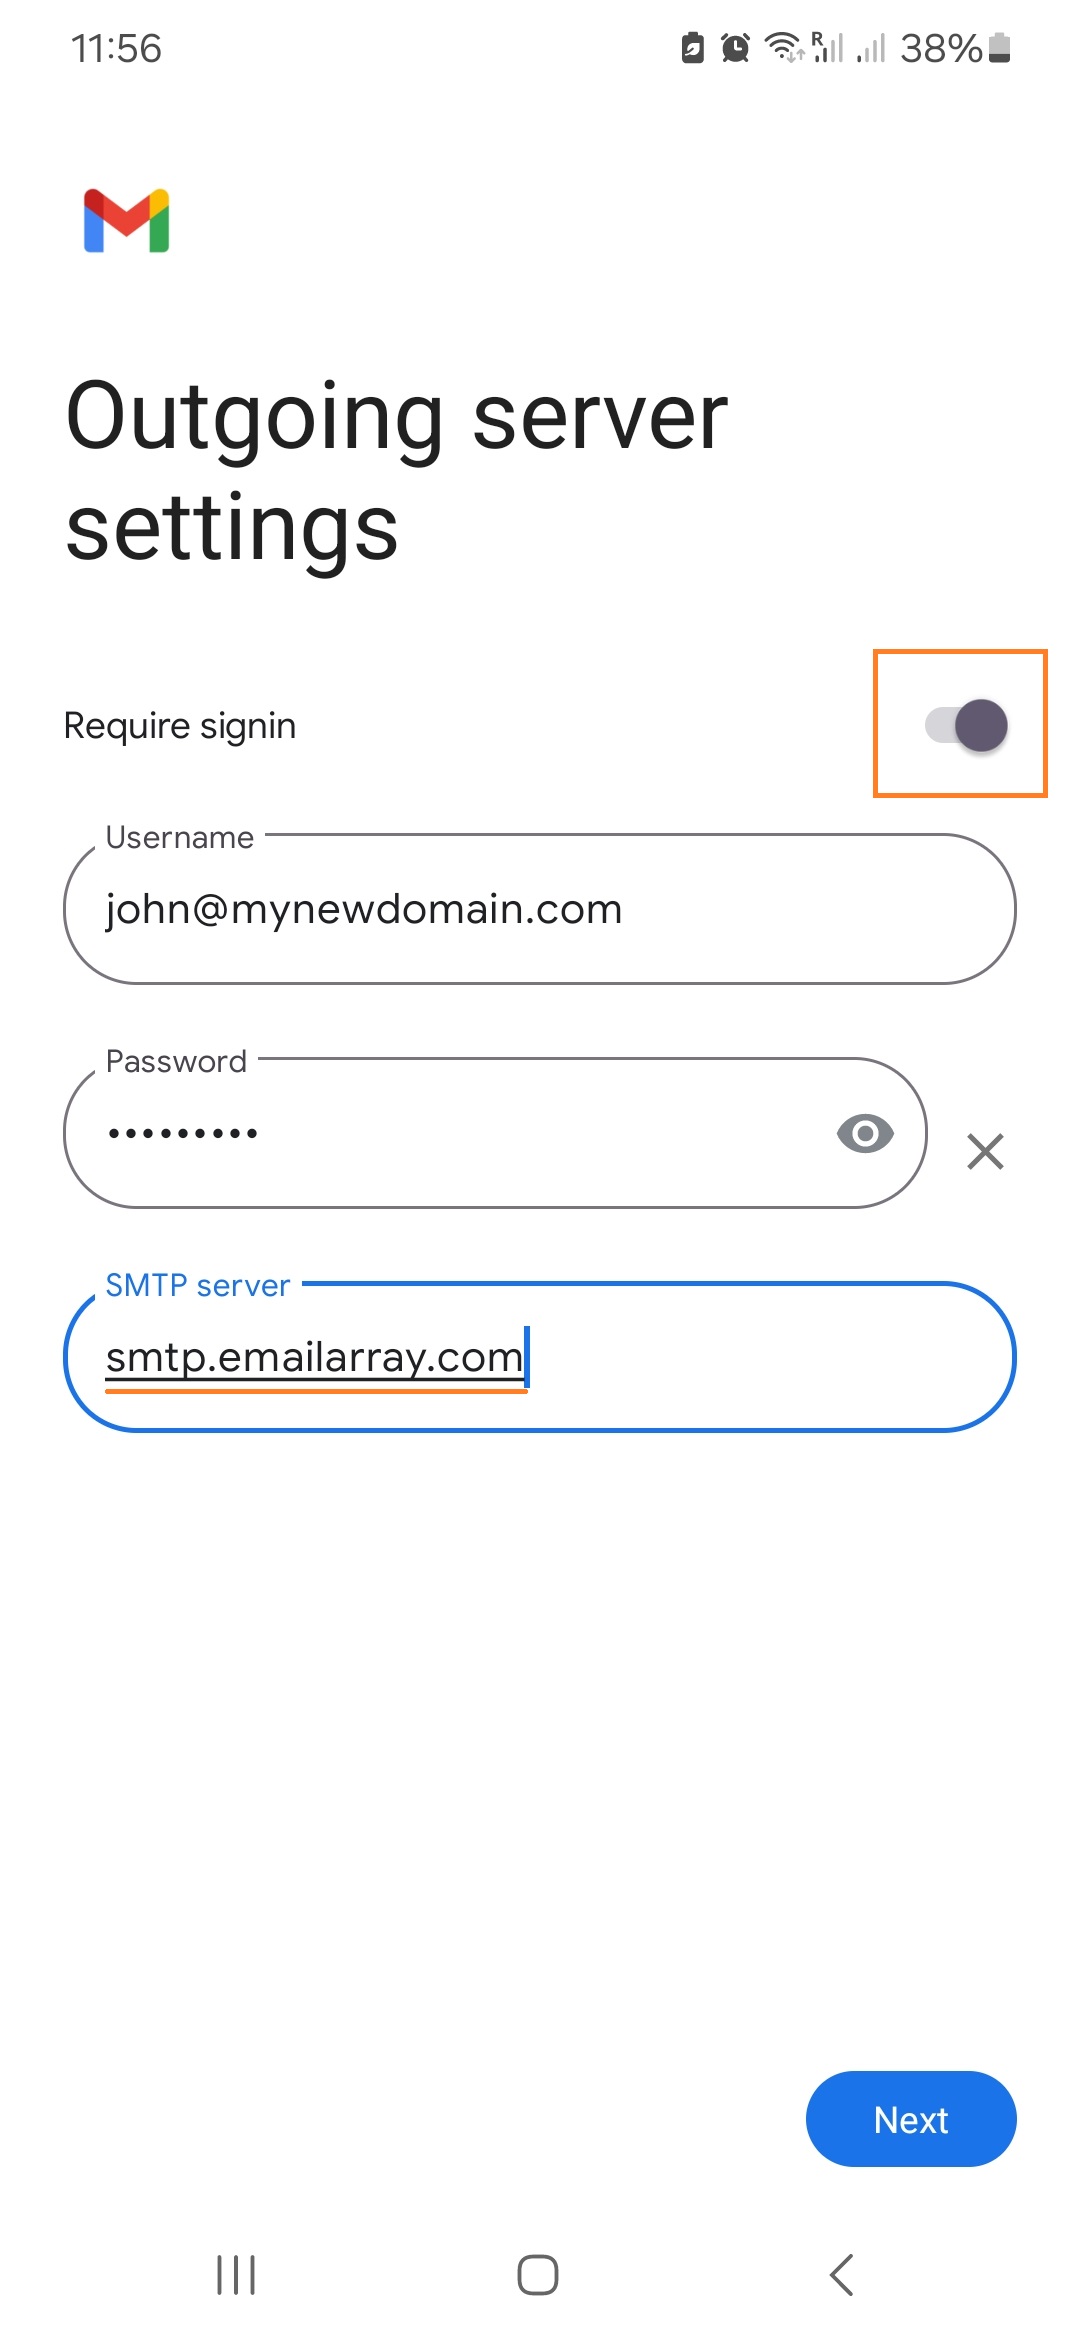
- Outgoing server settings
- Require signin: YES
- Username: your full email address
- Password: your email's password
- SMTP server:
smtp.emailarray.com. Android will automatically use yourdomain.com as host and you need to change it.
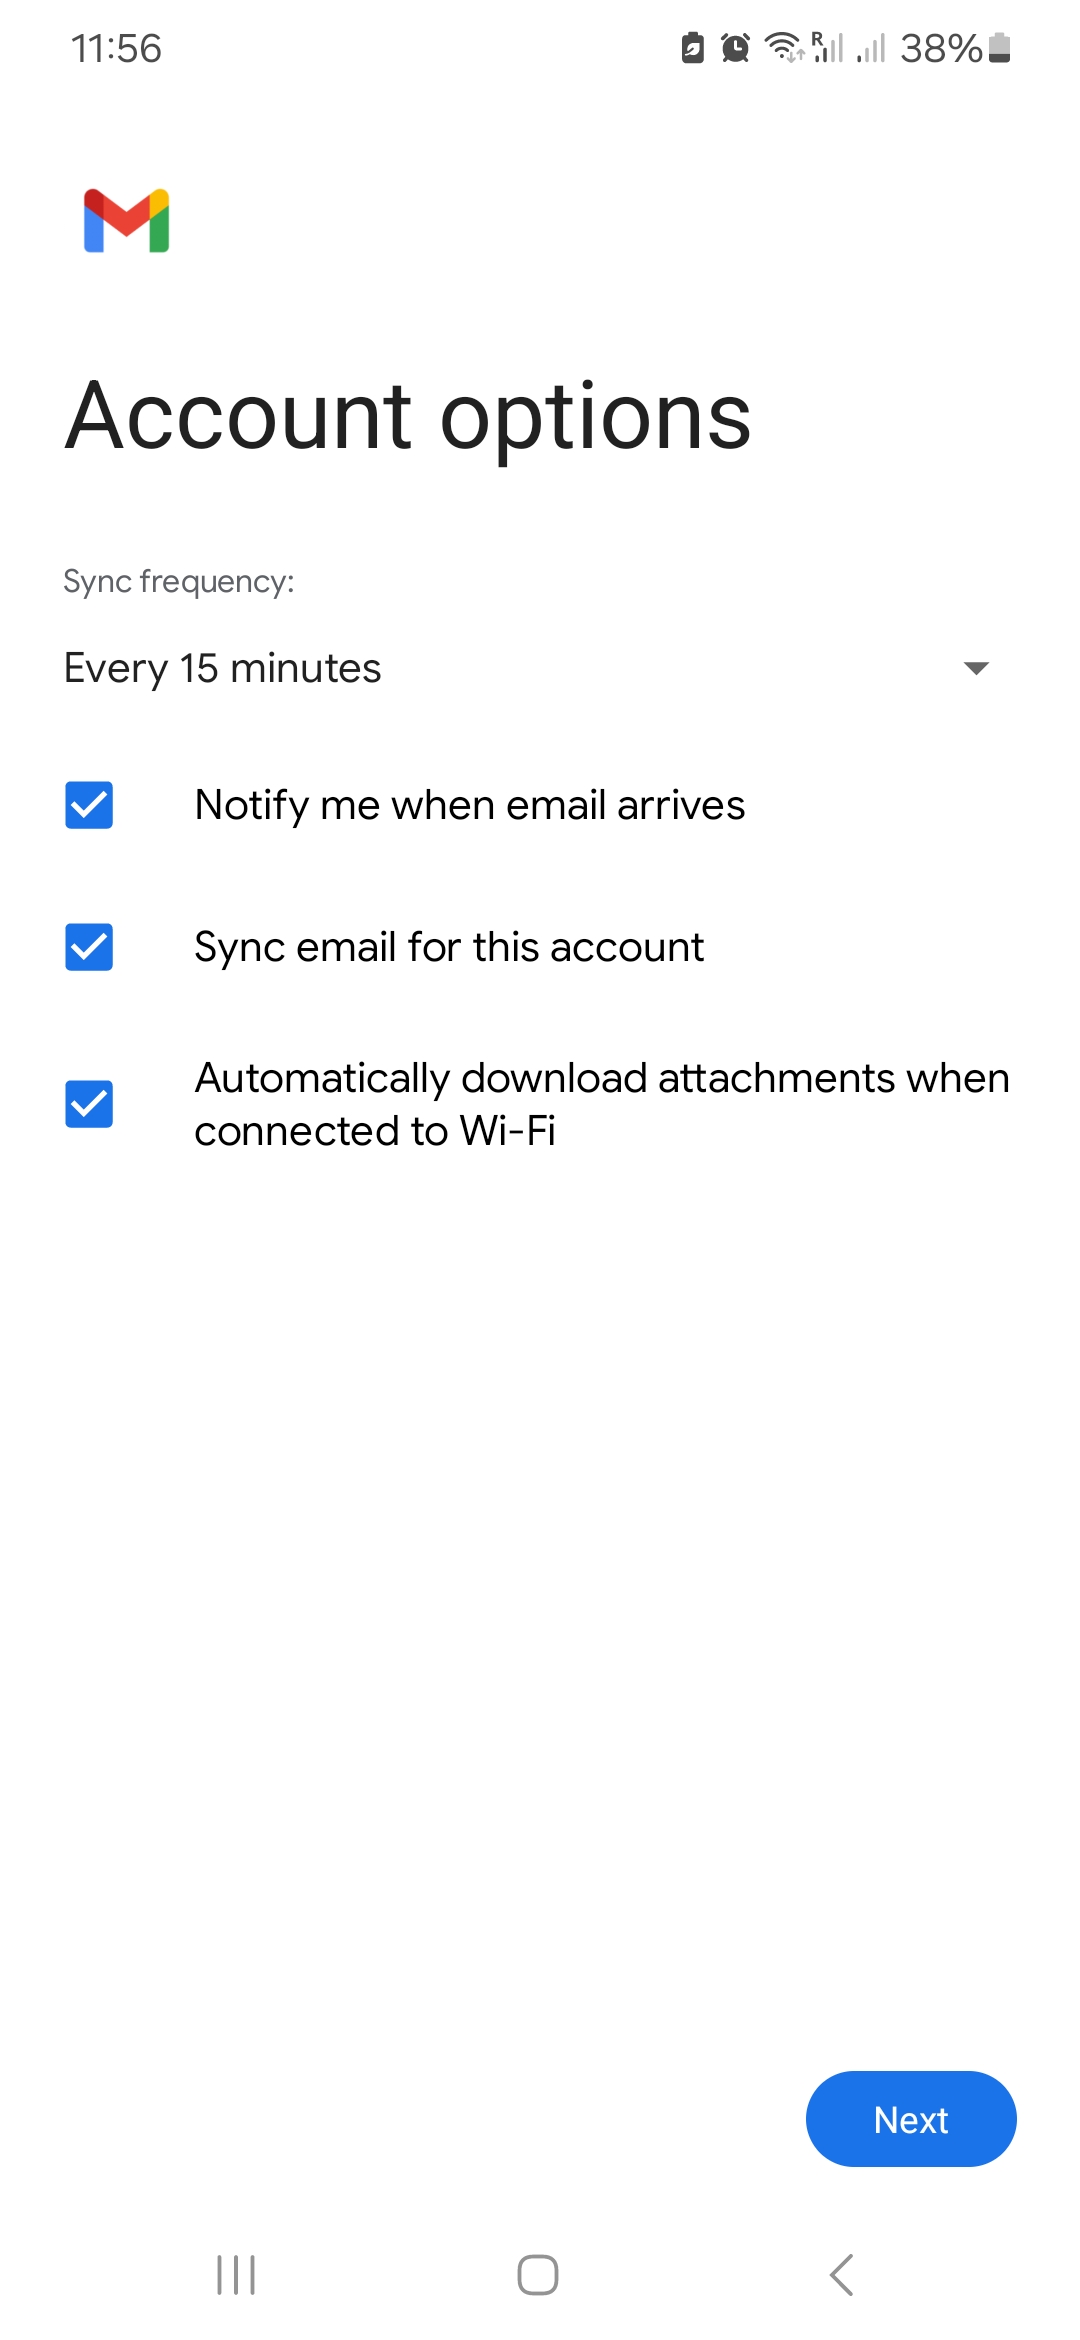
- Account options: Optionally, you can set up specific details such as interval for checking mail, if you want to be notified, etc.
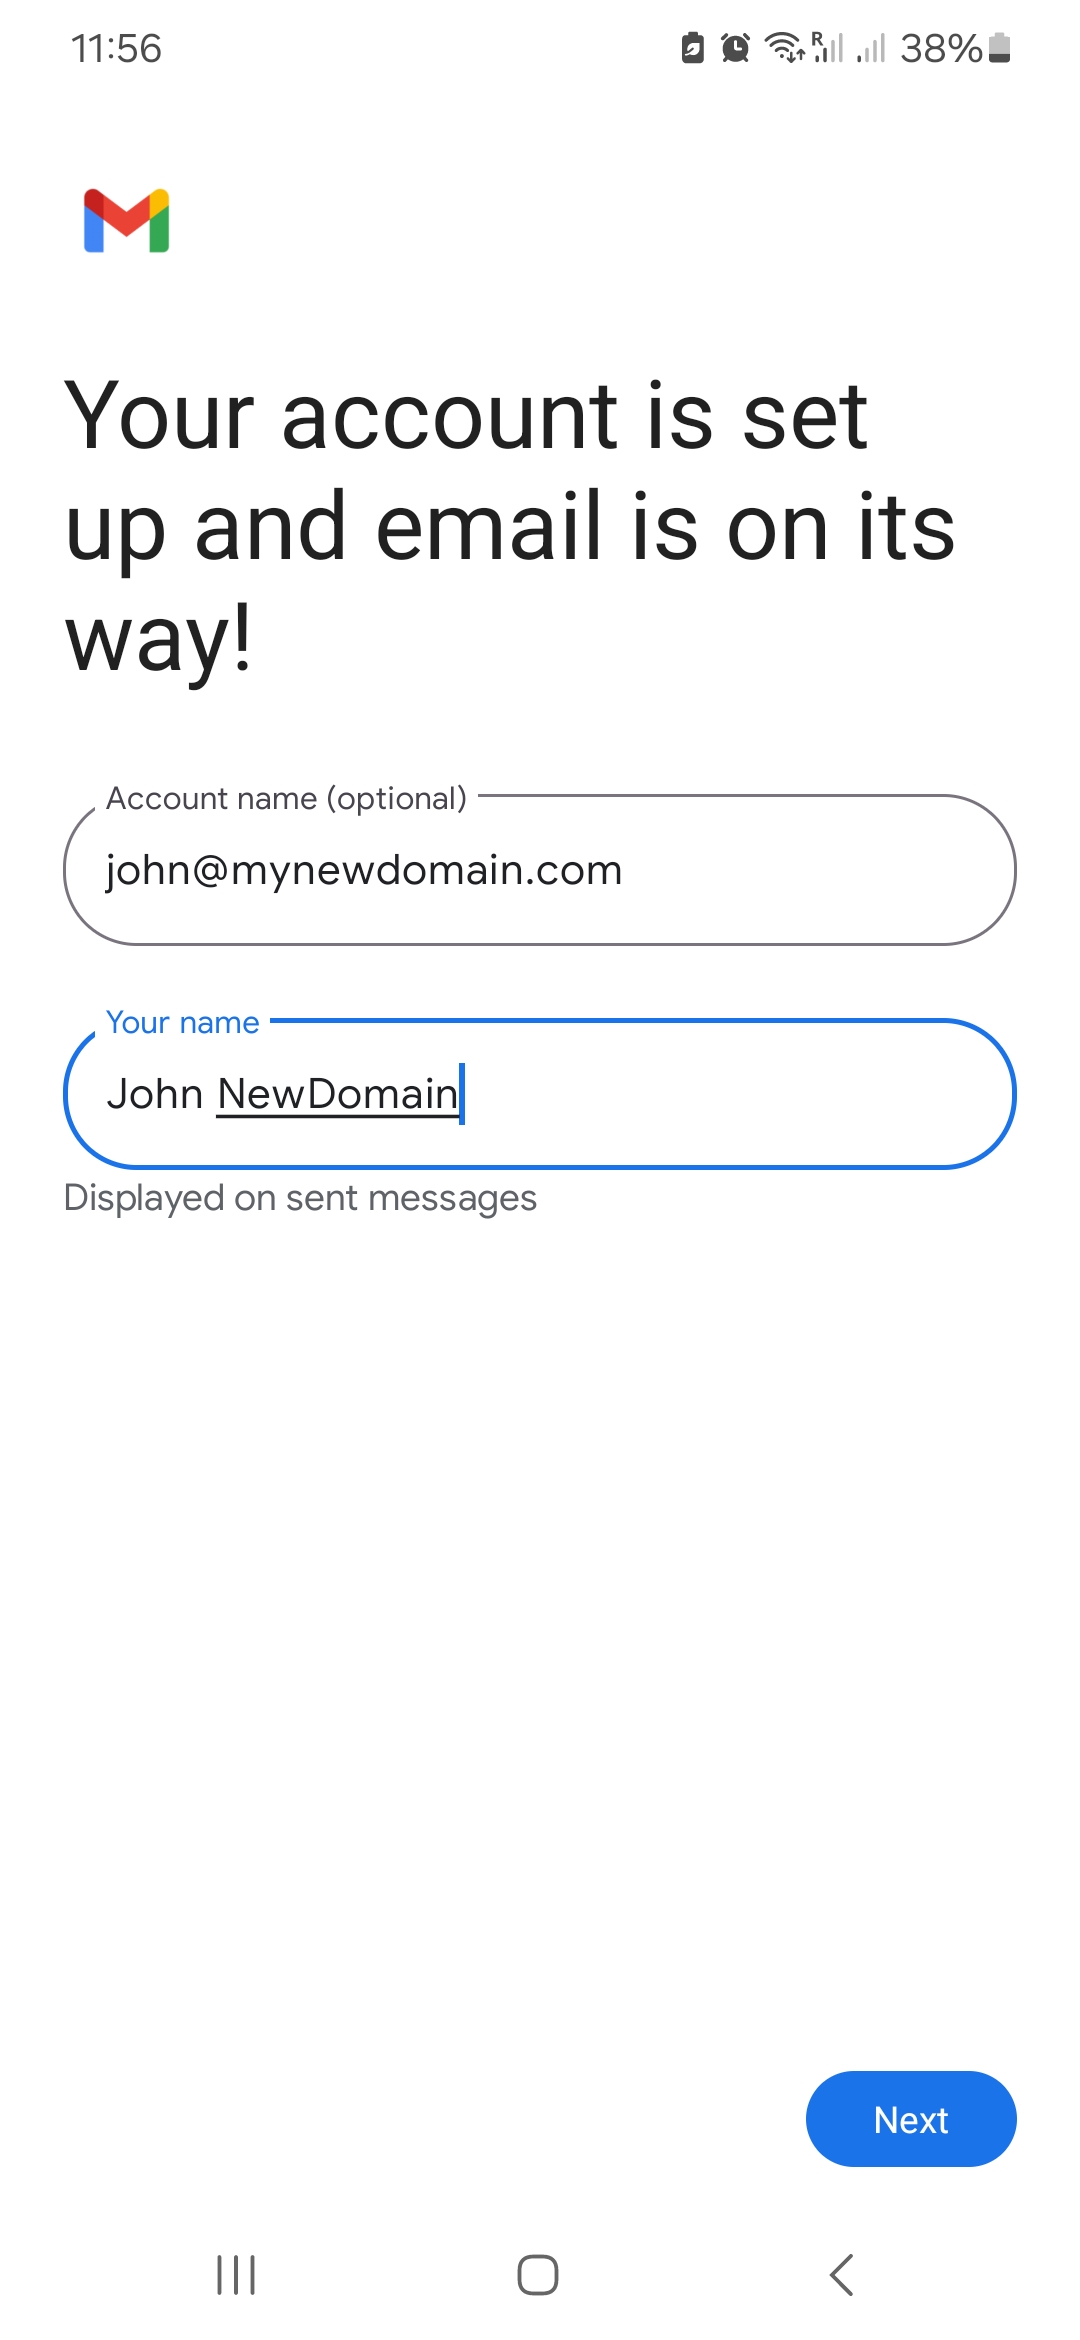
- On the last page, Android gives you the option to change the Account name (will appear in your list) and Your name (will appear to recipients).
- Click on Next to finalize the procedure.
| Note that IMAP is preferred over POP. If you want to set up the account as POP, you have to set it up manually. IMAP is a protocol made to support several devices accessing one same account, with all folders synced at our server, which also guarantees that our backups will be executed. |
Example Setup on Android Mail App