Webmail - How To
Features available in our Webmail GroupOffice - available for Basic and Enhanced mailboxes.
To access your webmail you have a few options:
- Automatically, by adding a CNAME in your DNS: webmail.mydomain.com -> webredirect.emailarray.com.
- Directly, by going to login.emailarray.com.
- From the Admin Panel, Users page, click on the little envelope and you'll be redirected to your webmail. You can save the link for future reference.
- Manually: if your domain is mydomain.com, in your browser you can go to mydomain--com.w.emailarray.com. Make sure you replace mydomain--com with your own domain name.
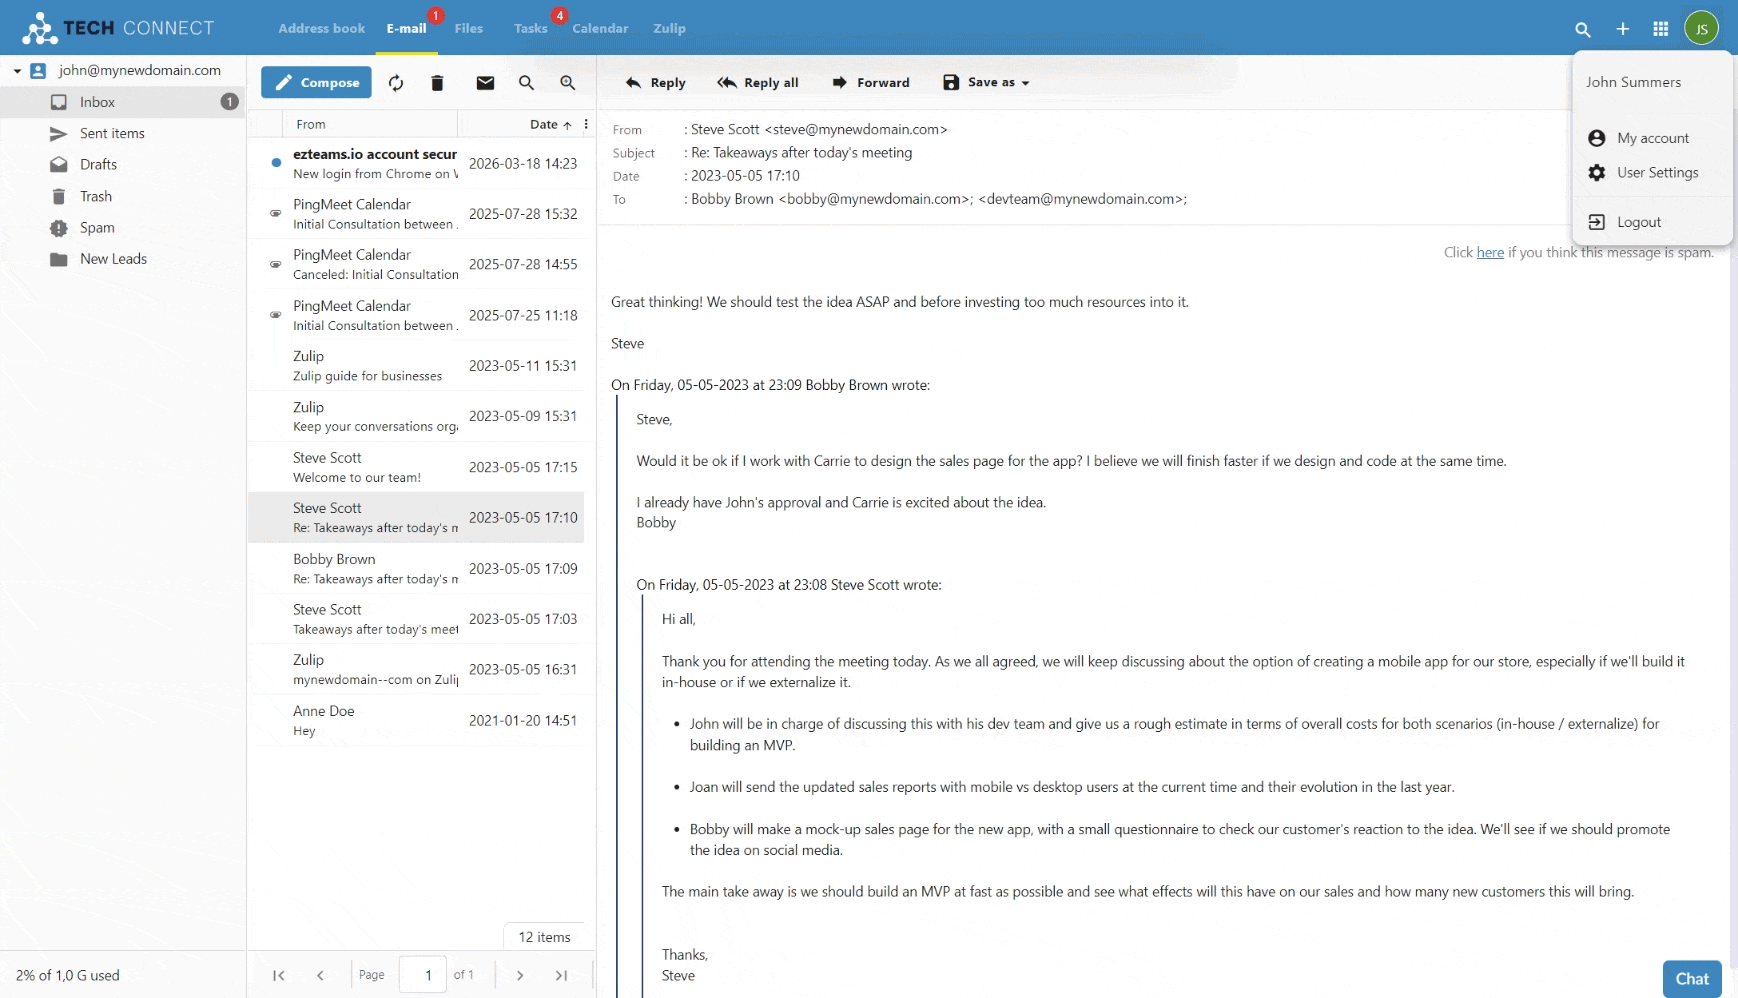
- Webmail - Demo
- Webmail - Customization
- Webmail - Folders management
- Webmail - Send as Alias
- Webmail - Signature: create, load and set one as default
- CalDAV / CardDAV allow delete via Synchronization
- Webmail - mark email as Spam or block a sender
- Webmail - mark email as legit (Not Spam)
- Chat and Video Meetings
- Getting Started: Accessing Chat & Meetings
- Video Meetings Features
- Using Chat and Meetings on Other Apps (XMPP)
- Files
- Webmail - Account Consolidation for Enhanced Mailboxes
- EasyMeet
- AI Assist
- Calendar
Webmail - Demo